Home › Forums › Slot Car Talk › Tech Tips / Q & A / Tutorials › BRM Megane, preparing the cars for the 2012 El Piloto Series / Review
- This topic has 2 replies, 2 voices, and was last updated 12 years, 1 month ago by
 Autorama.
-
AuthorPosts
-
-
November 14, 2011 at 11:16 PM #411
 AutoramaKeymaster
Fellas,
I’m glad we got the limited edition Meganes when we did, they are now sold-out.

Since this is a new BRM product, I will both review the car, and log all the modifications I did in order to set them up for our 2012 El Piloto Series.
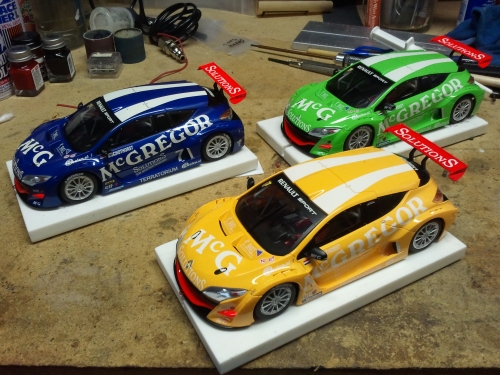
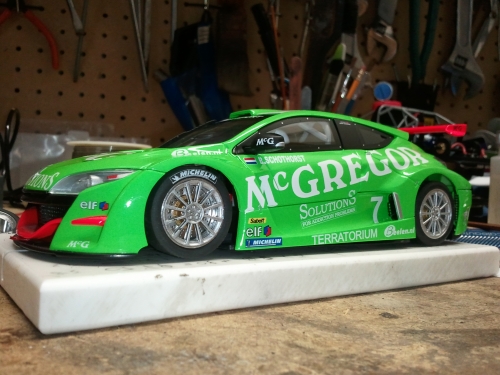
These McGregor cars look great! BRM did a great job on the color combinations; and it worked out perfectly for our Iroc series (we call it the El Piloto Series). The original livery car, blue/white, will be used on our blue lane; yellow/white car on the yellow lane; and the green/white on our green lane.
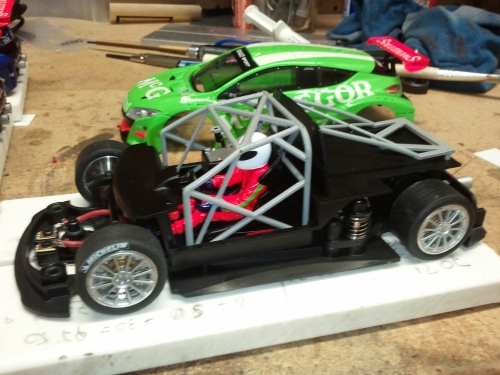
These Meganes come standard with the o-ring body system, which is incredibly handy, and their mid-level “pink” motor. Some of the improvements from their original 1/24 scale Porsche and Toyota are:
- Podded chassis with an anglewinder motor orientation.
- Suspension system (between pod and main chassis).
- Adjustable front axle height.
The motor pod has a pivot point on the front and the suspension system on the rear. There are two adjustment screws in each side of the suspension, one controls the spring strength (how light or heavily the pod will move), the second limits the amount of pod movement.
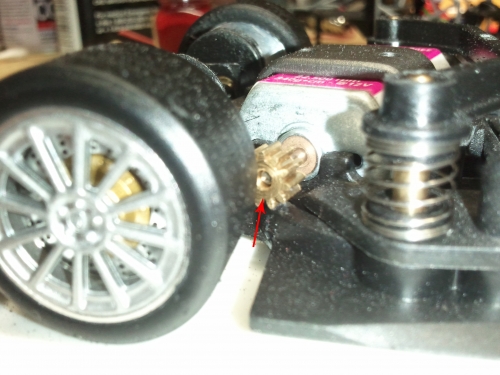
When I first took the body and interior out, I noticed a few things that needed to be addressed right away. There was quite a bit of side play on the front and rear axle, this was especially troubling on the rear axle; the spur gear used (the gears are manufactured by Avant Slot) is very thin and it was sliding past the end of the pinion. After removing the side-play on the axles, the spur gear was still barely touching the end of the pinion, the fix was to use a puller to slide the pinion past the end of the armature shaft.

If you bought a BRM Megane, I would strongly recommend checking the car for axle side-play and to move the pinion before you put it on the track.
The next step preparing the cars was to true the tires.
The Megane rear tires seems to be the same size of the Porsche/Toyota front tires; the front tires are a lot narrower.
I started with the rear tires and found an additional problem; a very disappointing one. After inserting the tires on my truer, I noticed that the bore hole on the hub was larger than the axle diameter; I placed the wheel back on the car axle and the same thing happened — it wobbles. BRM has always advertised their axles as being 3mm in diameter, in reality they are 2.94mm, so is the bore hole on the bushings and old wheels (Porsche/ Toyota); the new hubs, both front and rear, have 3mm wide bore holes – you end up with a 0.06mm gap between axle and hub.
Not having a fix for the wobble problem, I just forged ahead and trued the tires as best as I could. Both front and rear tires were trued to the same diameter, the front tires were originally taller than the rears and took a little longer to true.
I installed the rear tires and started to work on the suspension. I choose to use a light setting for the springs with about 2mm of movement, more movement would bottom the chassis on the track or make the tires rub on the wheel wells.
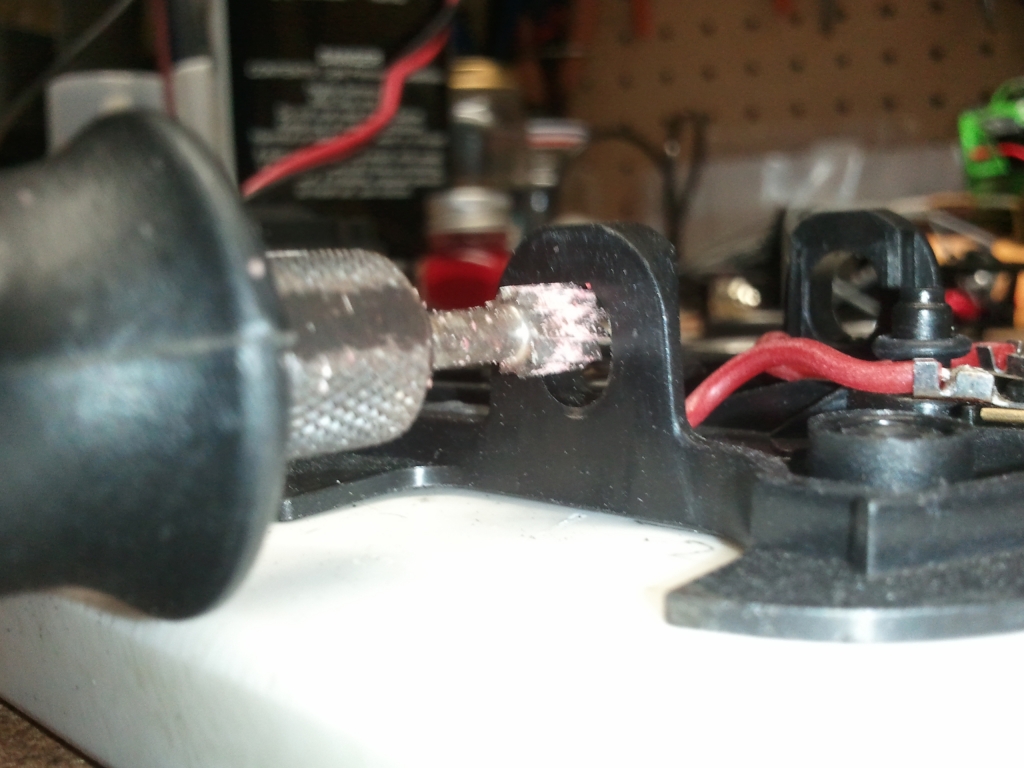
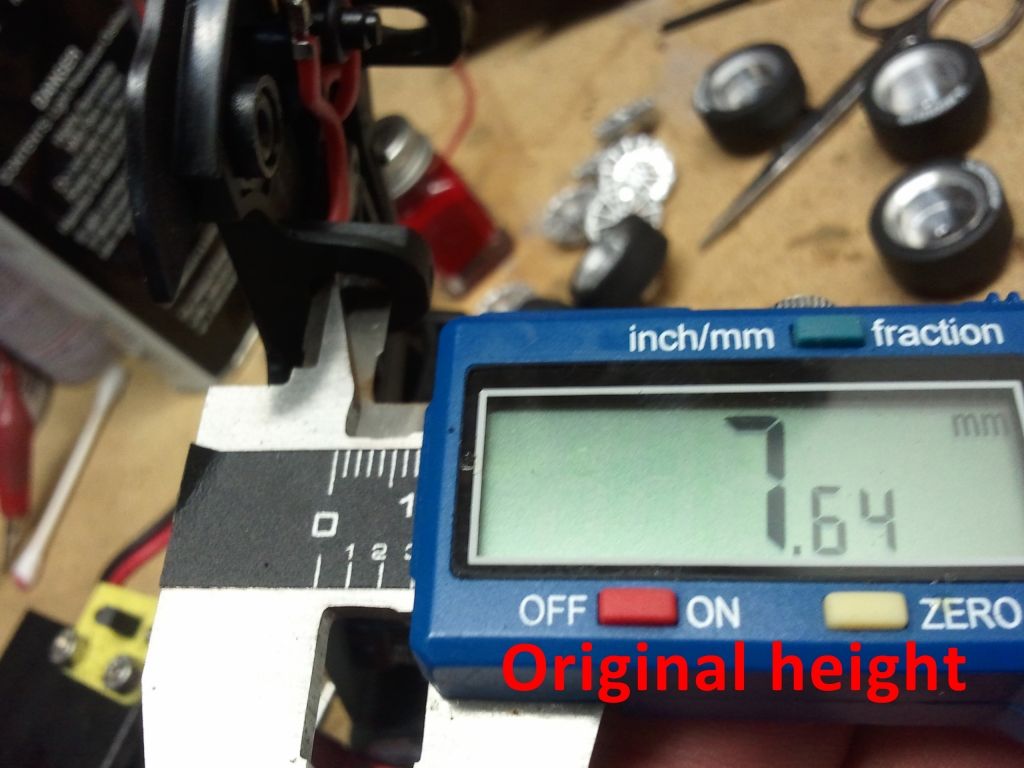
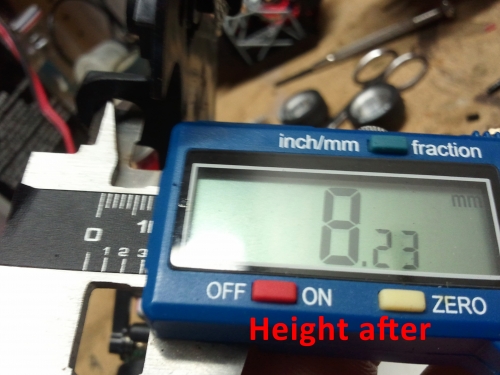
Setting the front axle height was the next step. This is one feature that I really appreciate in any slot car; since the braid on our club track is recessed by 1mm, the best setting for the front wheels is 1mm above the base of a setup block, this allows the guide blade to be completely on the slot. The maximum upward setting on the front axle adjustment was not enough to clear the tires 1mm above the setup block, I could have fixed the problem by removing more material from the tires but I chose to enlarge the adjustment opening.
A proper dremel tool tip made the job easy. I had to remove about 0.6mm from the upward setting (see photos).


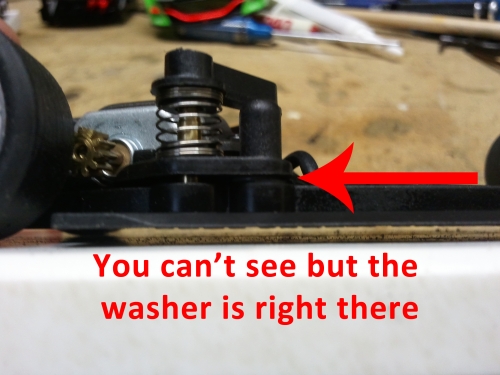
The front axle and wheels are installed and I can’t quite get the car to sit square. When looking level at the front of the chassis, the left side was higher than the right. After searching around I found the problem; although both rear sides of the pod where flush with the chassis, the left side was higher than the right, this was weird since the tires had been trued to the same diameter. I checked the pod and chassis for any flashing that could be causing the problem but did not find any; now I’m thinking that I should have baked the chassis, but what if it was the pod? Trying to save a lot of work I just slipped a washer between the chassis and pod on the side that was sitting higher.

With a chassis that was evenly above the ground, I set the front axle height, installed the interior and finished with the body — this one is done, only two more to go.


The original car weight was 192 grams, after removing the magnet and prepping it, the weight went down to 184 grams.
The factory gear ratio is 3.81 (42X11), this will be changed to 3.5 (42X12) as soon as I receive the 12T pinions :).
All and all this is a great little car, it needs some work, but so does all the others. It should be an interesting car to drive around our track, I’m looking forward to see what kind of lap times it will turn.
-
November 17, 2011 at 6:21 AM #1532
 BellatorKeymaster
Great write up Ary. Can’t wait to see how they run.
-
March 7, 2012 at 6:51 PM #1615
 AutoramaKeymaster
Just got a package with replacement wheels, tires and a new set of headlight covers from https://www.pendleslotracing.co.uk/. Thank you Sean!
Will work on it tonight and have it ready for the upcoming race on March 10th.
-
-
AuthorPosts
- You must be logged in to reply to this topic.

