
Home › Forums › Slot Car Talk › Tech Tips / Q & A / Tutorials › 1/32 Truck with Wireless Camera – Project
- This topic has 3 replies, 2 voices, and was last updated 15 years, 11 months ago by
 Autorama.
-
AuthorPosts
-
August 22, 2010 at 1:41 PM #63
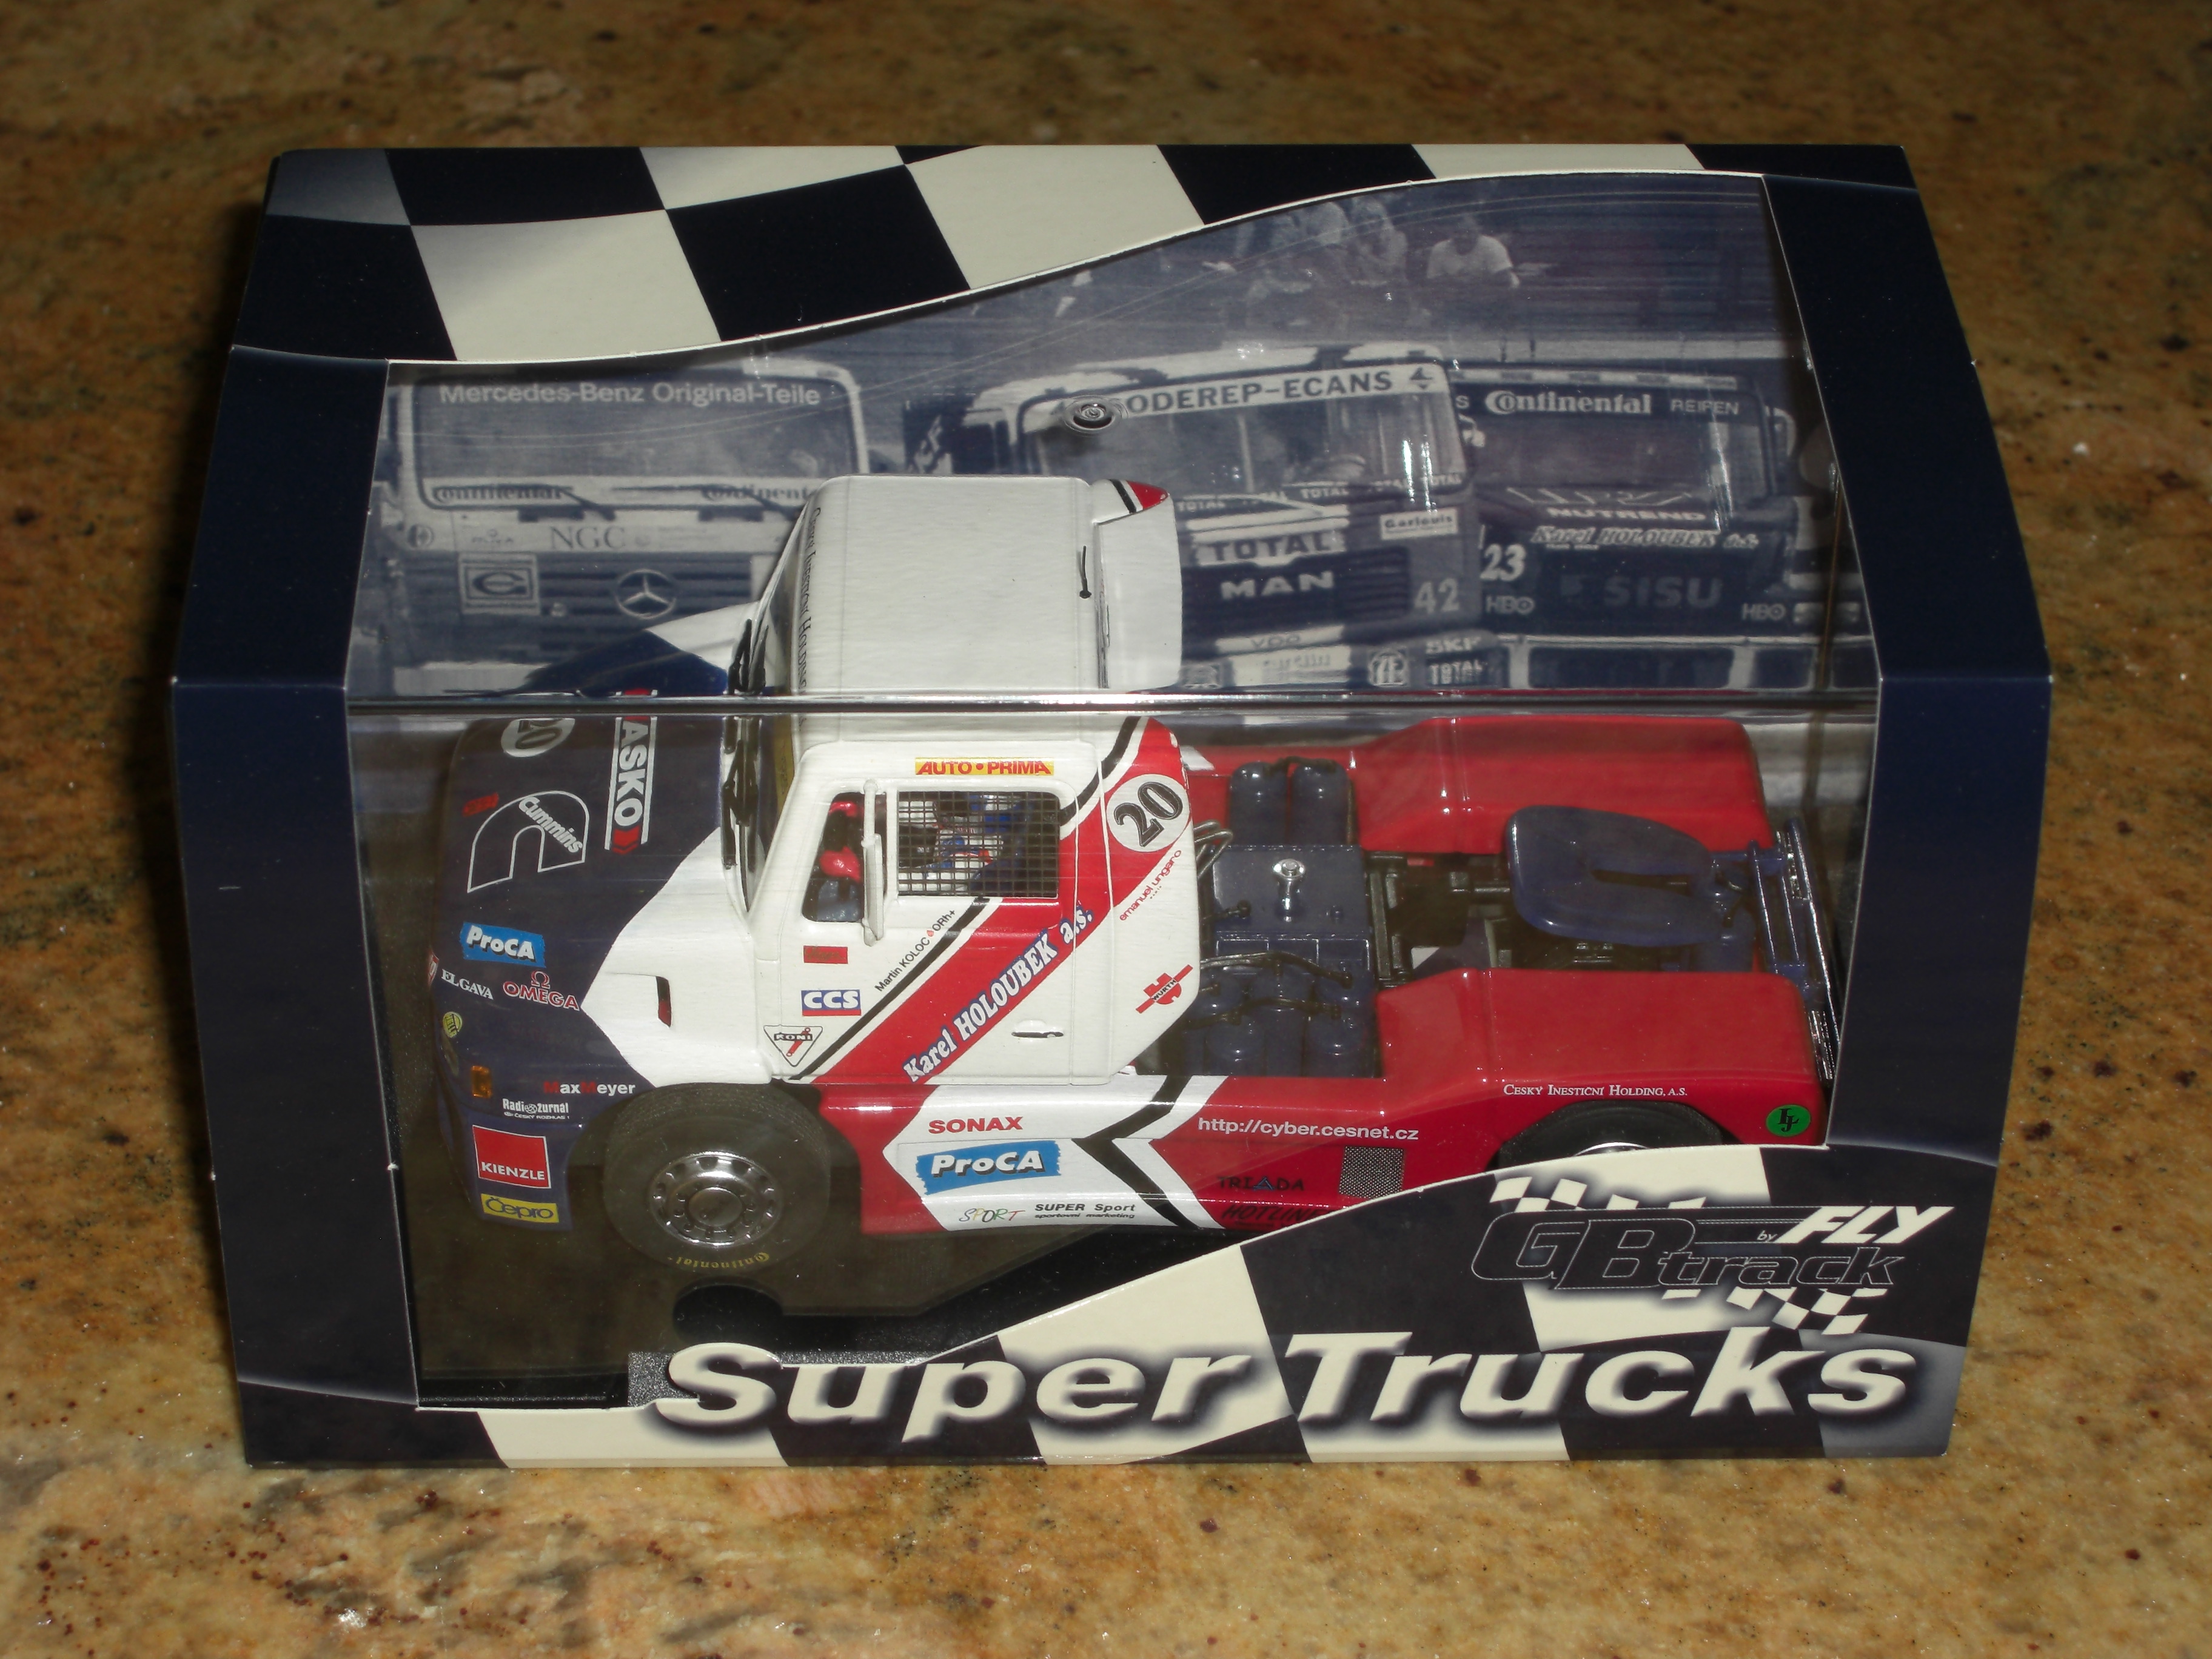
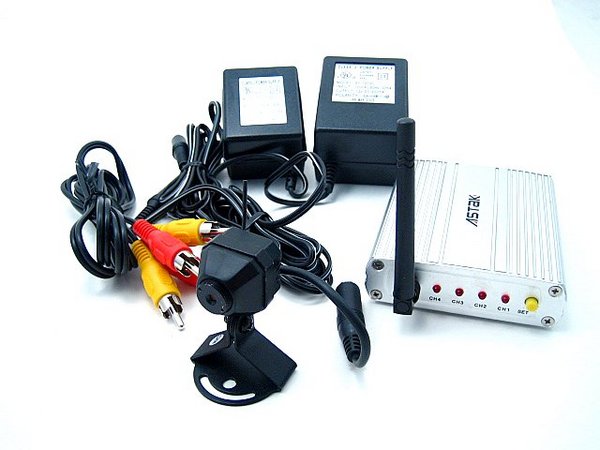
After purchasing a mini wireless camera kit I was wondering how to fit it inside a slot car. The first think that came to my mind was a truck, and since I didn’t have one I started searching and found out that fly already makes a truck with a built in camera system. I didn’t find any information about the fly truck, I don’t know if the camera is wireless or if one has to record a few laps and then download the content to be viewed; anyway, the fly truck with camera was sold out anywhere I could find and the price was around $400+ 😯 . Here is the only photo I could find :
The camera system was bought for $32 on ebay: https://cgi.ebay.com/ws/eBayISAPI.dll?ViewItem&item=350377479260&ssPageName=STRK:MEWNX:IT
But you do get what you pay for (more on that later).
The truck was quite hard to find, only a few places had them in stock and the one I chose was $74 (there are a few cheaper): https://www.hotslots132.com/product_info.php?cPath=21_44_60&products_id=7028&page=&sort=4a
Let’s get to work:
You will need a dremel, heavy duty stick on velcro, ca glue, soldering iron, small 2 terminal connector (both male and female sides, I used a battery connector for a futaba receiver), scissors and screw driver 🙄 . You may also need longer wires from the motor to the pickup.
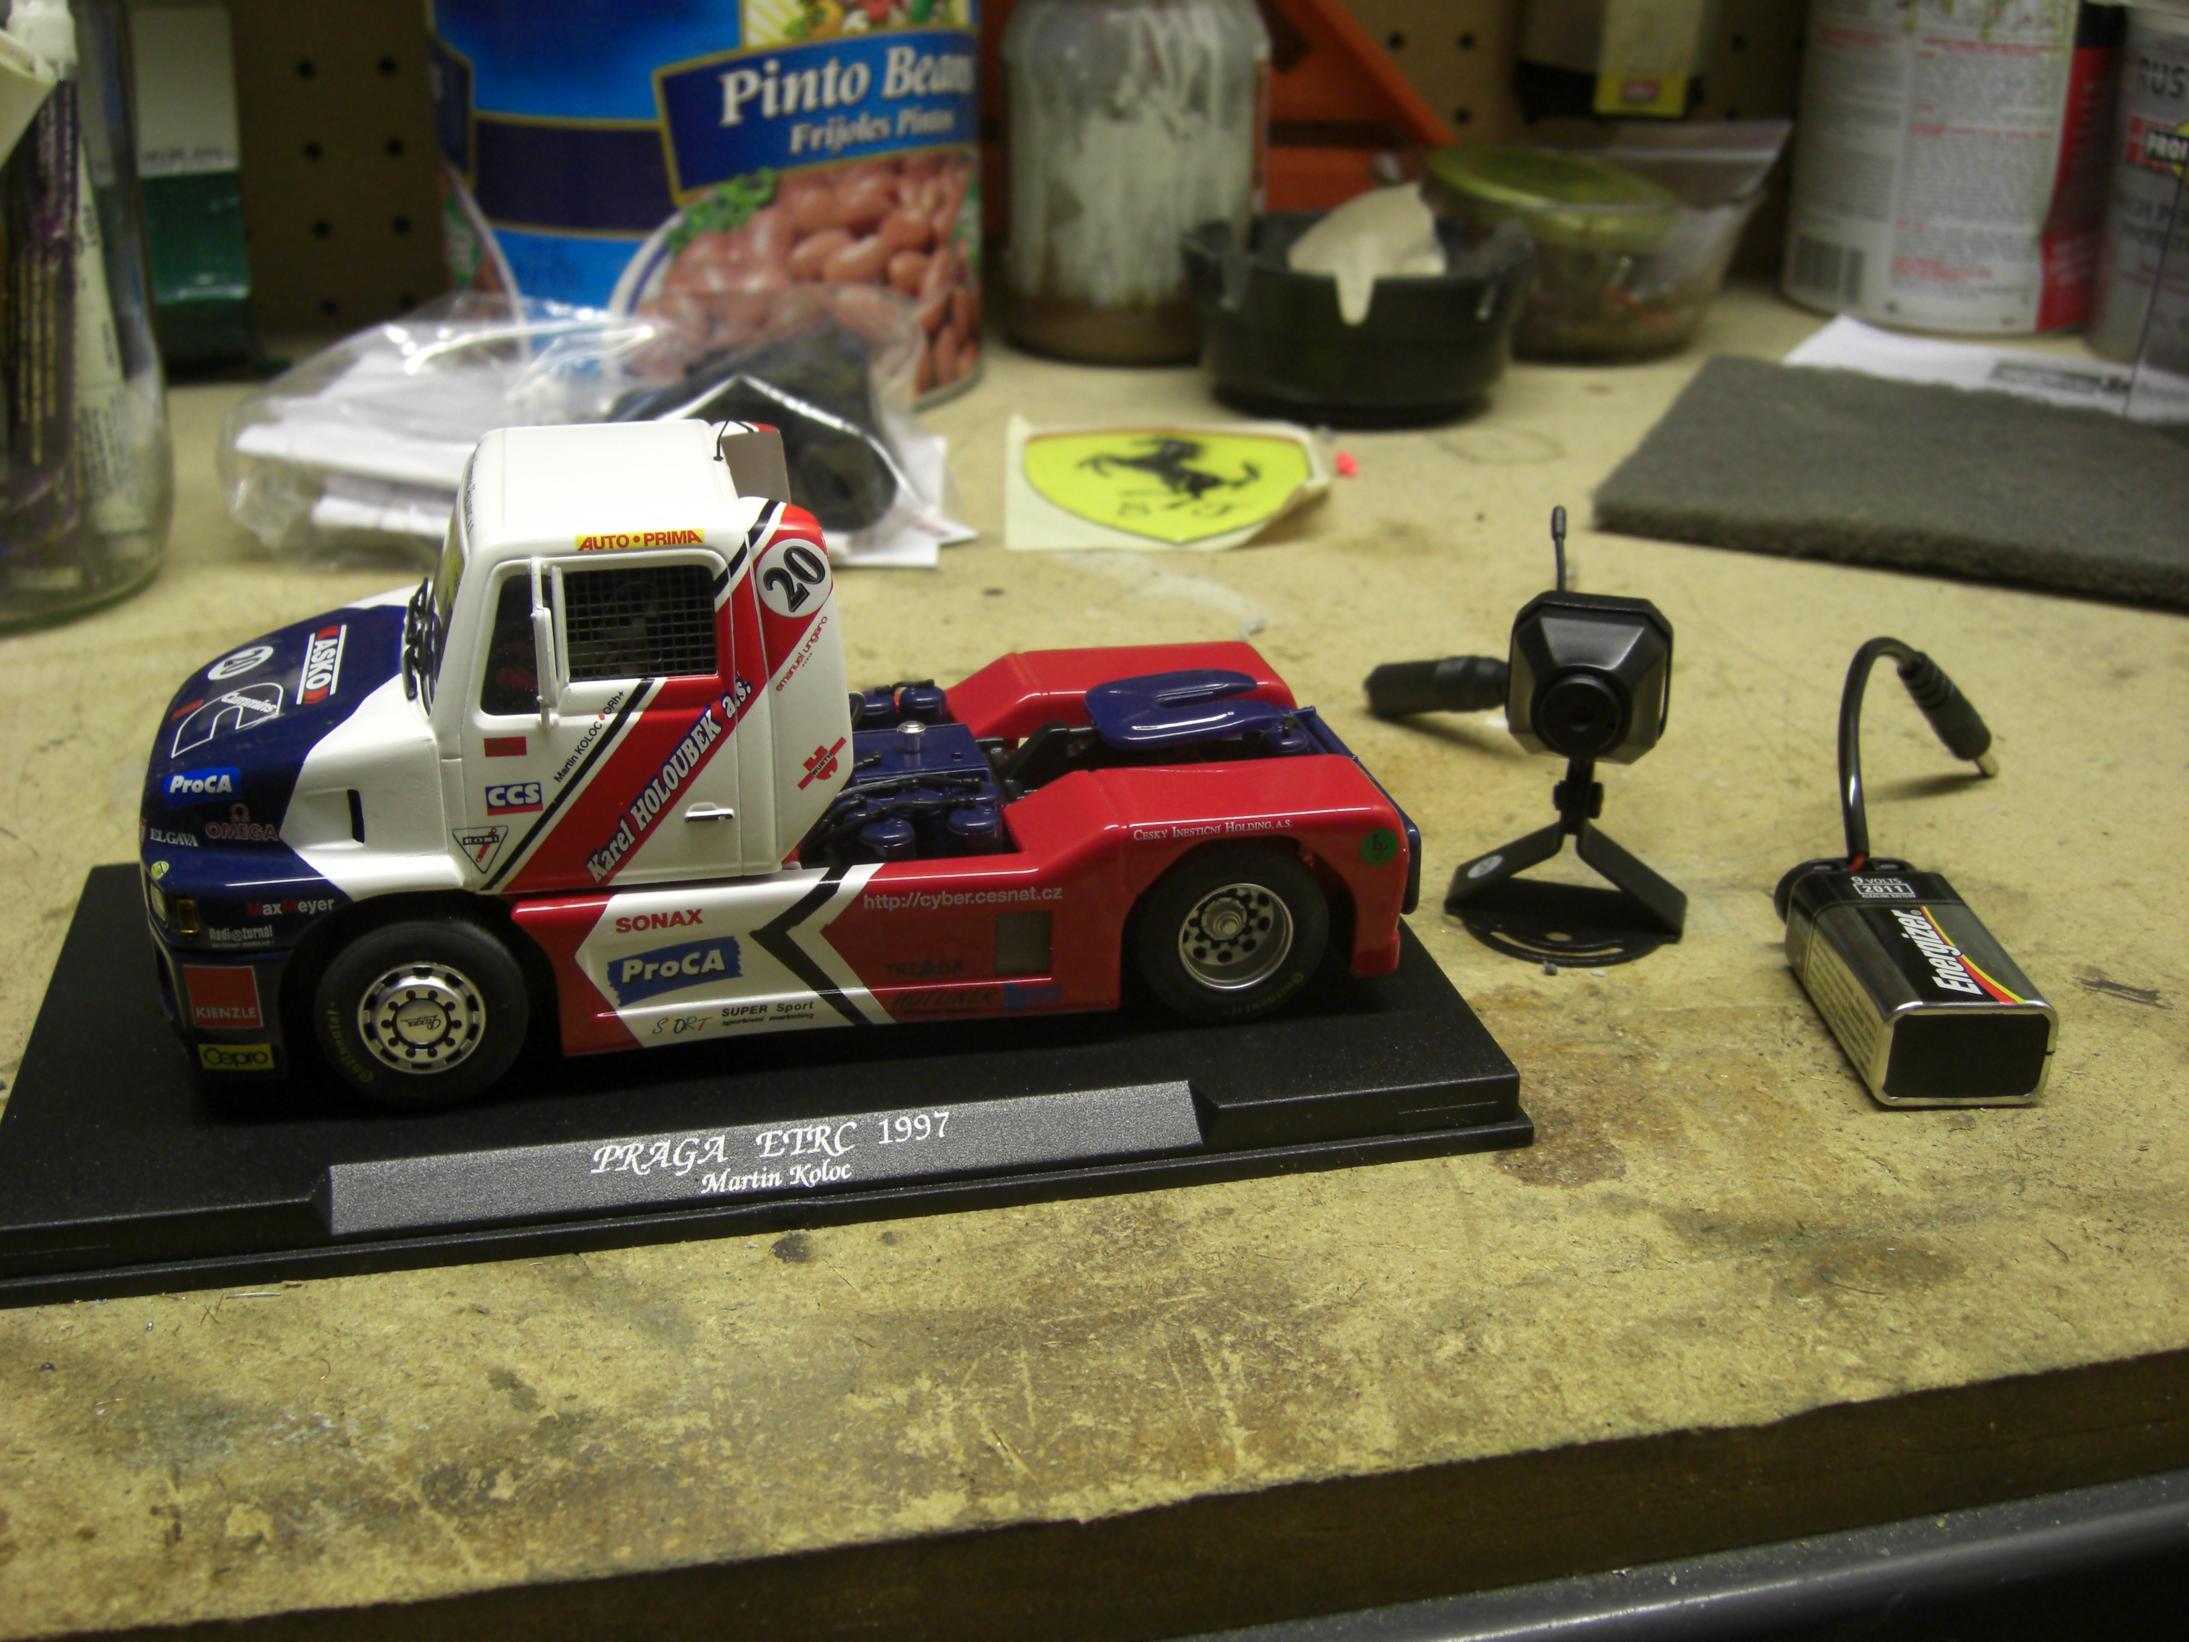
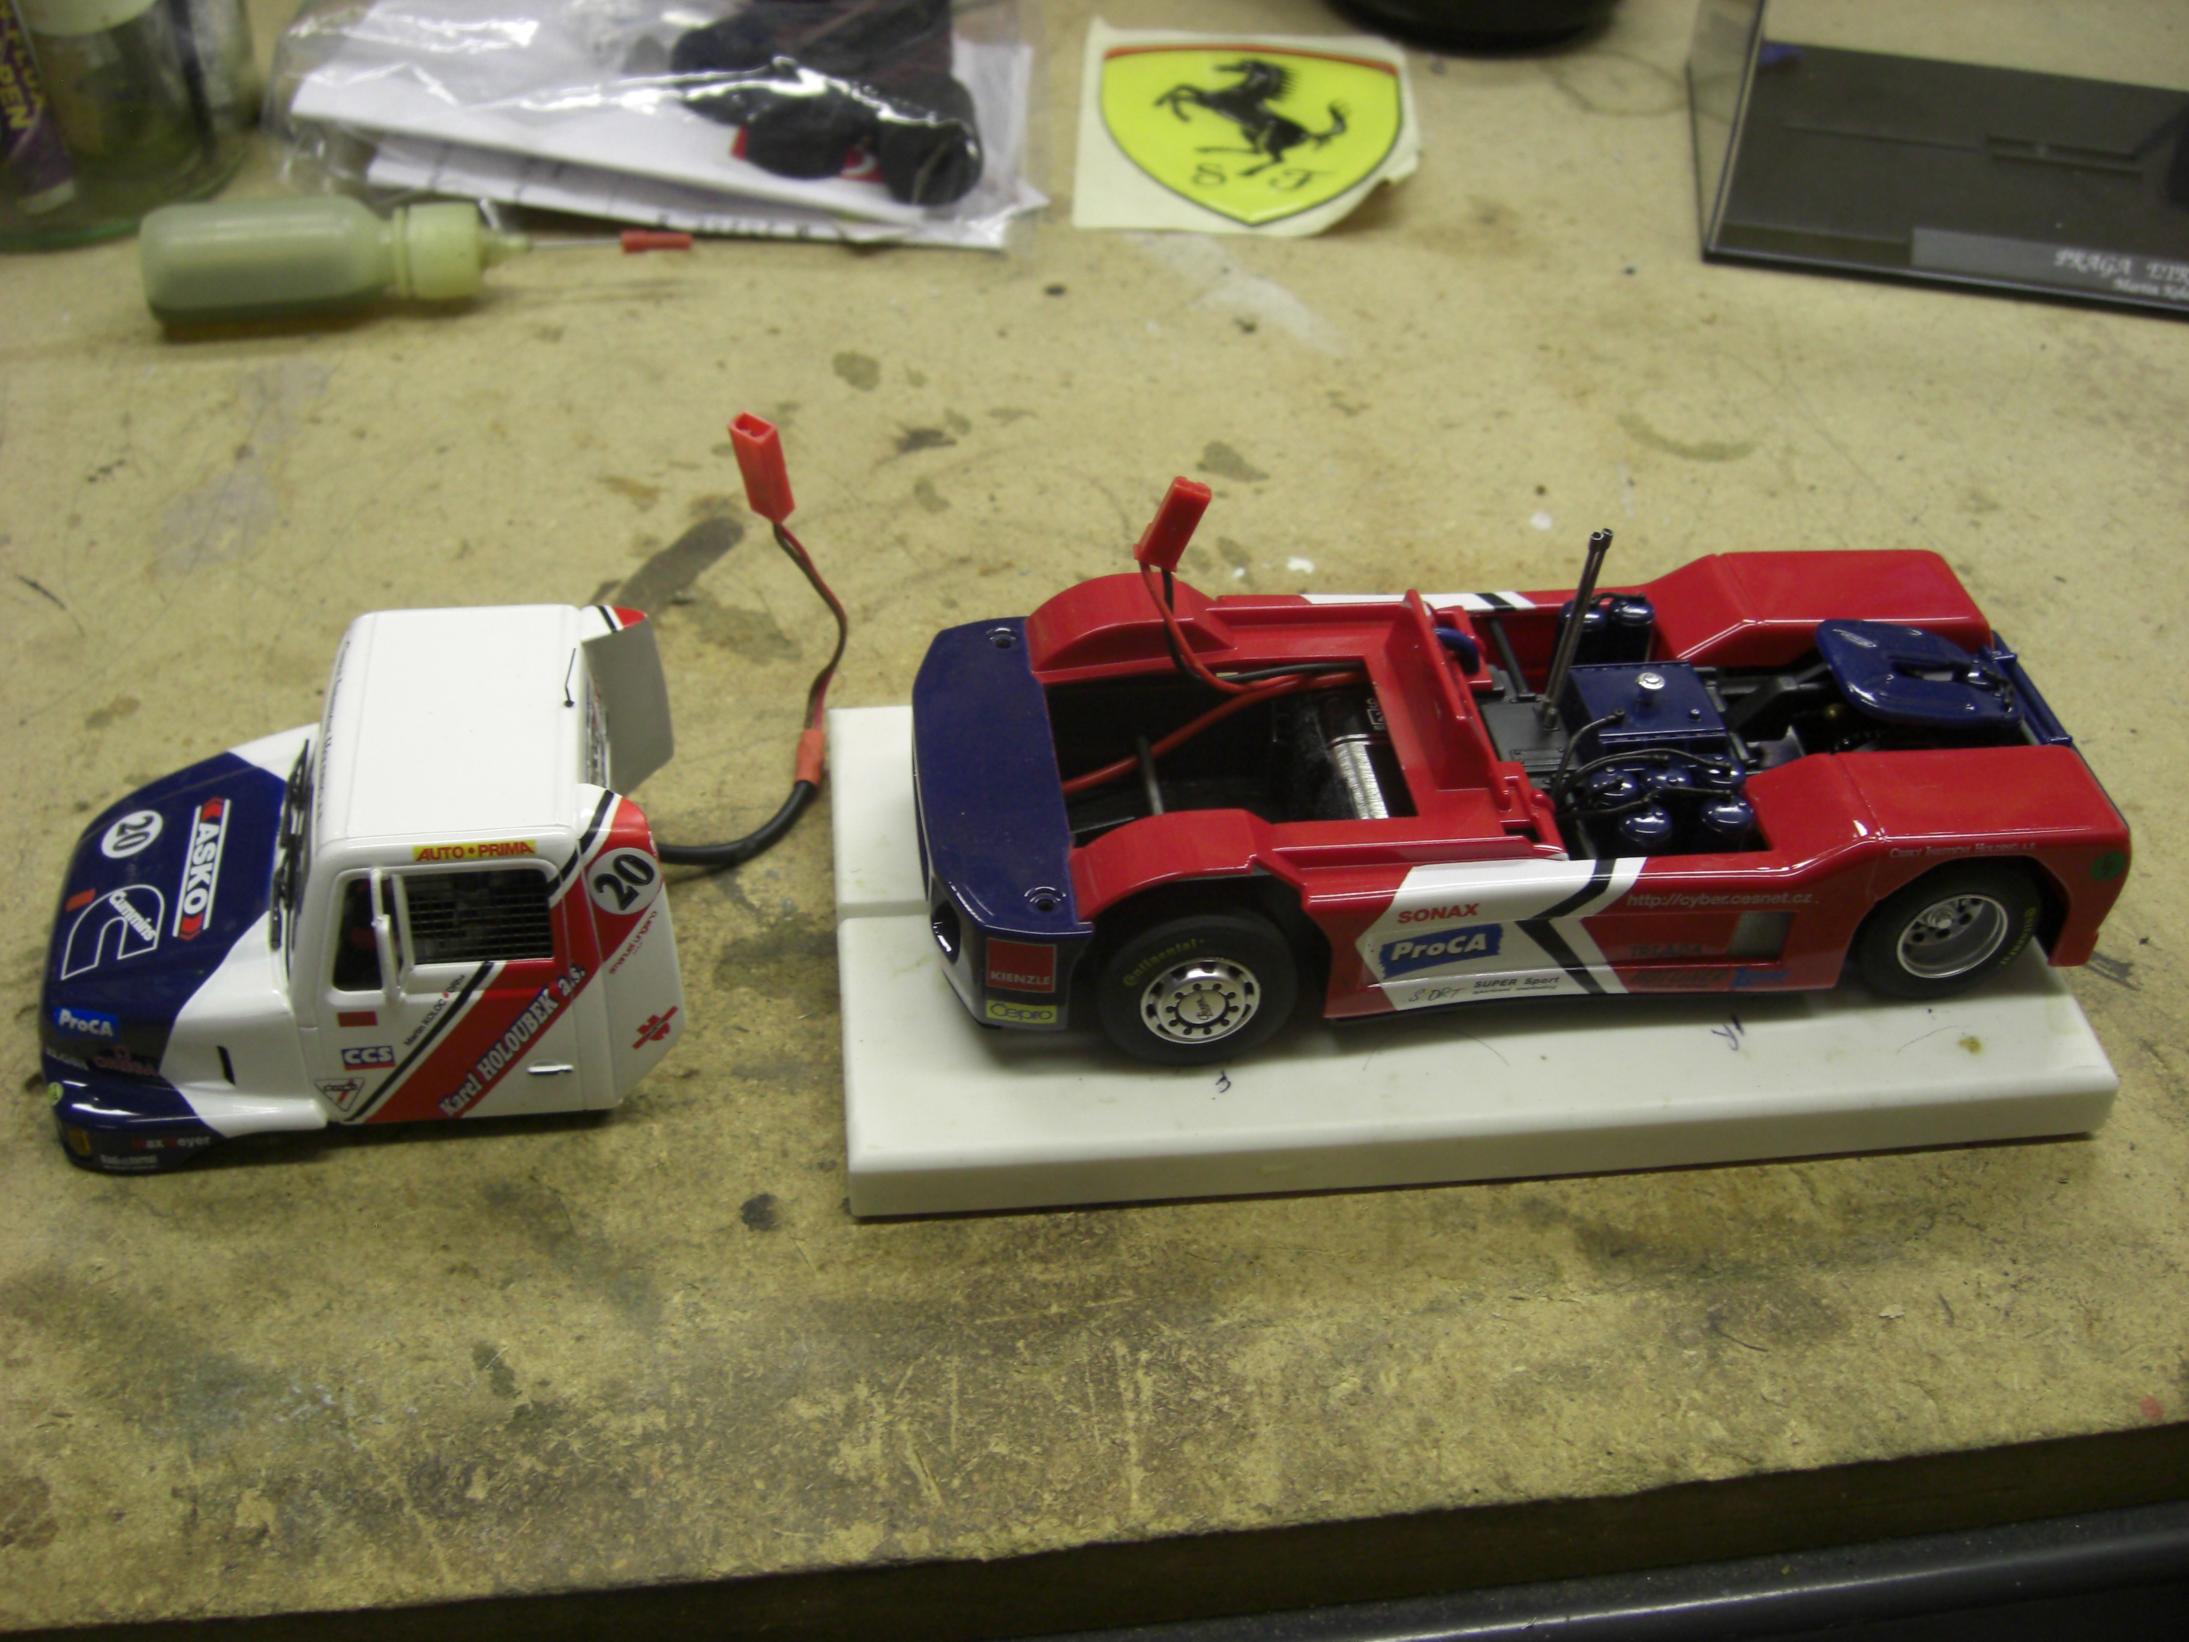
Truck size vs camera + battery size.
The first thing to do is to take the truck apart.
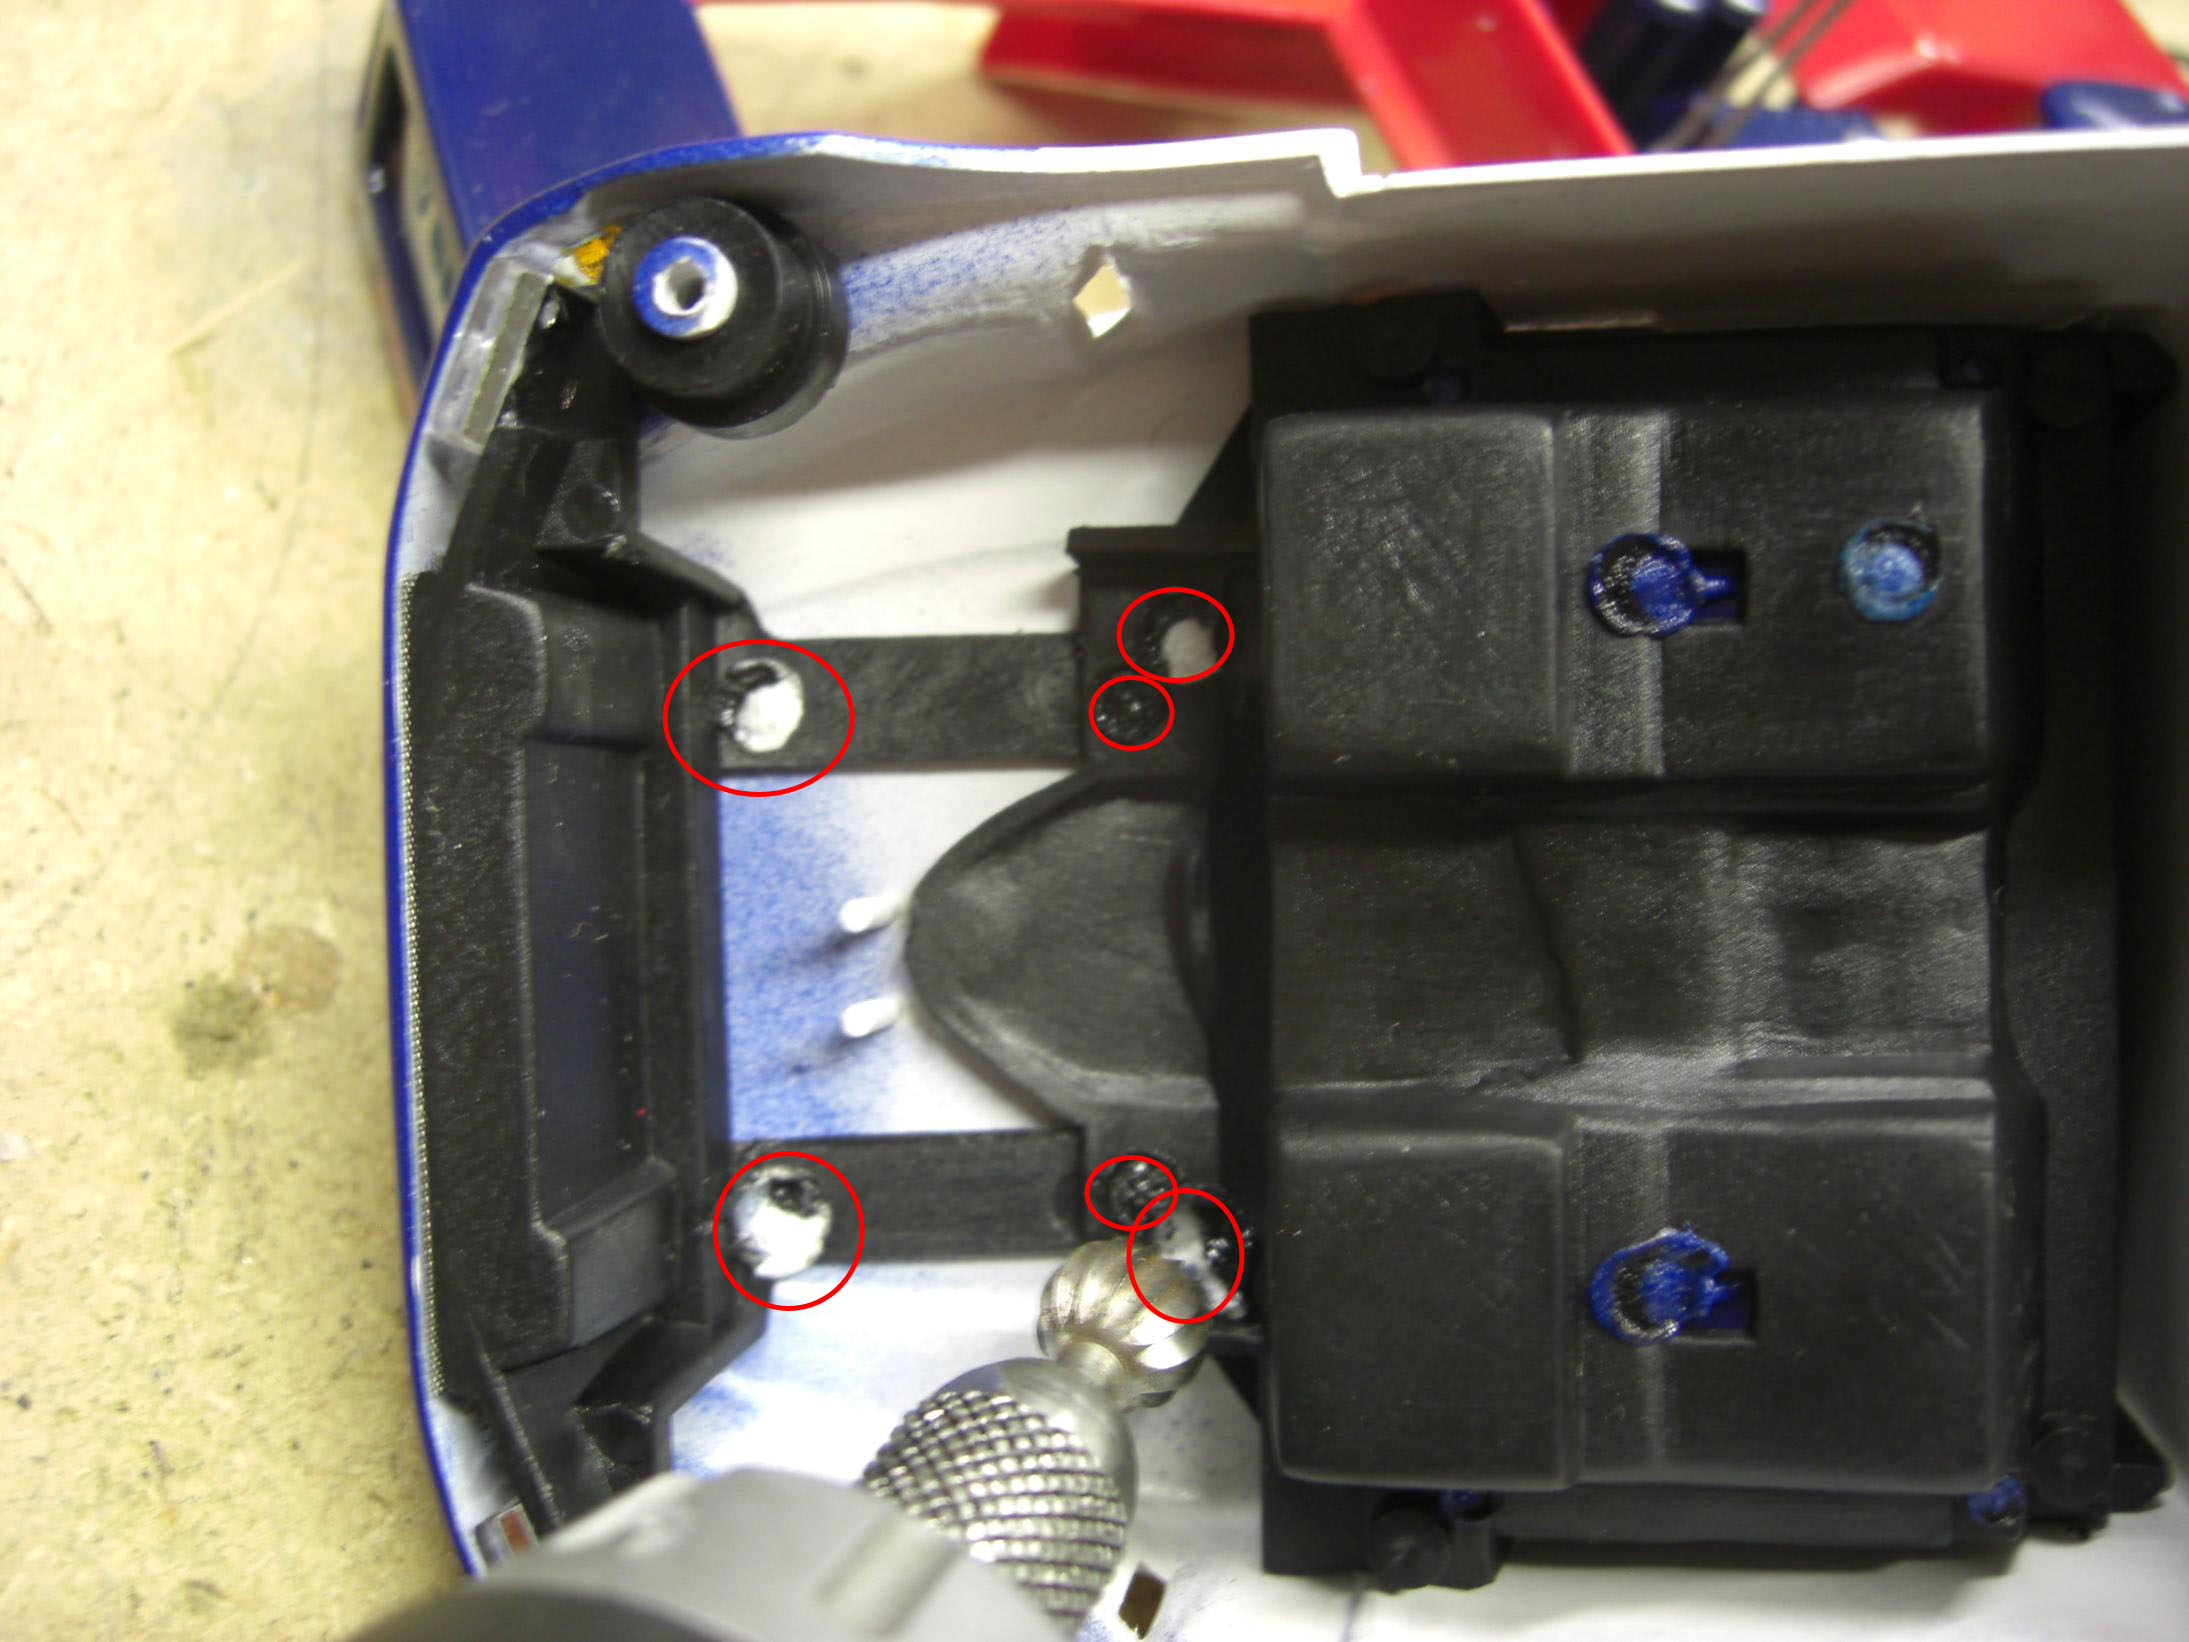
Now we need to take the cabin apart. For that you need to select an appropriate grinding bit for your dremel and grind down the melted plastic posts that are securing the cabin pieces together. Check the markings bellow:
Here is what you should have after the previous step. If the roll cage is still attached, go back and grind the posts holding it in place.
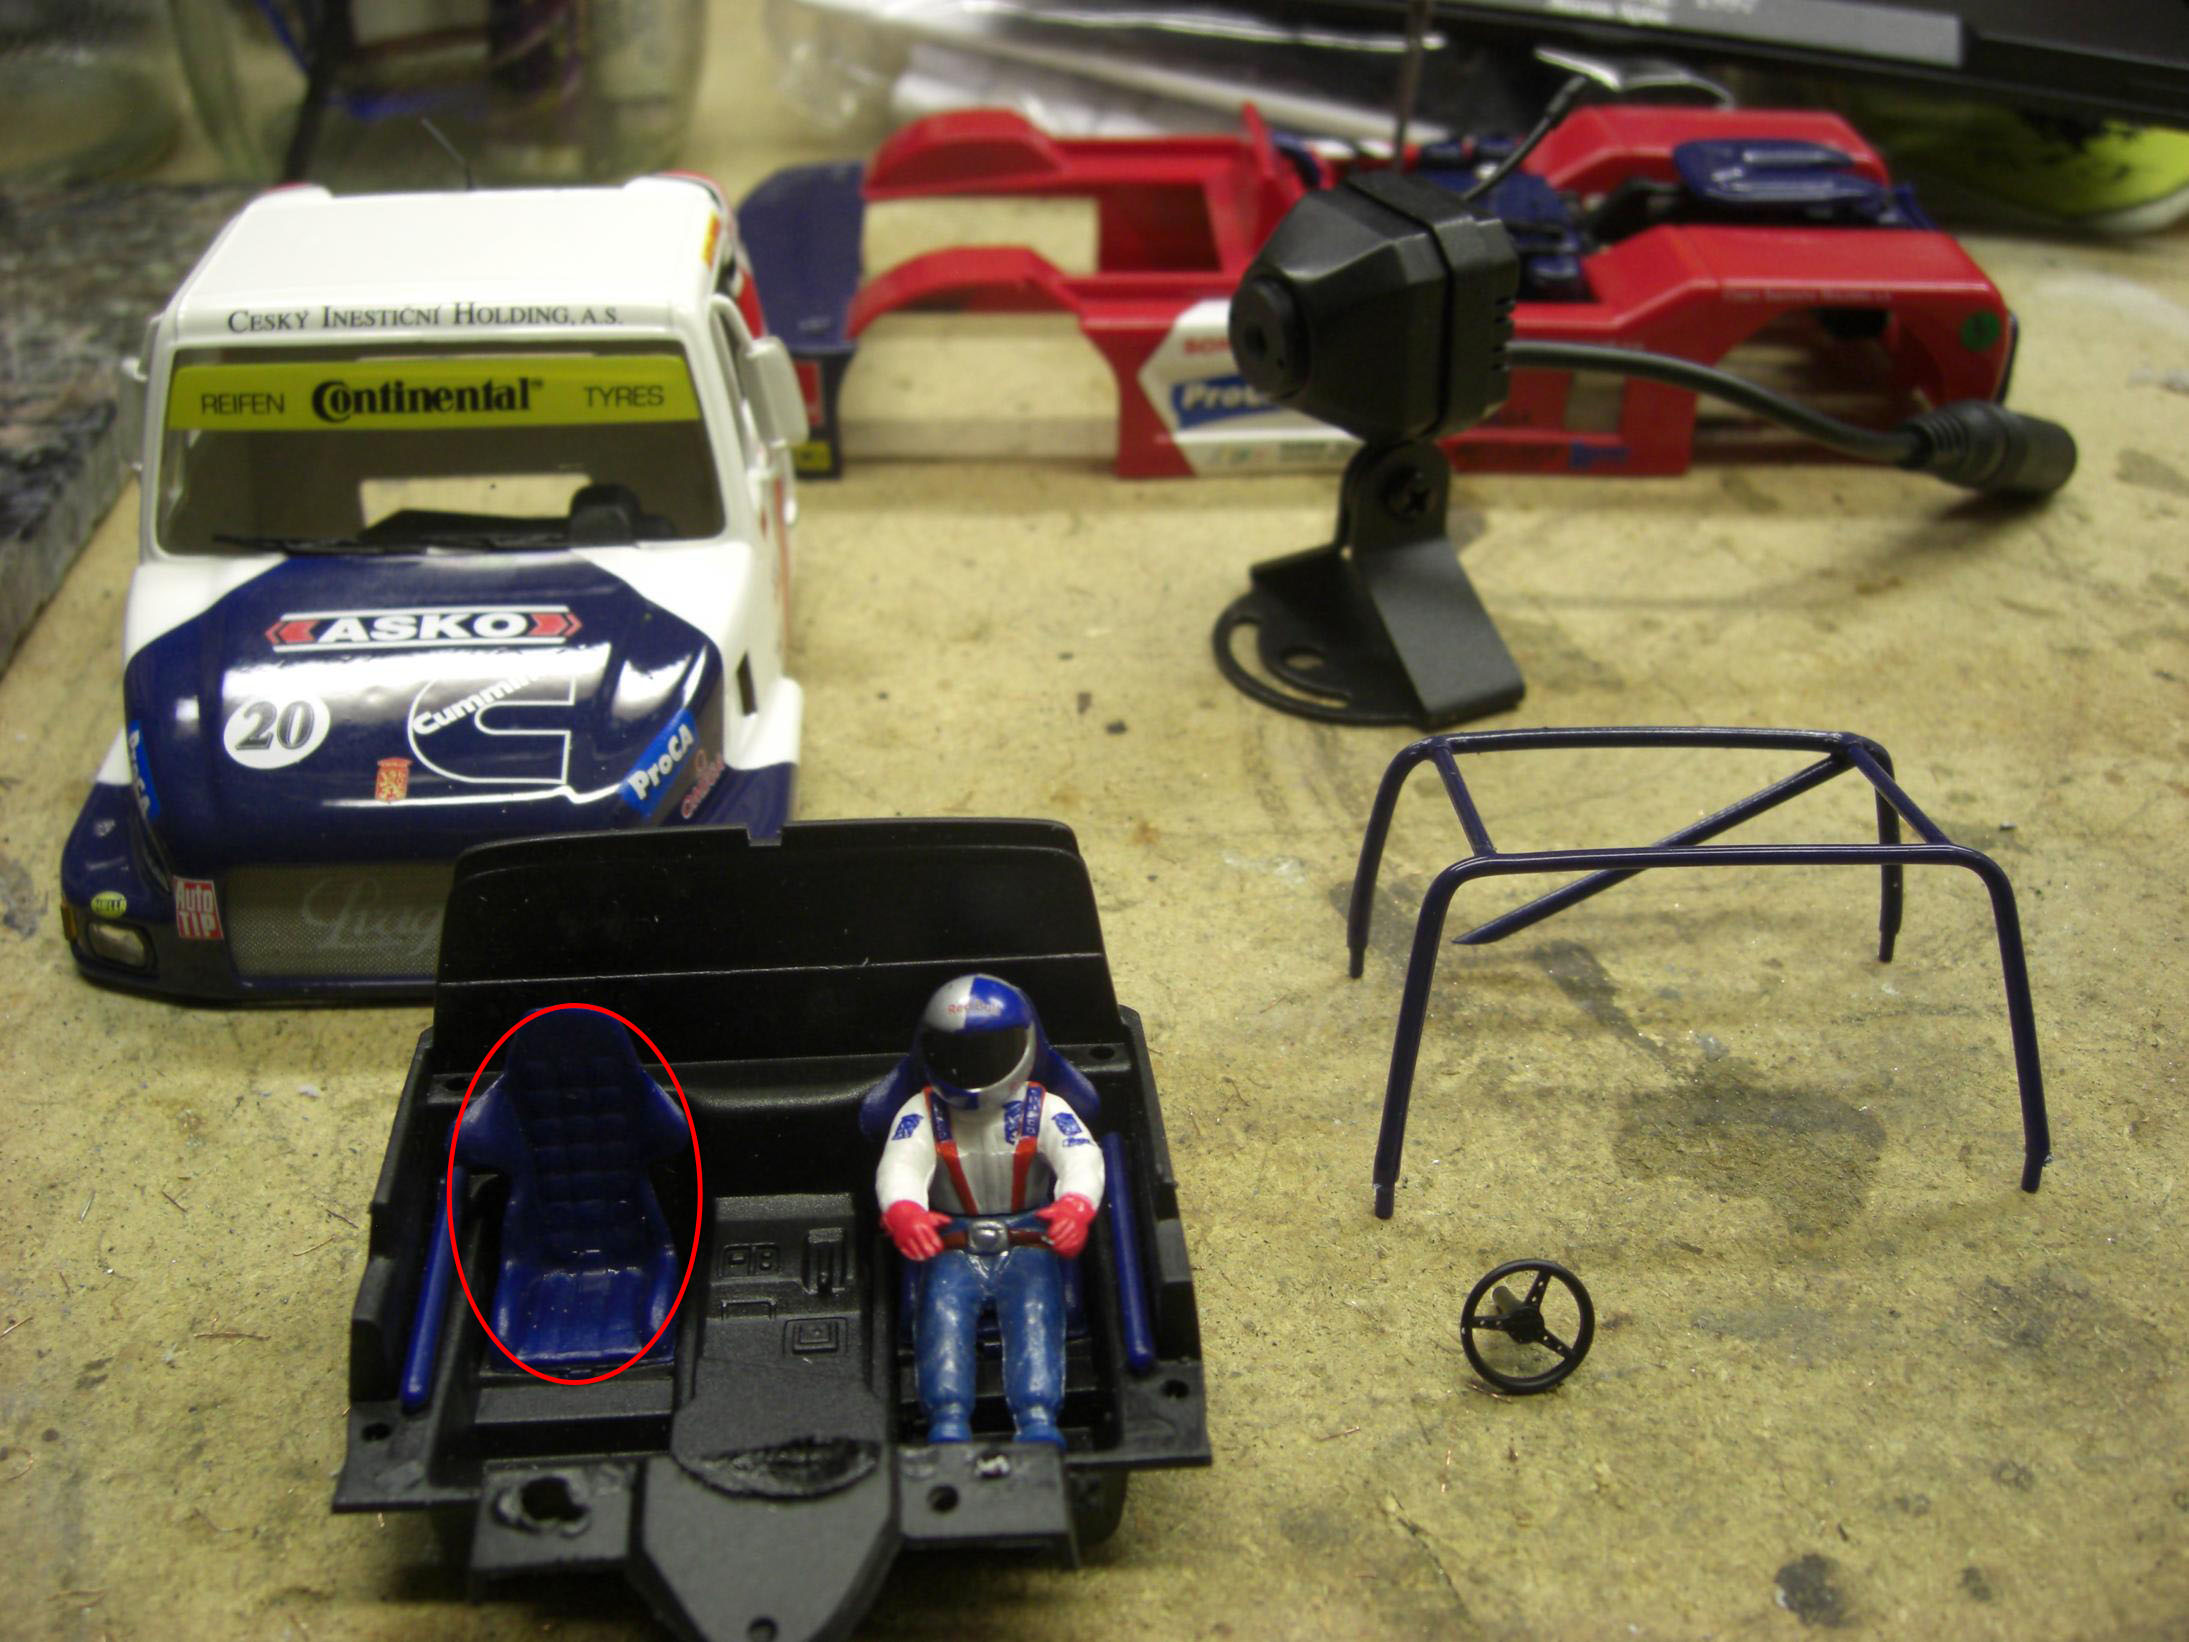
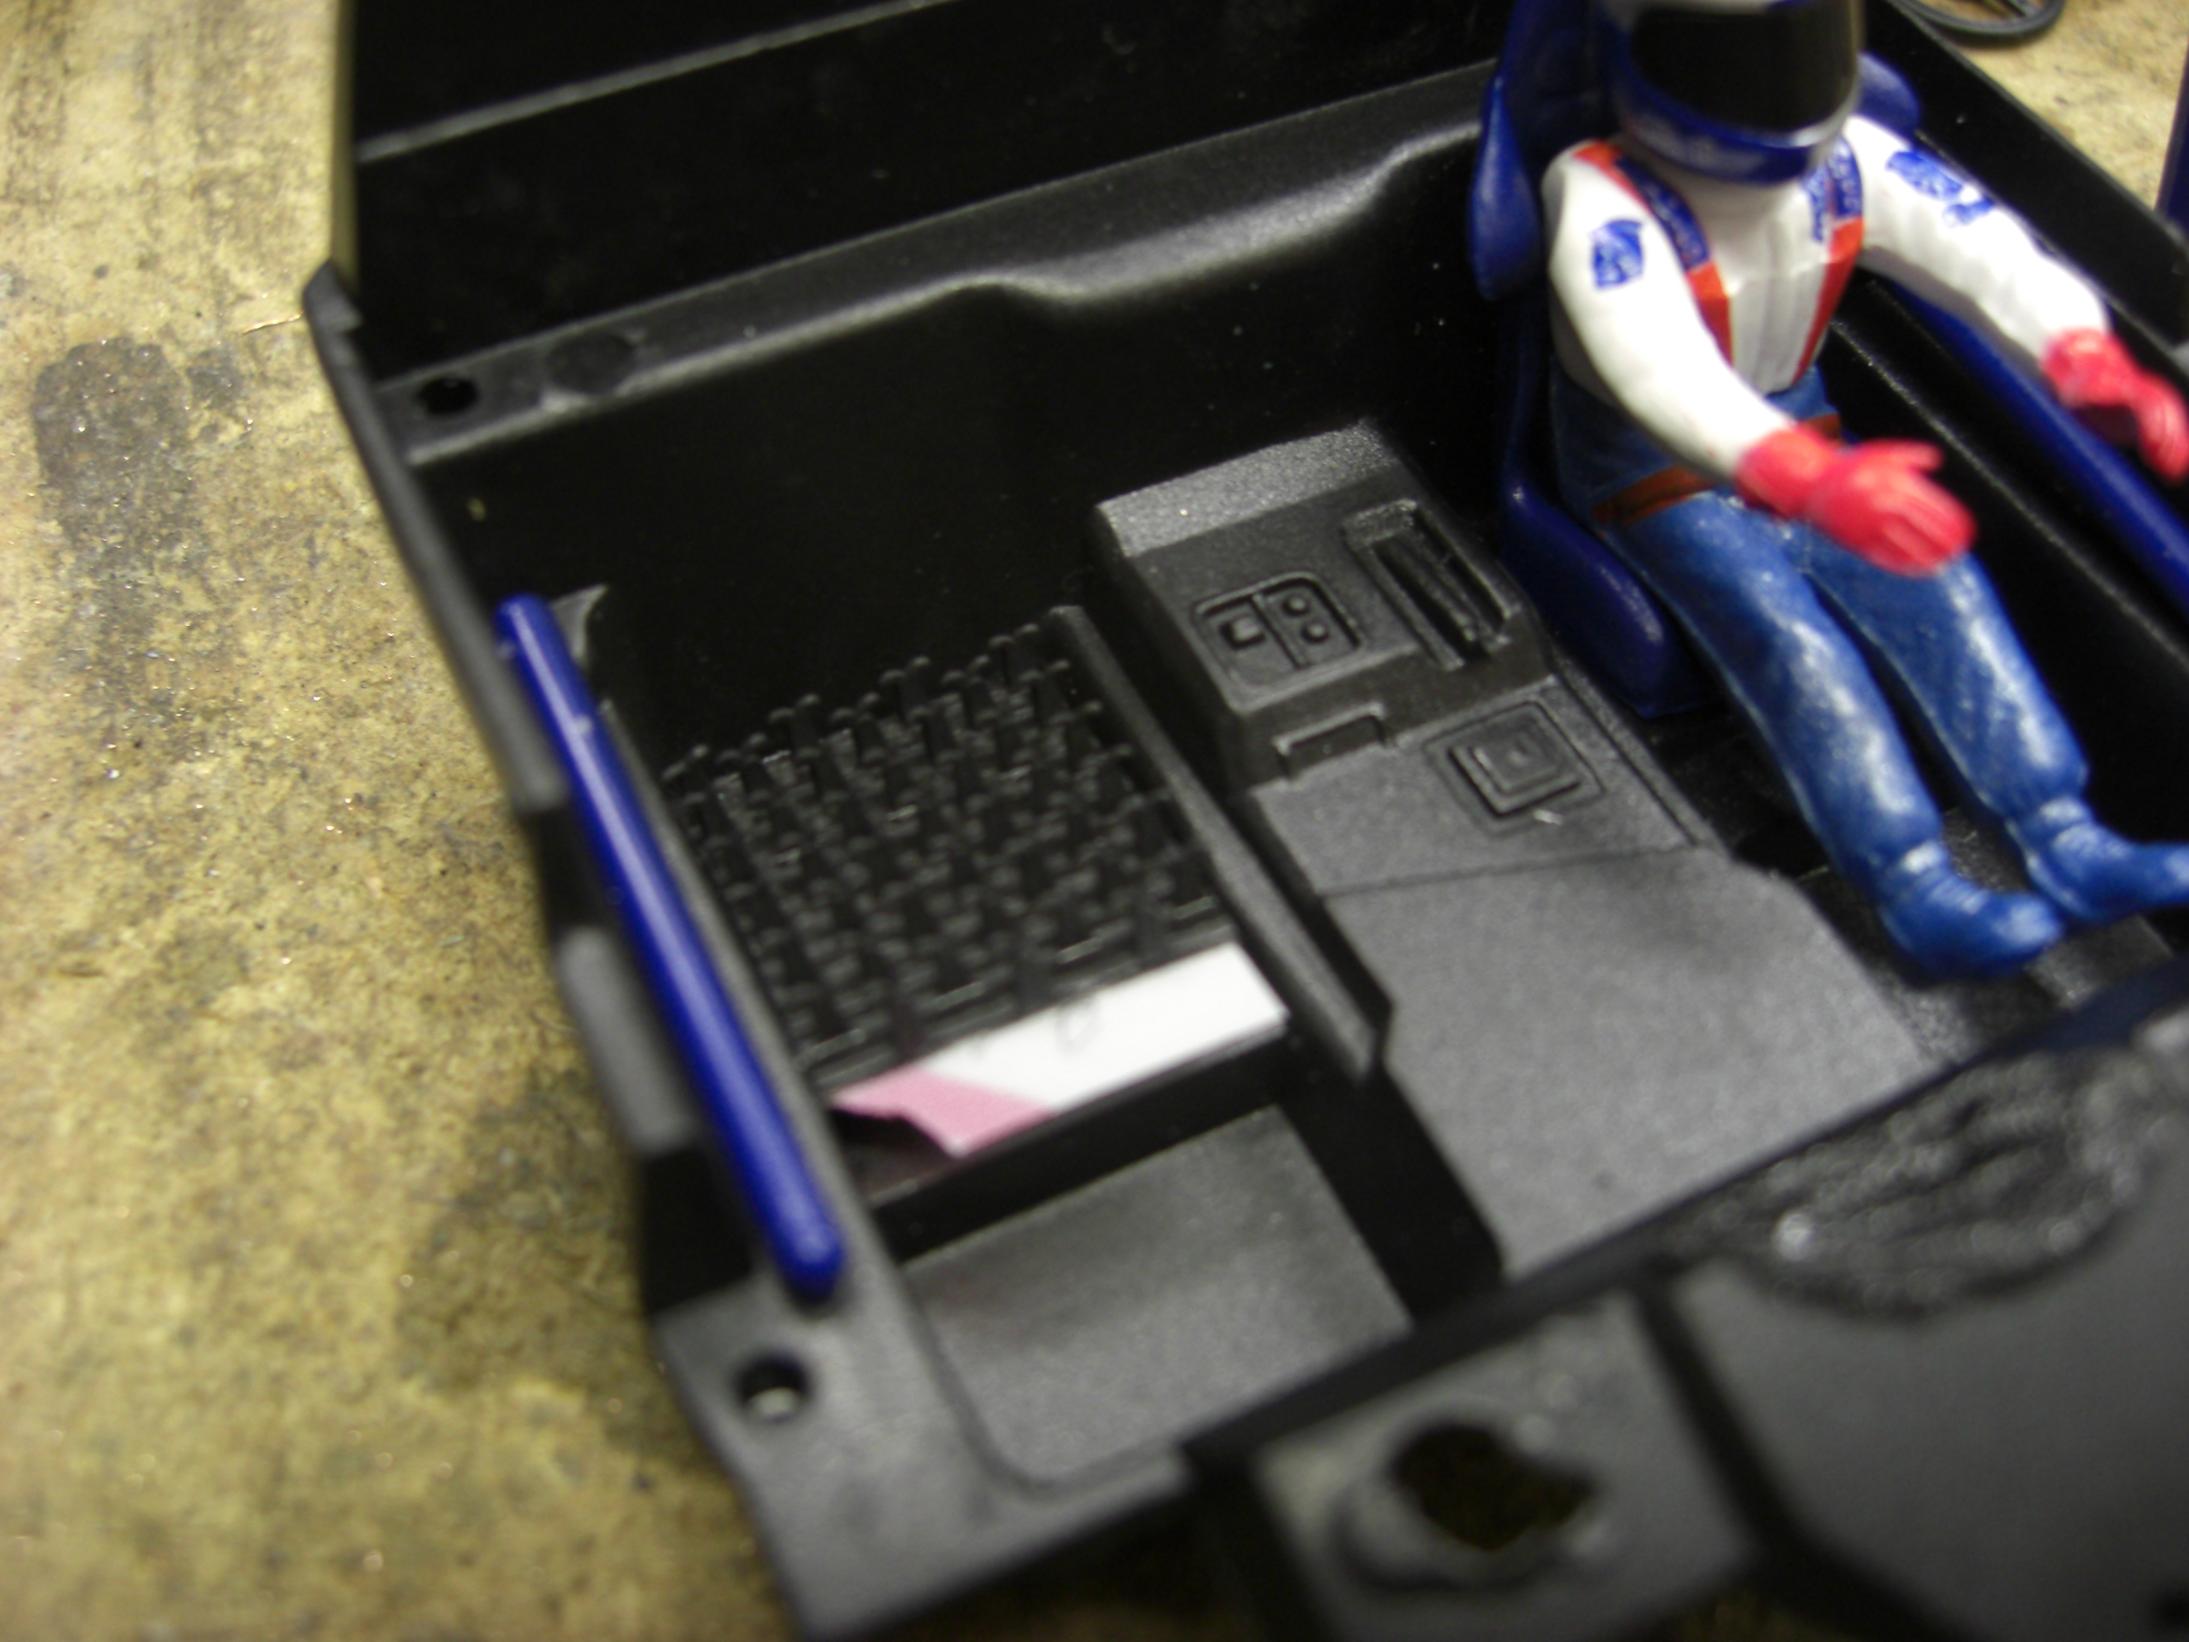
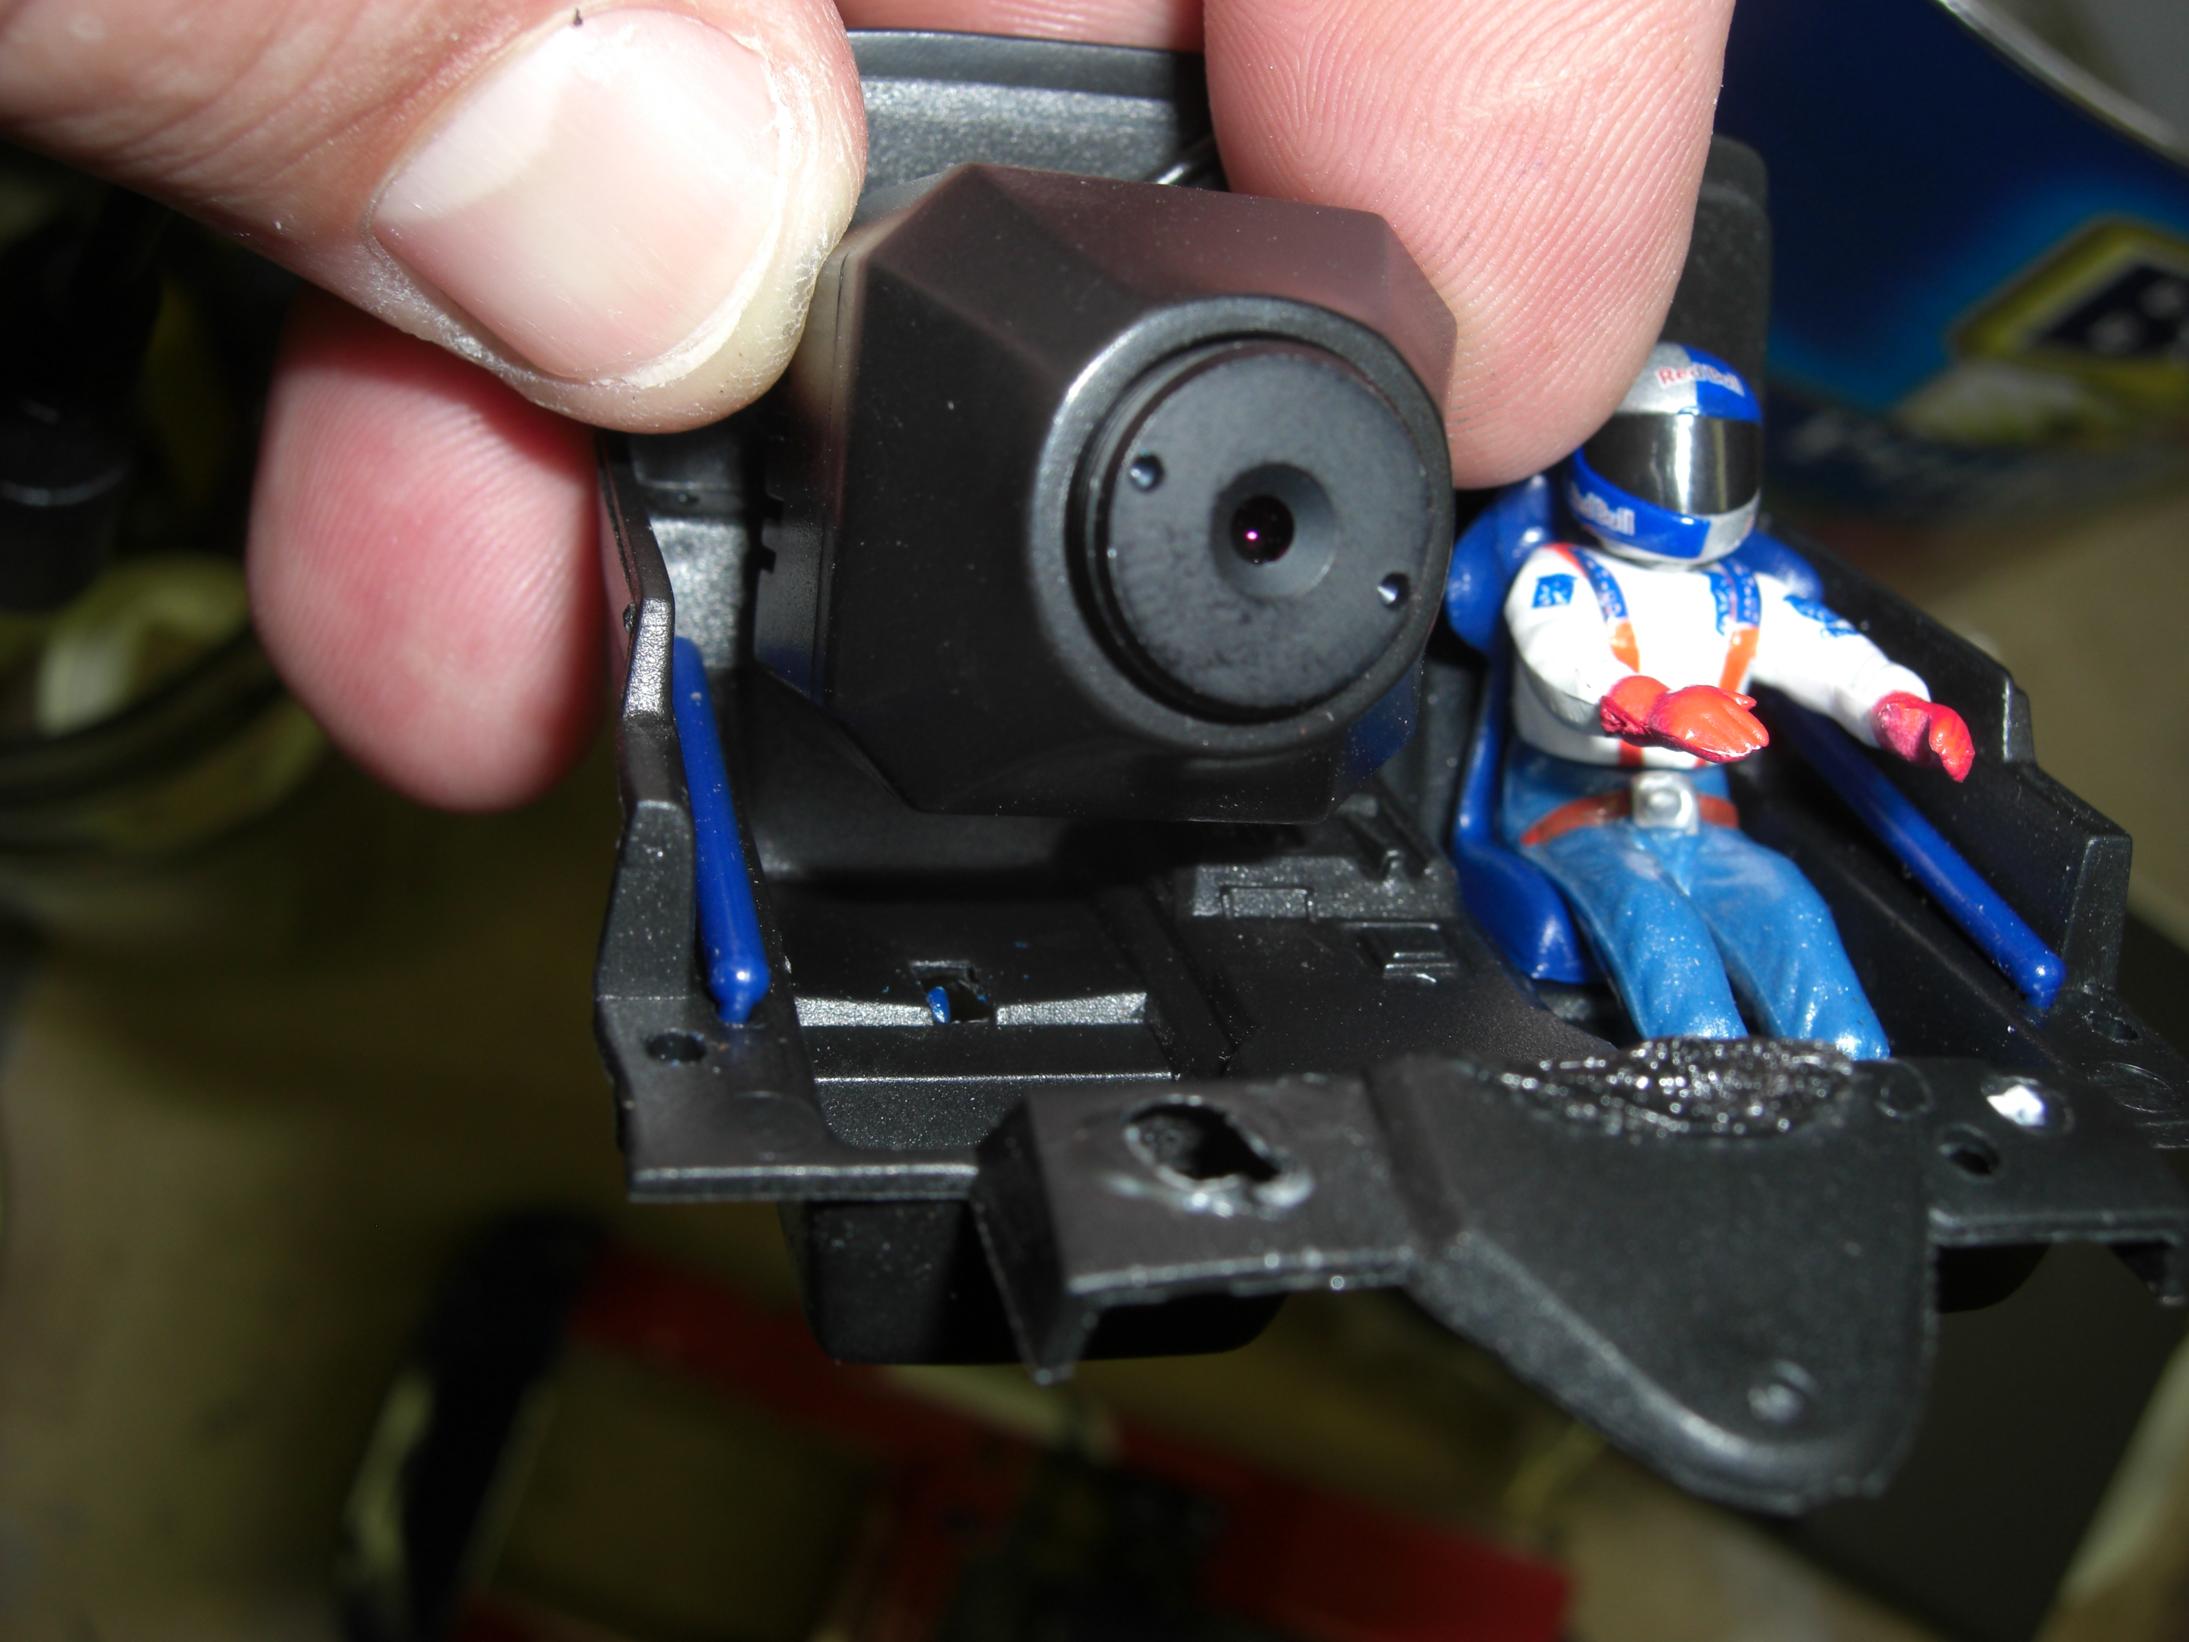
Looking at the size of the camera and the space inside the cabin, the only way to get the camera inside is to remove the passenger seat. Another small grind and it should come out easily.Now we can try the camera … The center console is on the way but I do not want to remove it; the alternative is to raise the seat side.
The power cable is located at the back of the camera. We need to cut a hole in order to accommodate it. Cut it where the back of the seat used to be, this way if you ever want to take the camera out yu can glue the seat back and the truck will look original.
Cut a few pieces of velcro considering they have to fit on the passenger seat area.
I had to double up to reach the desired height.
Also use velcro to hold the back of the camera.
The roll cage will no longer fit, put it to the side with the passenger seat.
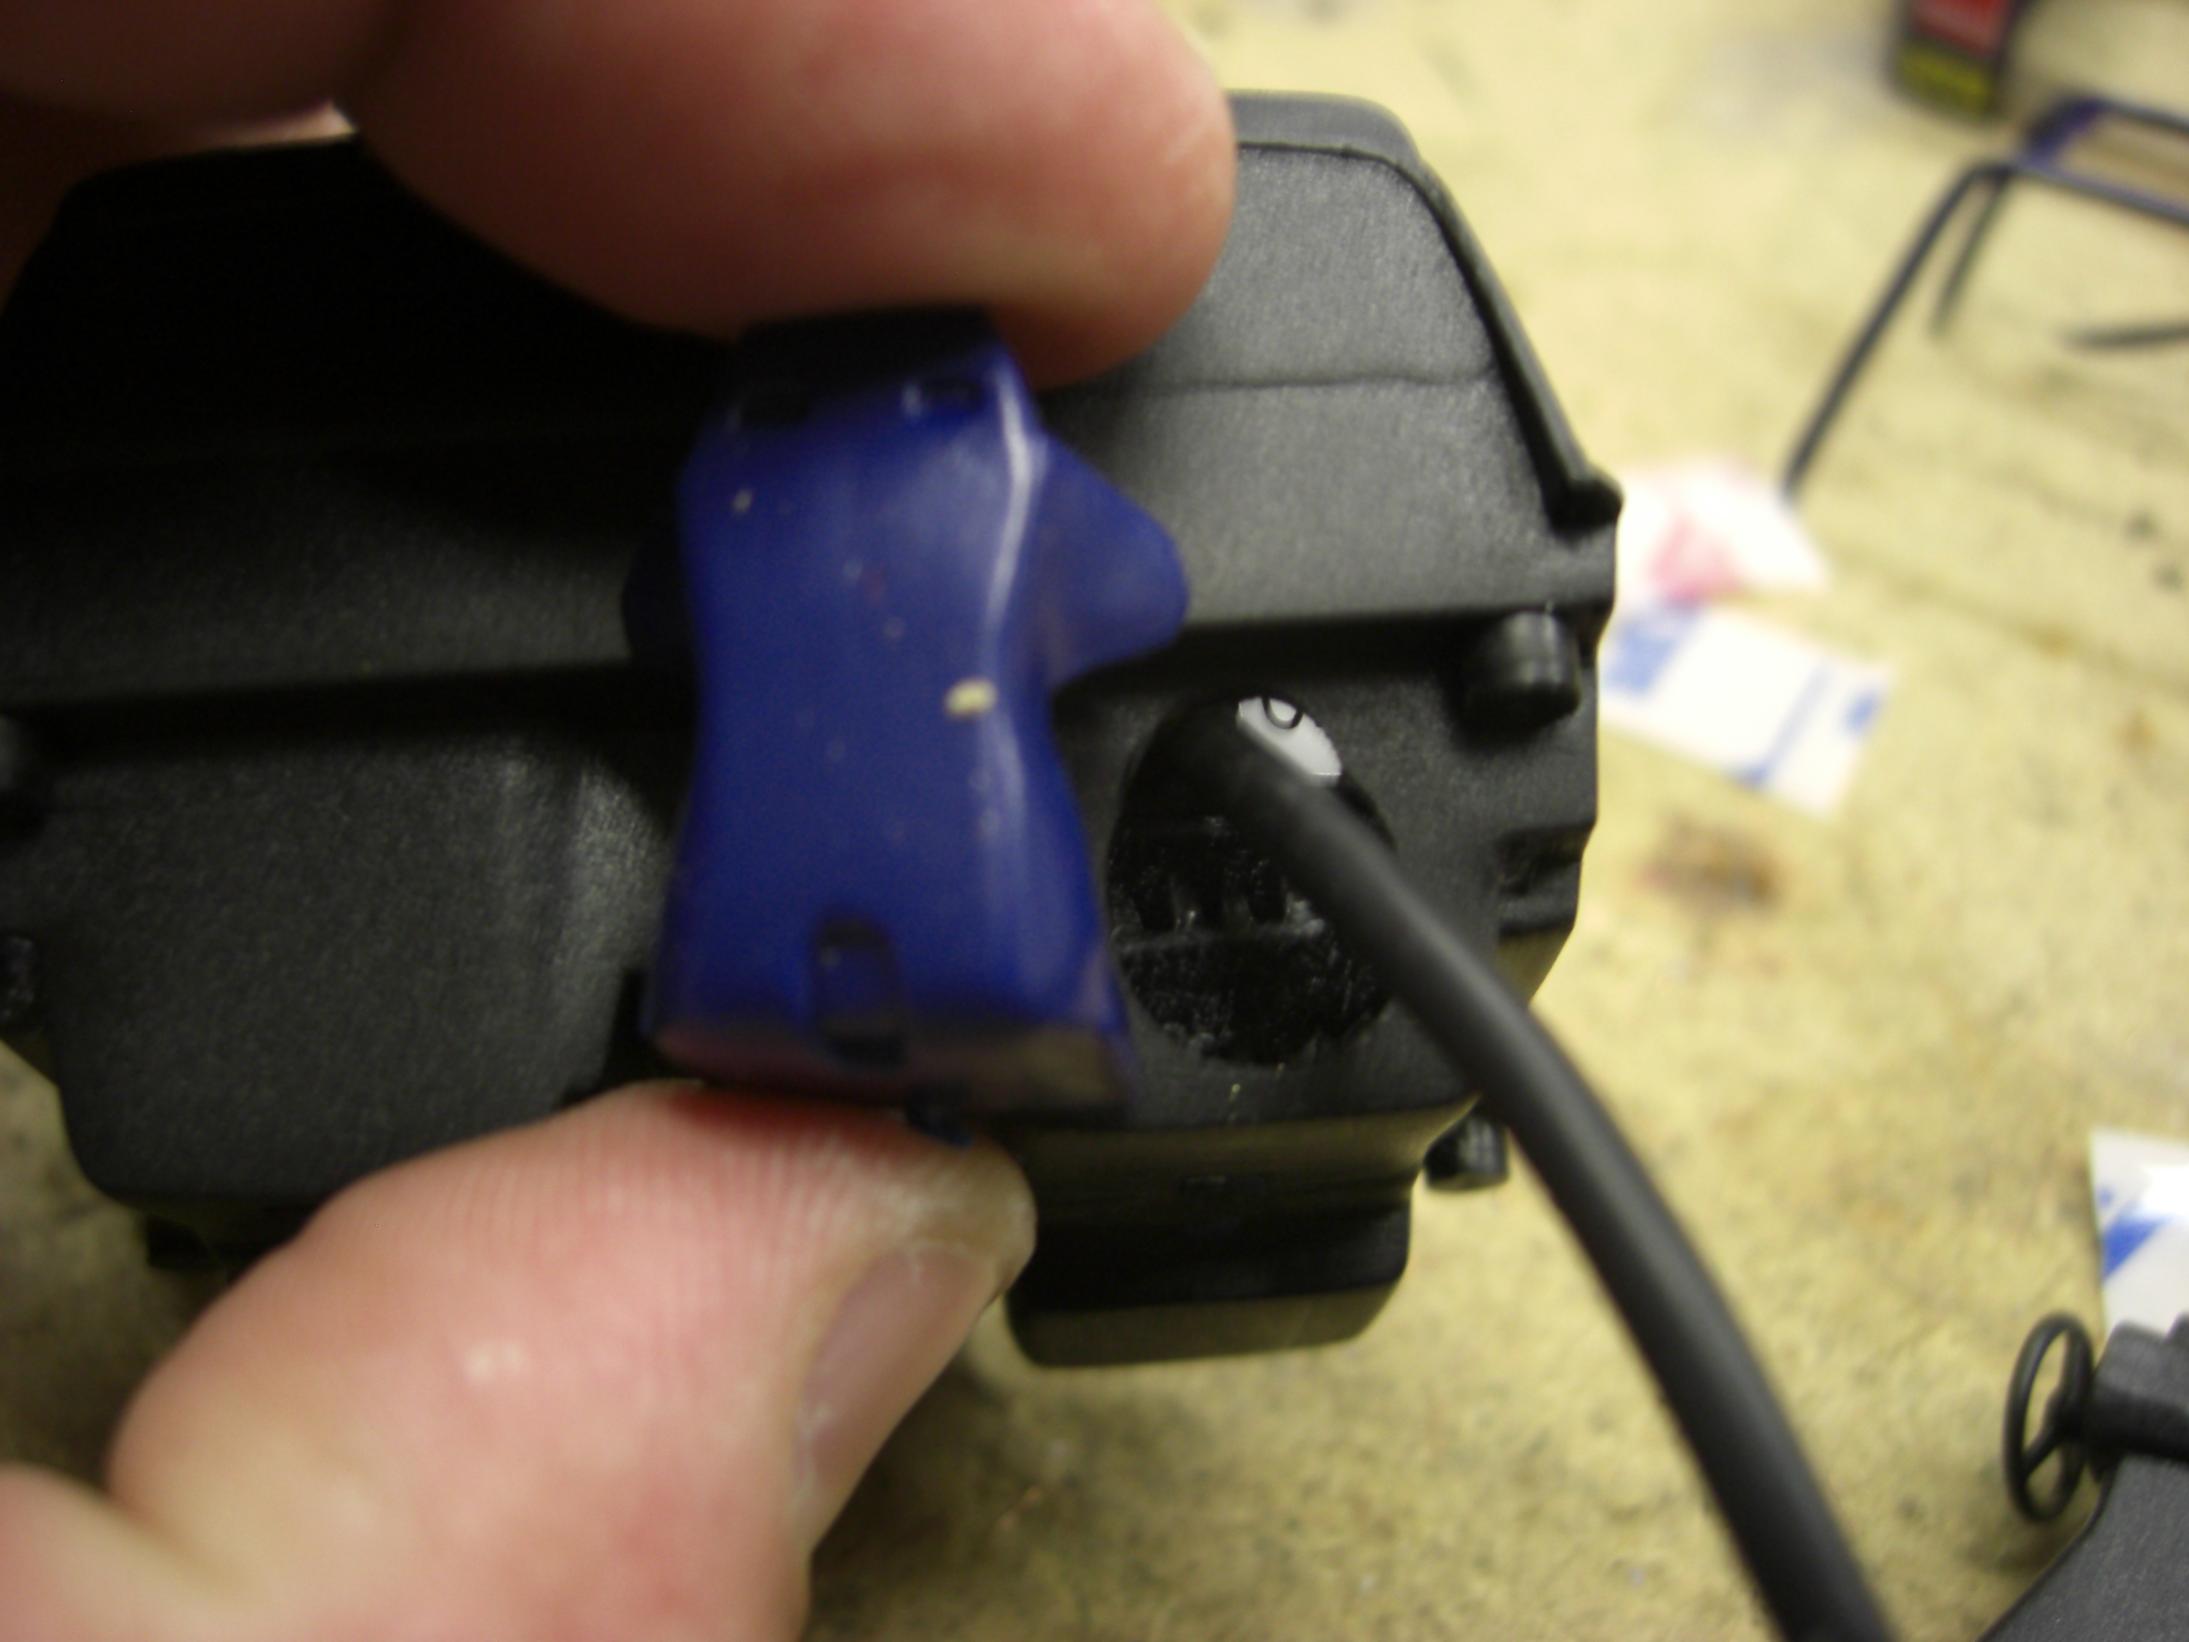
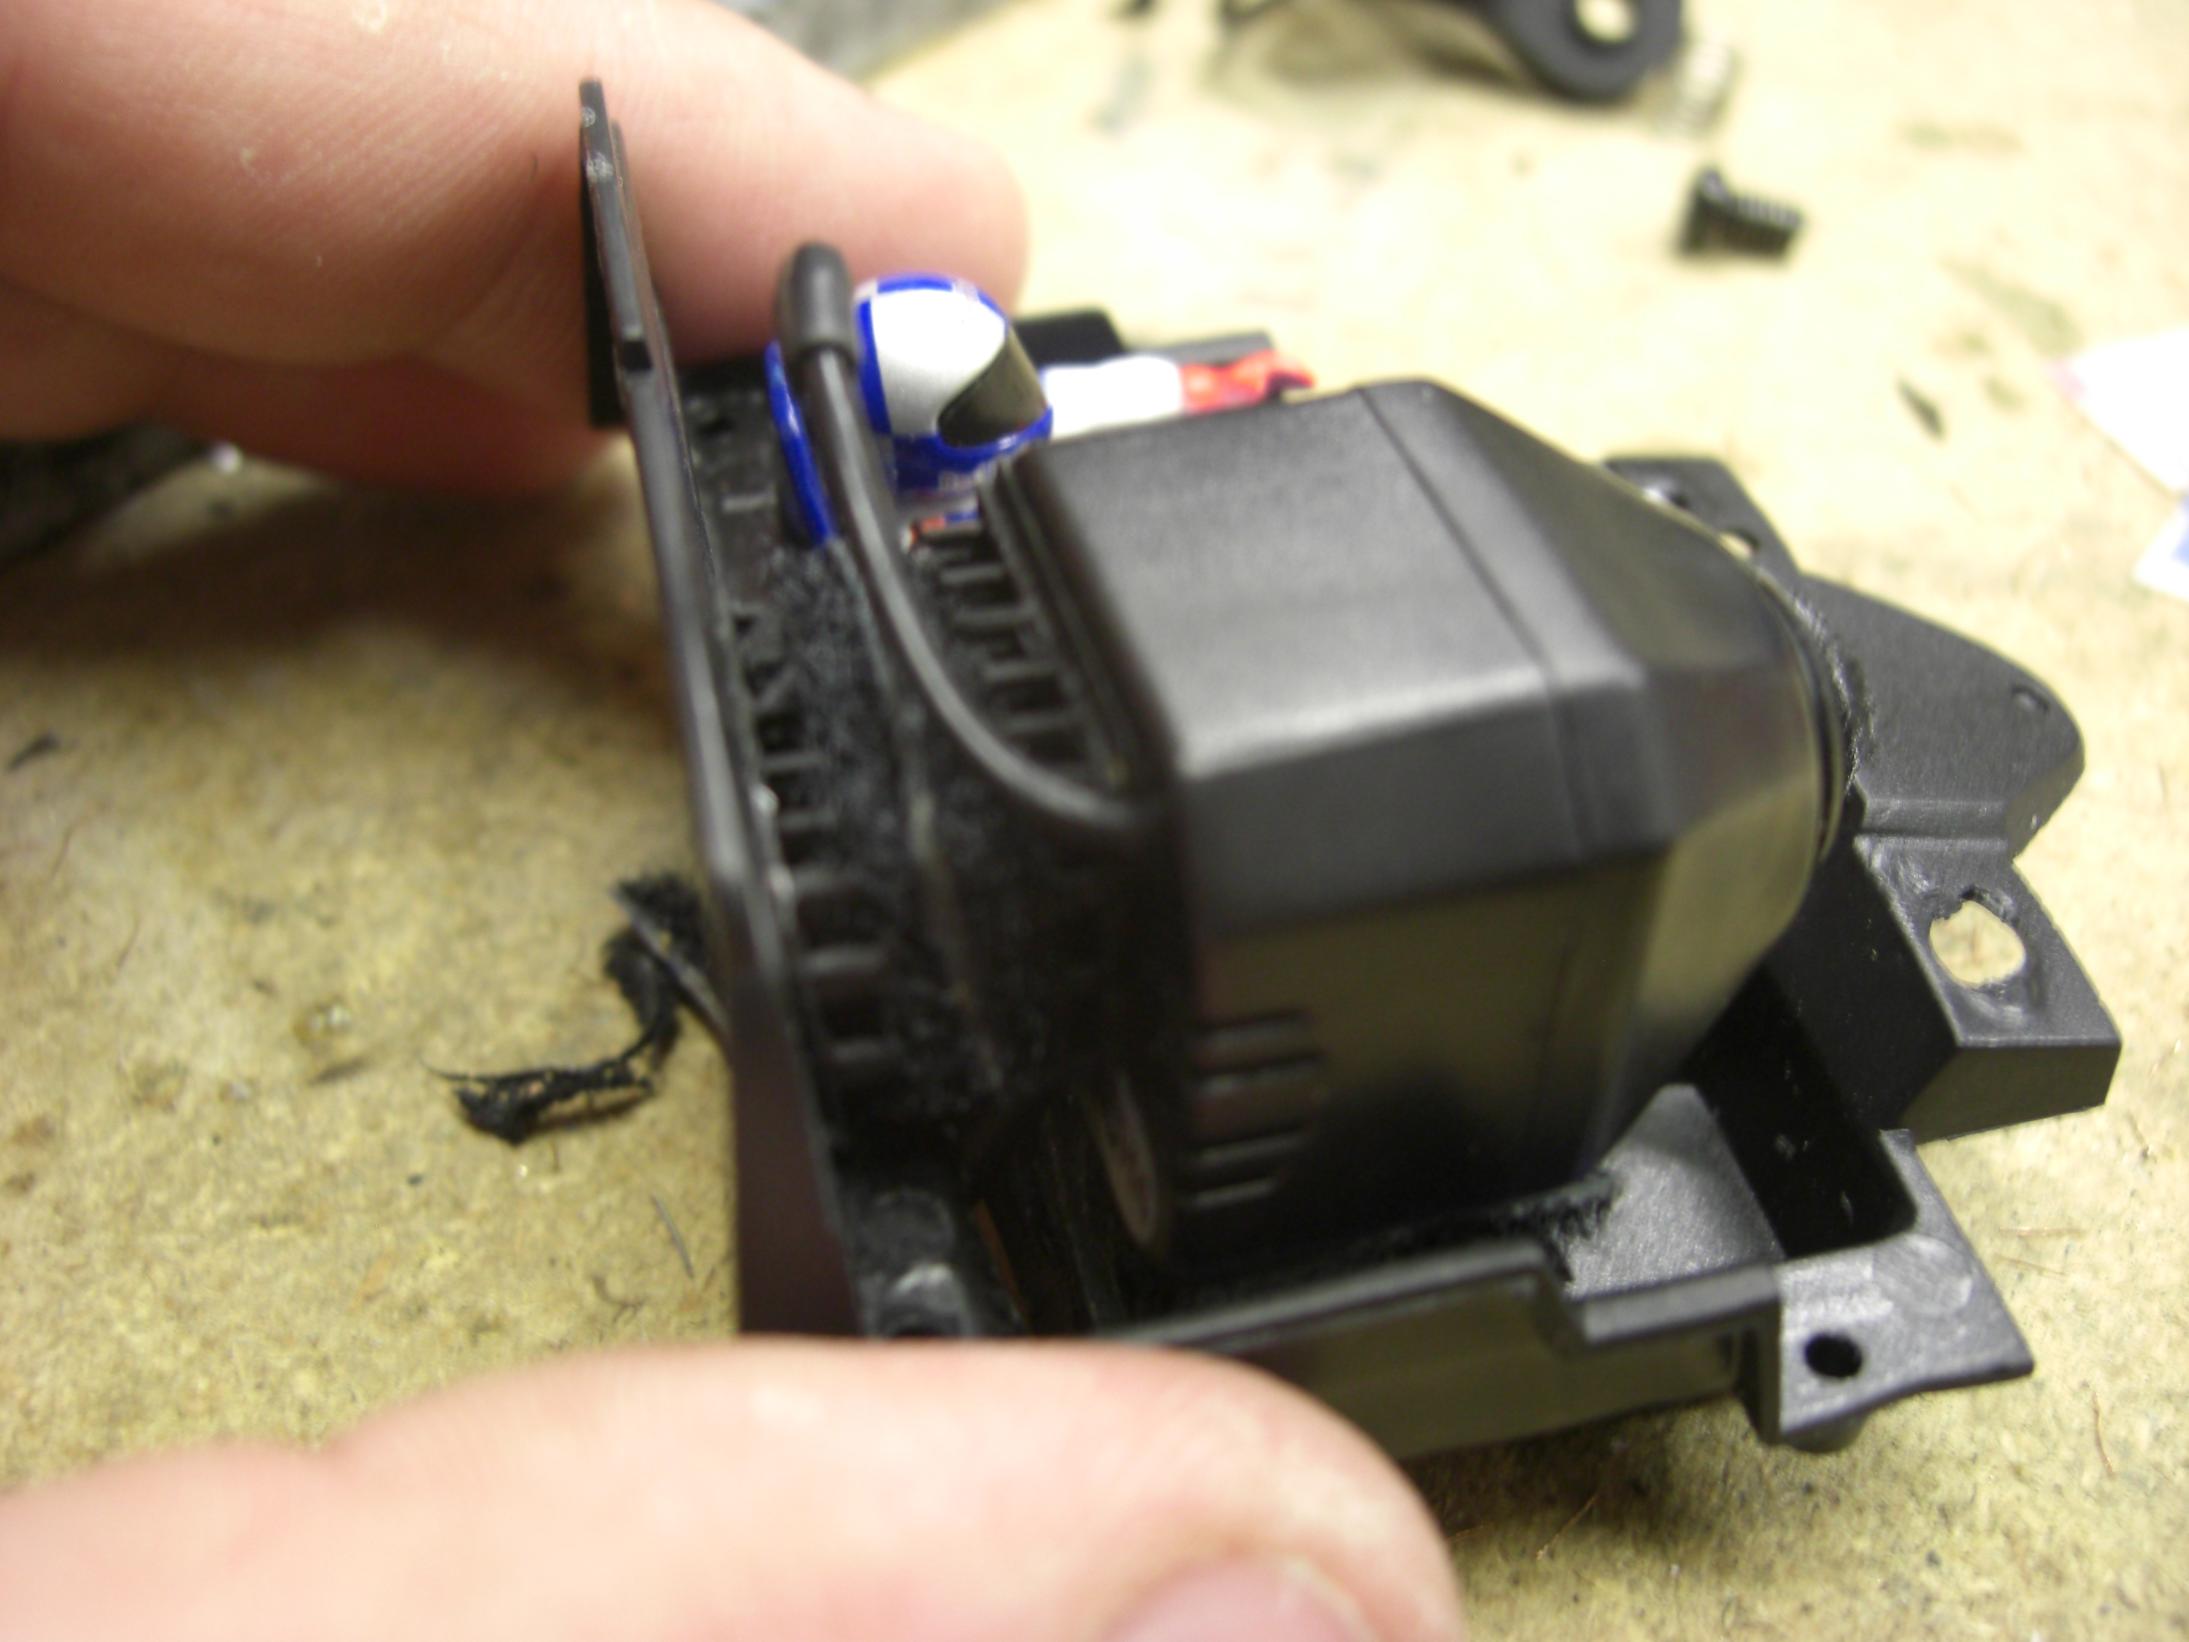
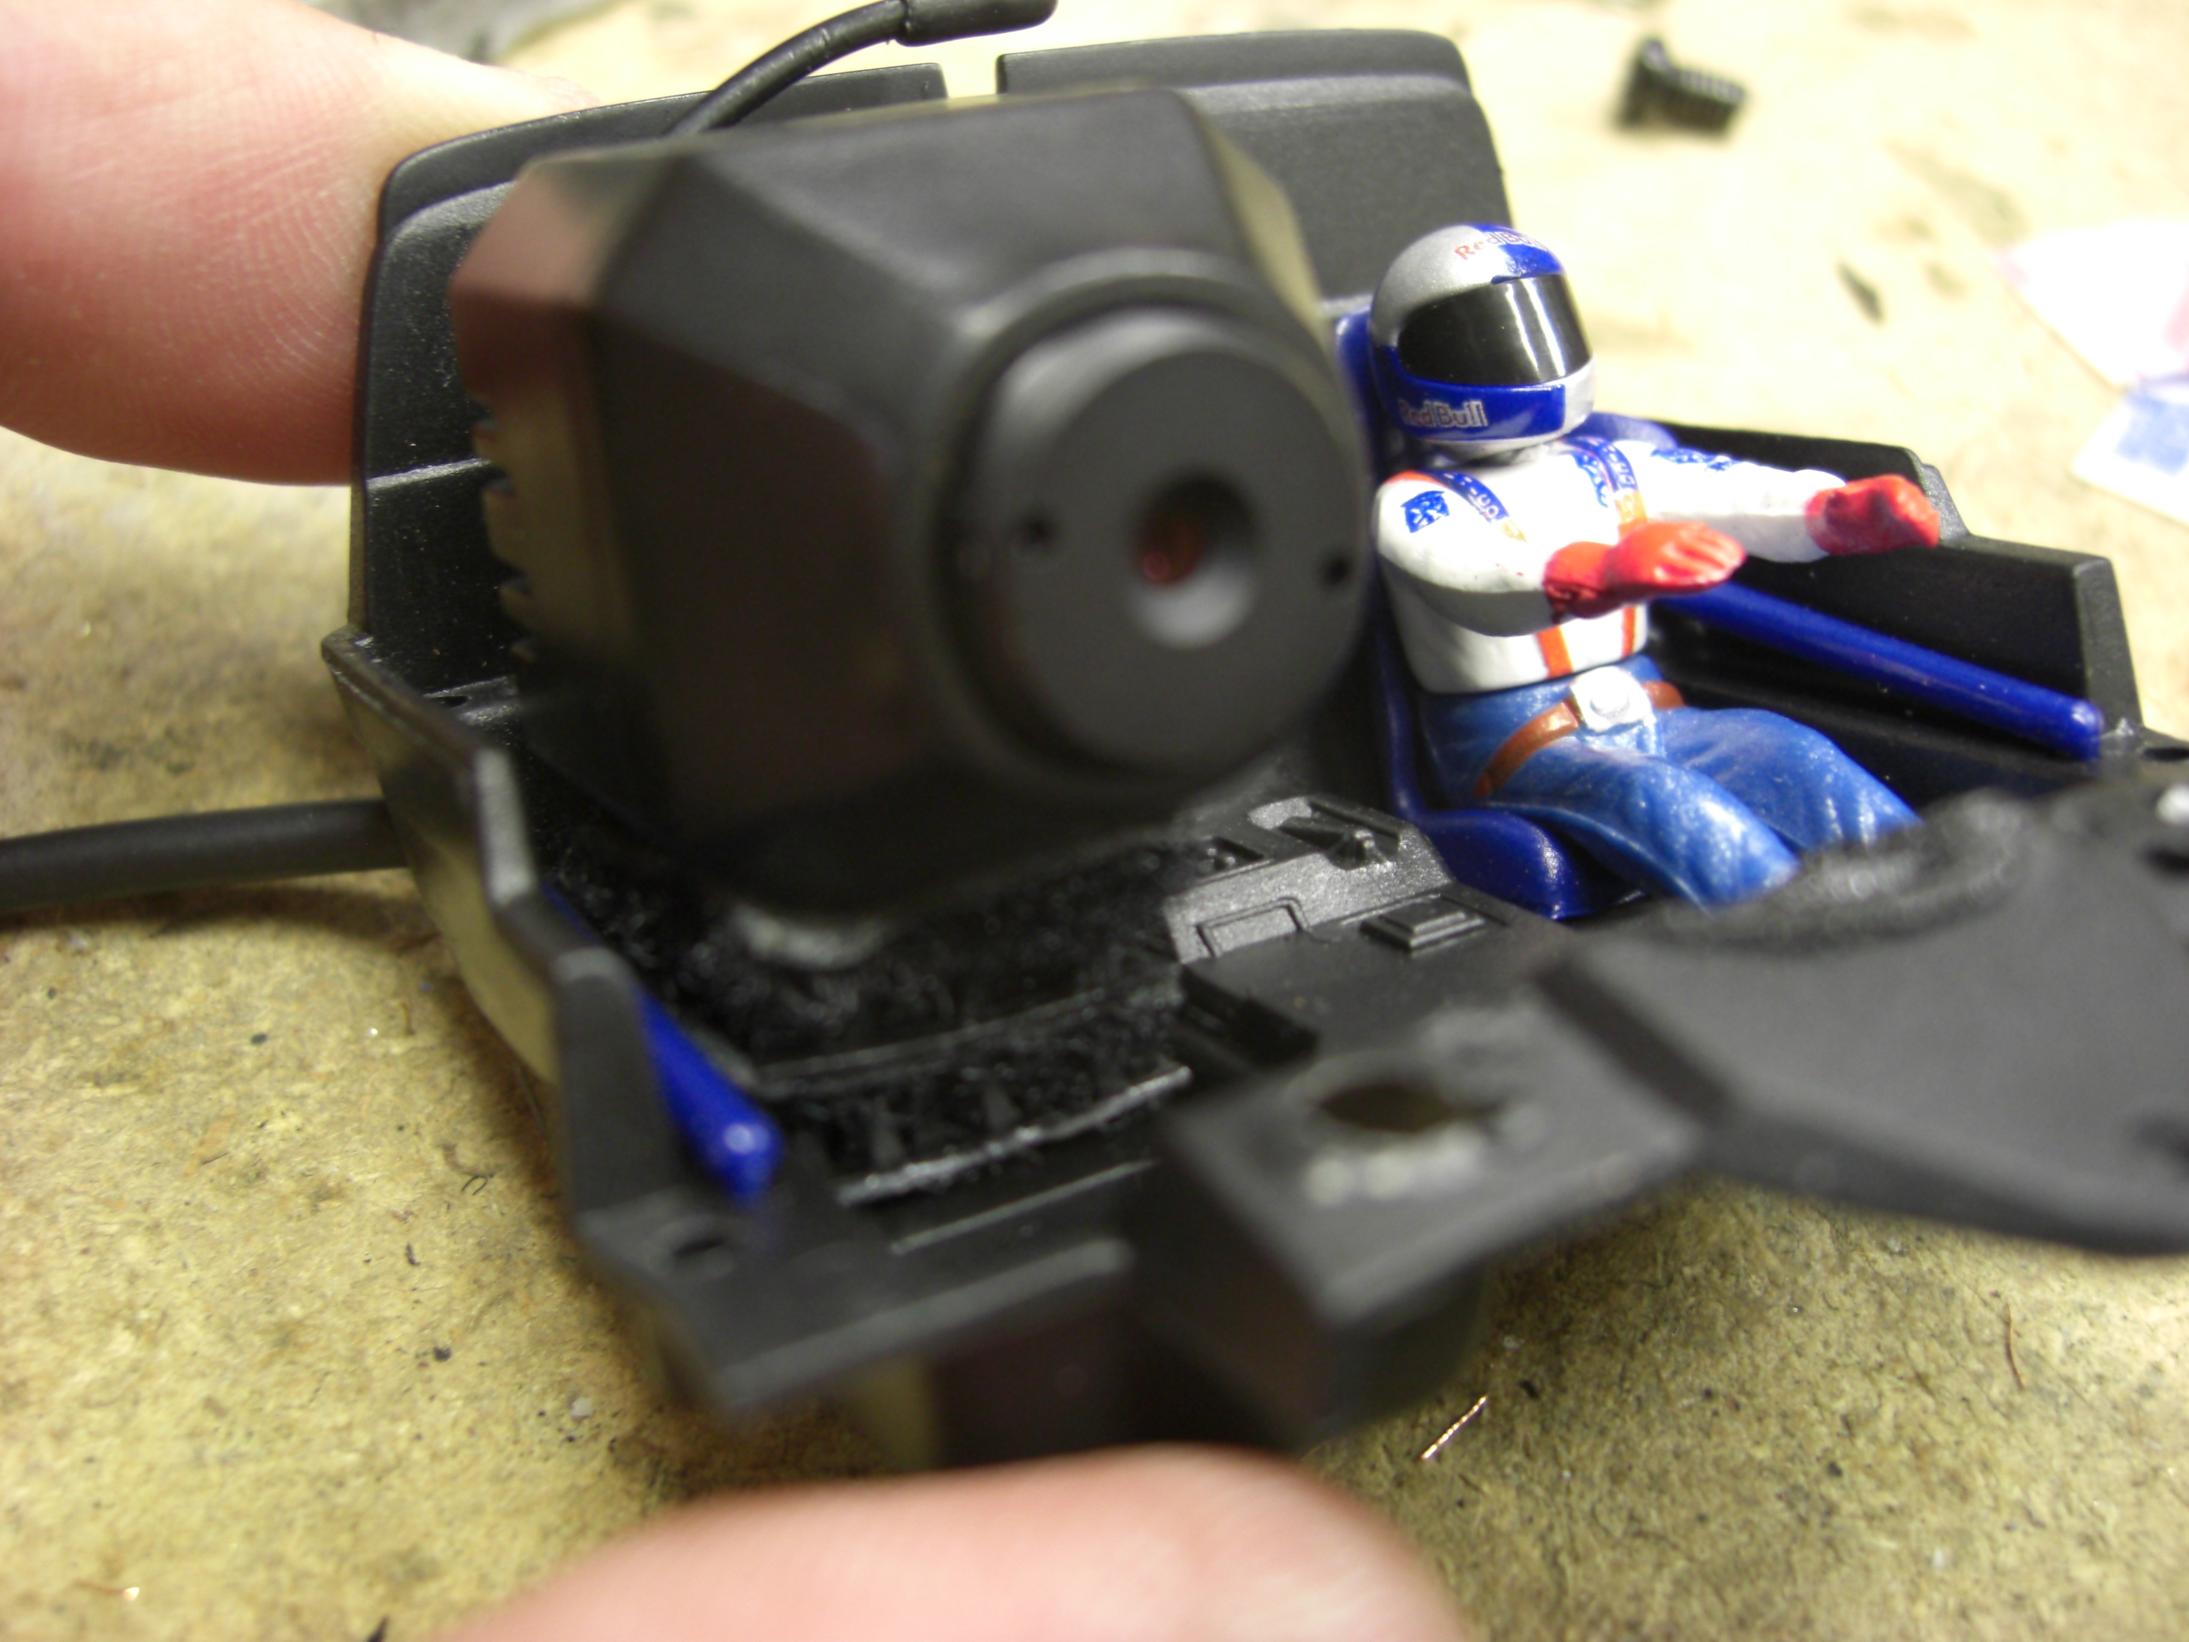
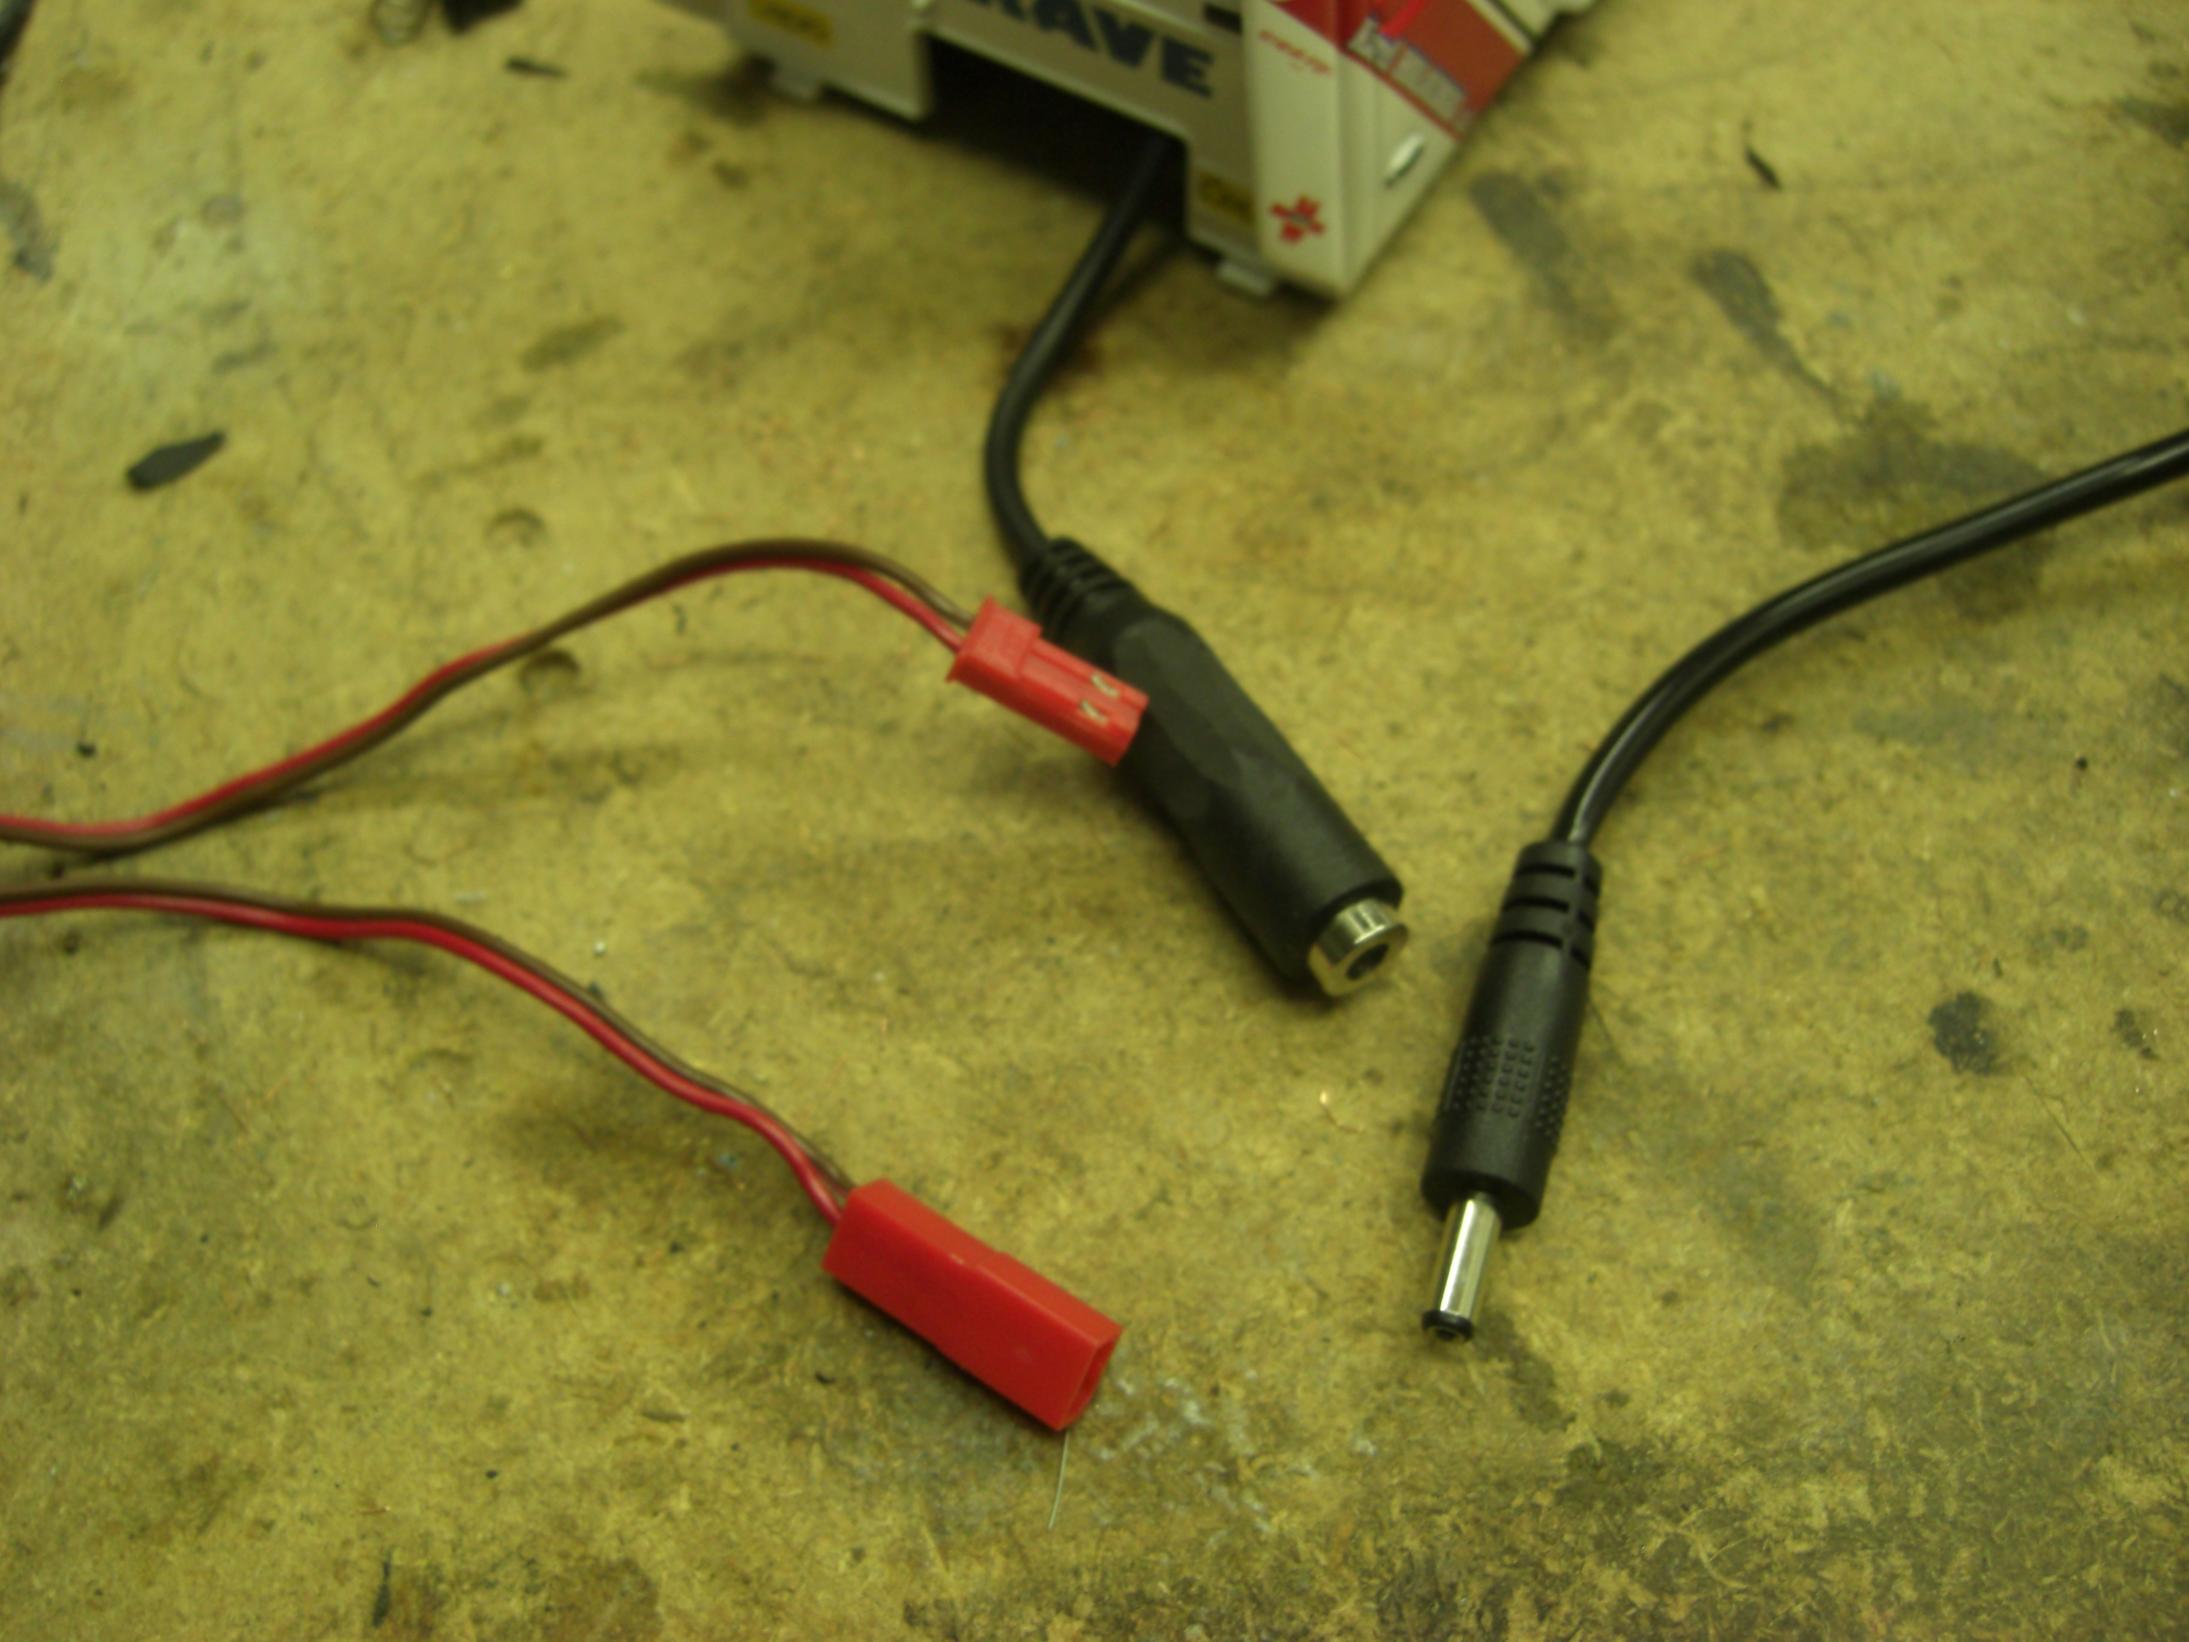
After carefully reassembling the pieces together, make sure that the camera lens is in a good location and use CA glue to lock all the pieces in place.Unfortunately you will find out that the power plug that comes with the camera kit id too big for the space under the cabin. That’s why we need a smaller one and in my case, it is a futaba receiver battery connector.
Cut down the original plugs, solder the new one in and this is how it should look like:
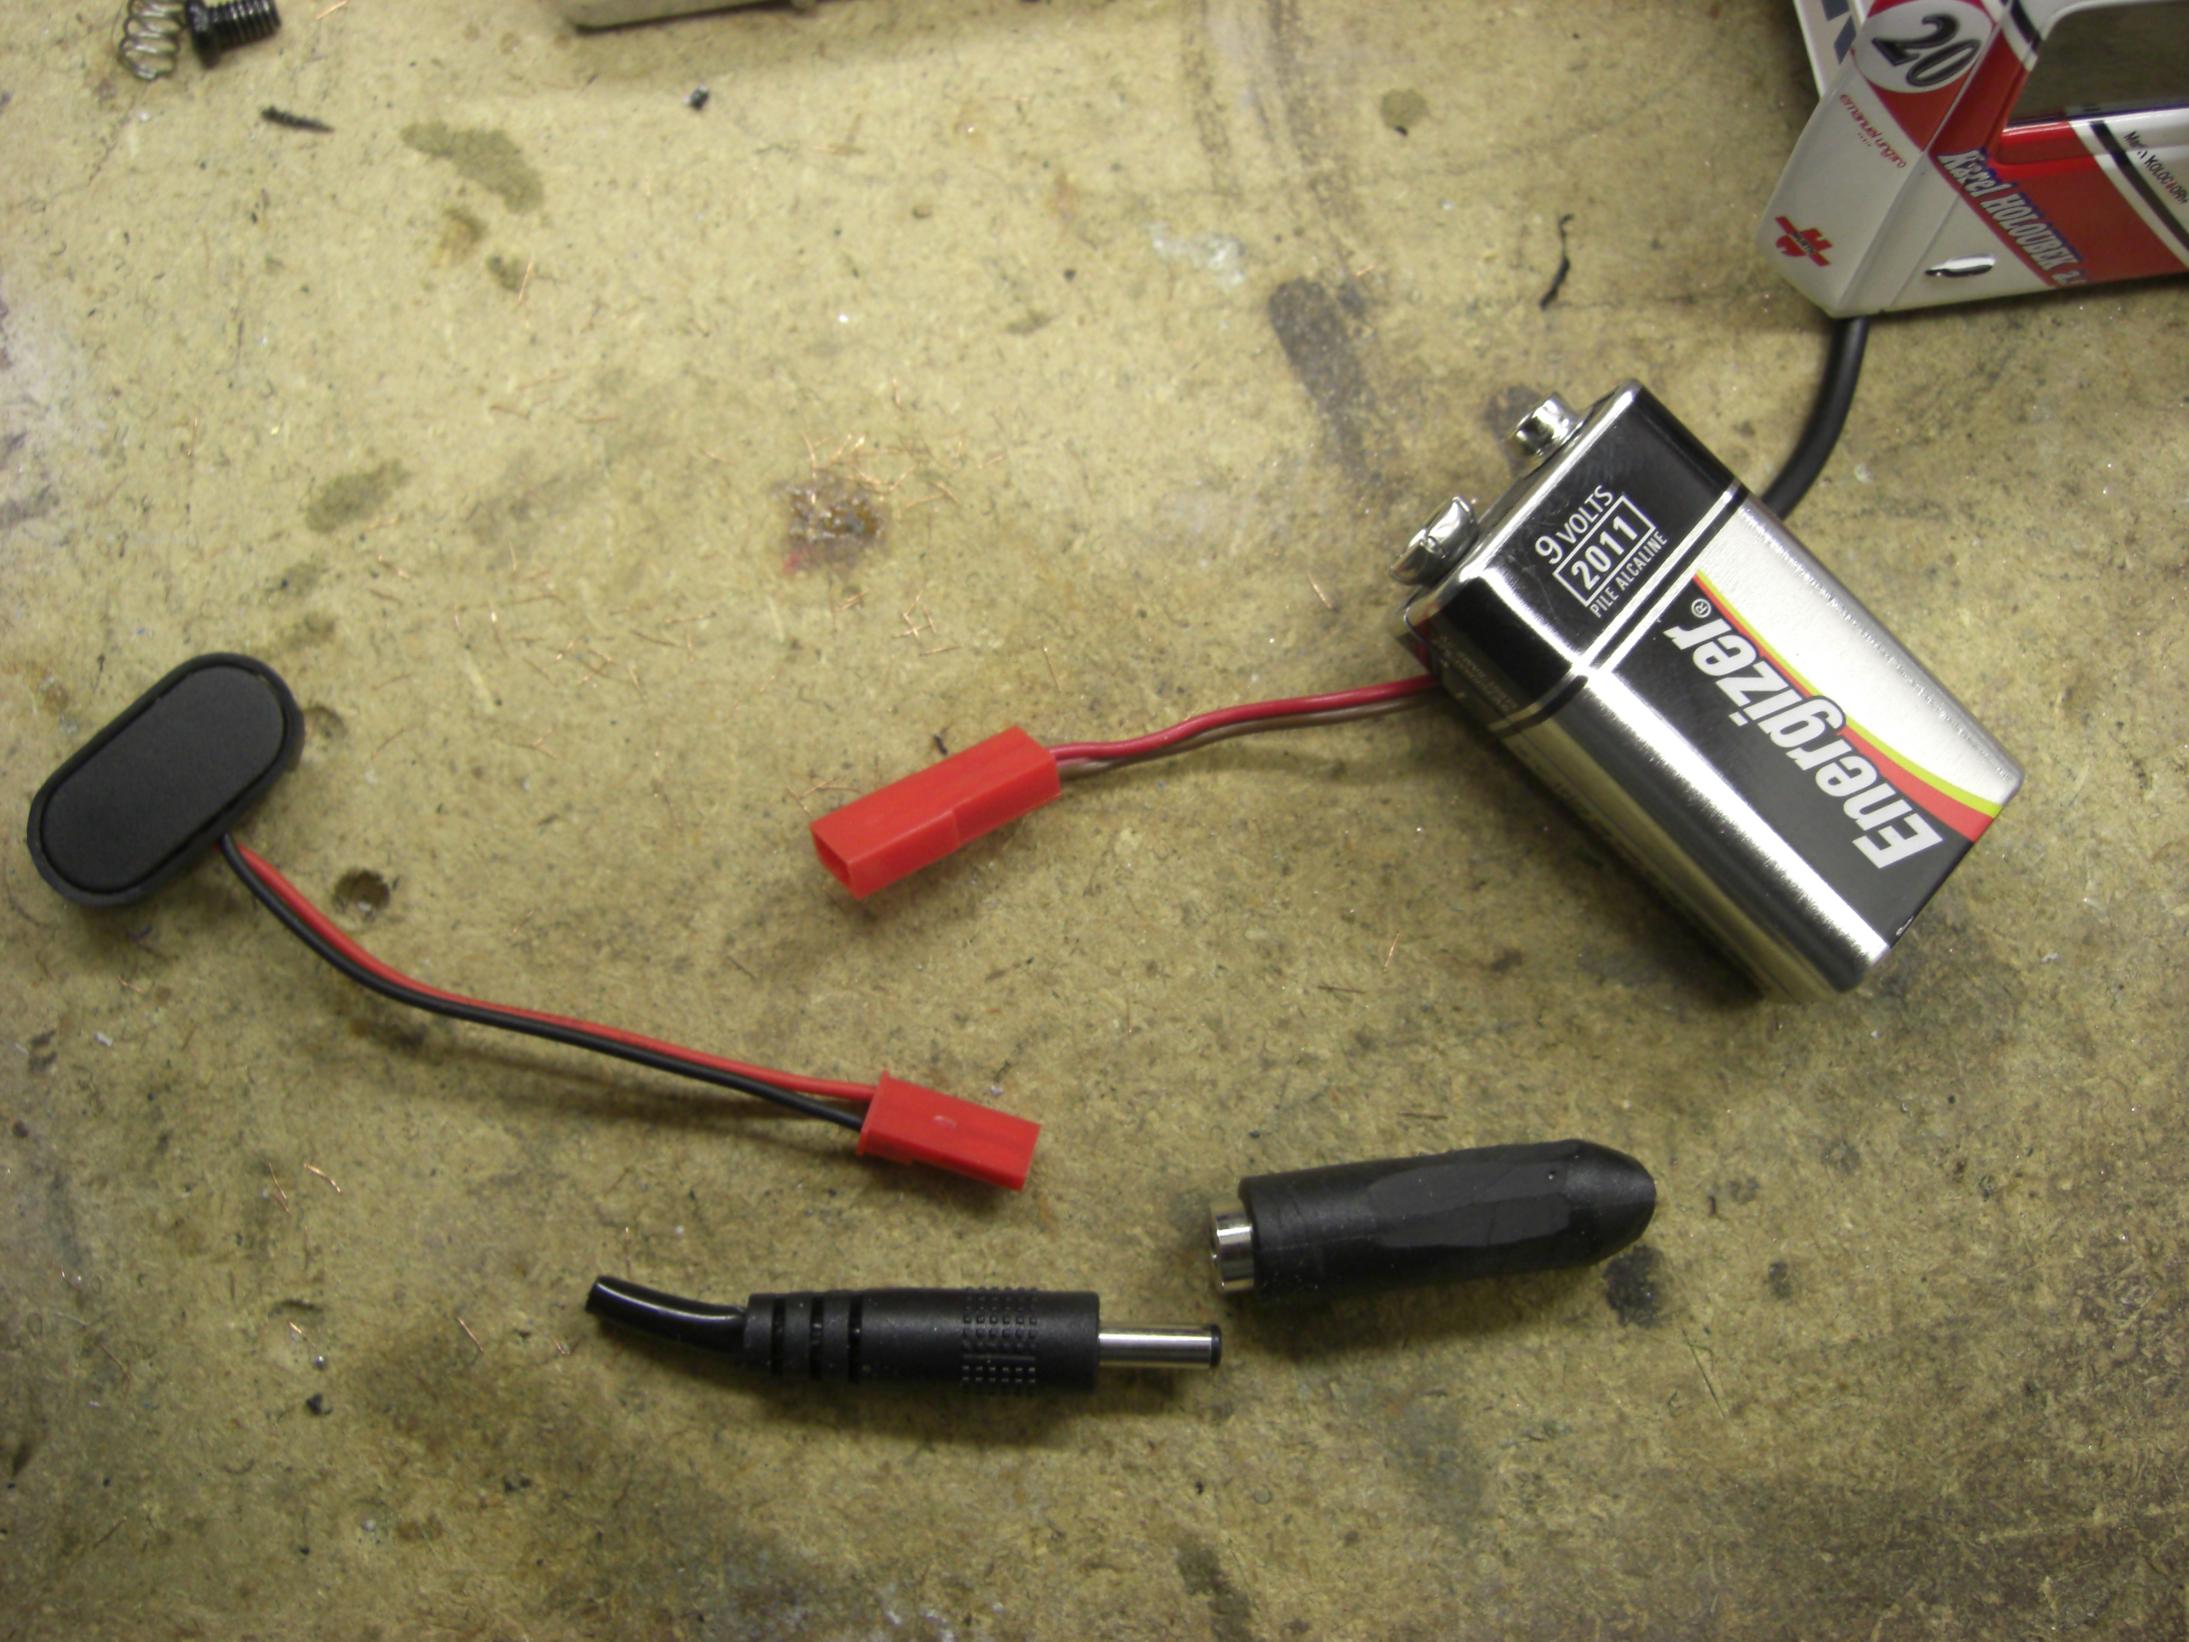
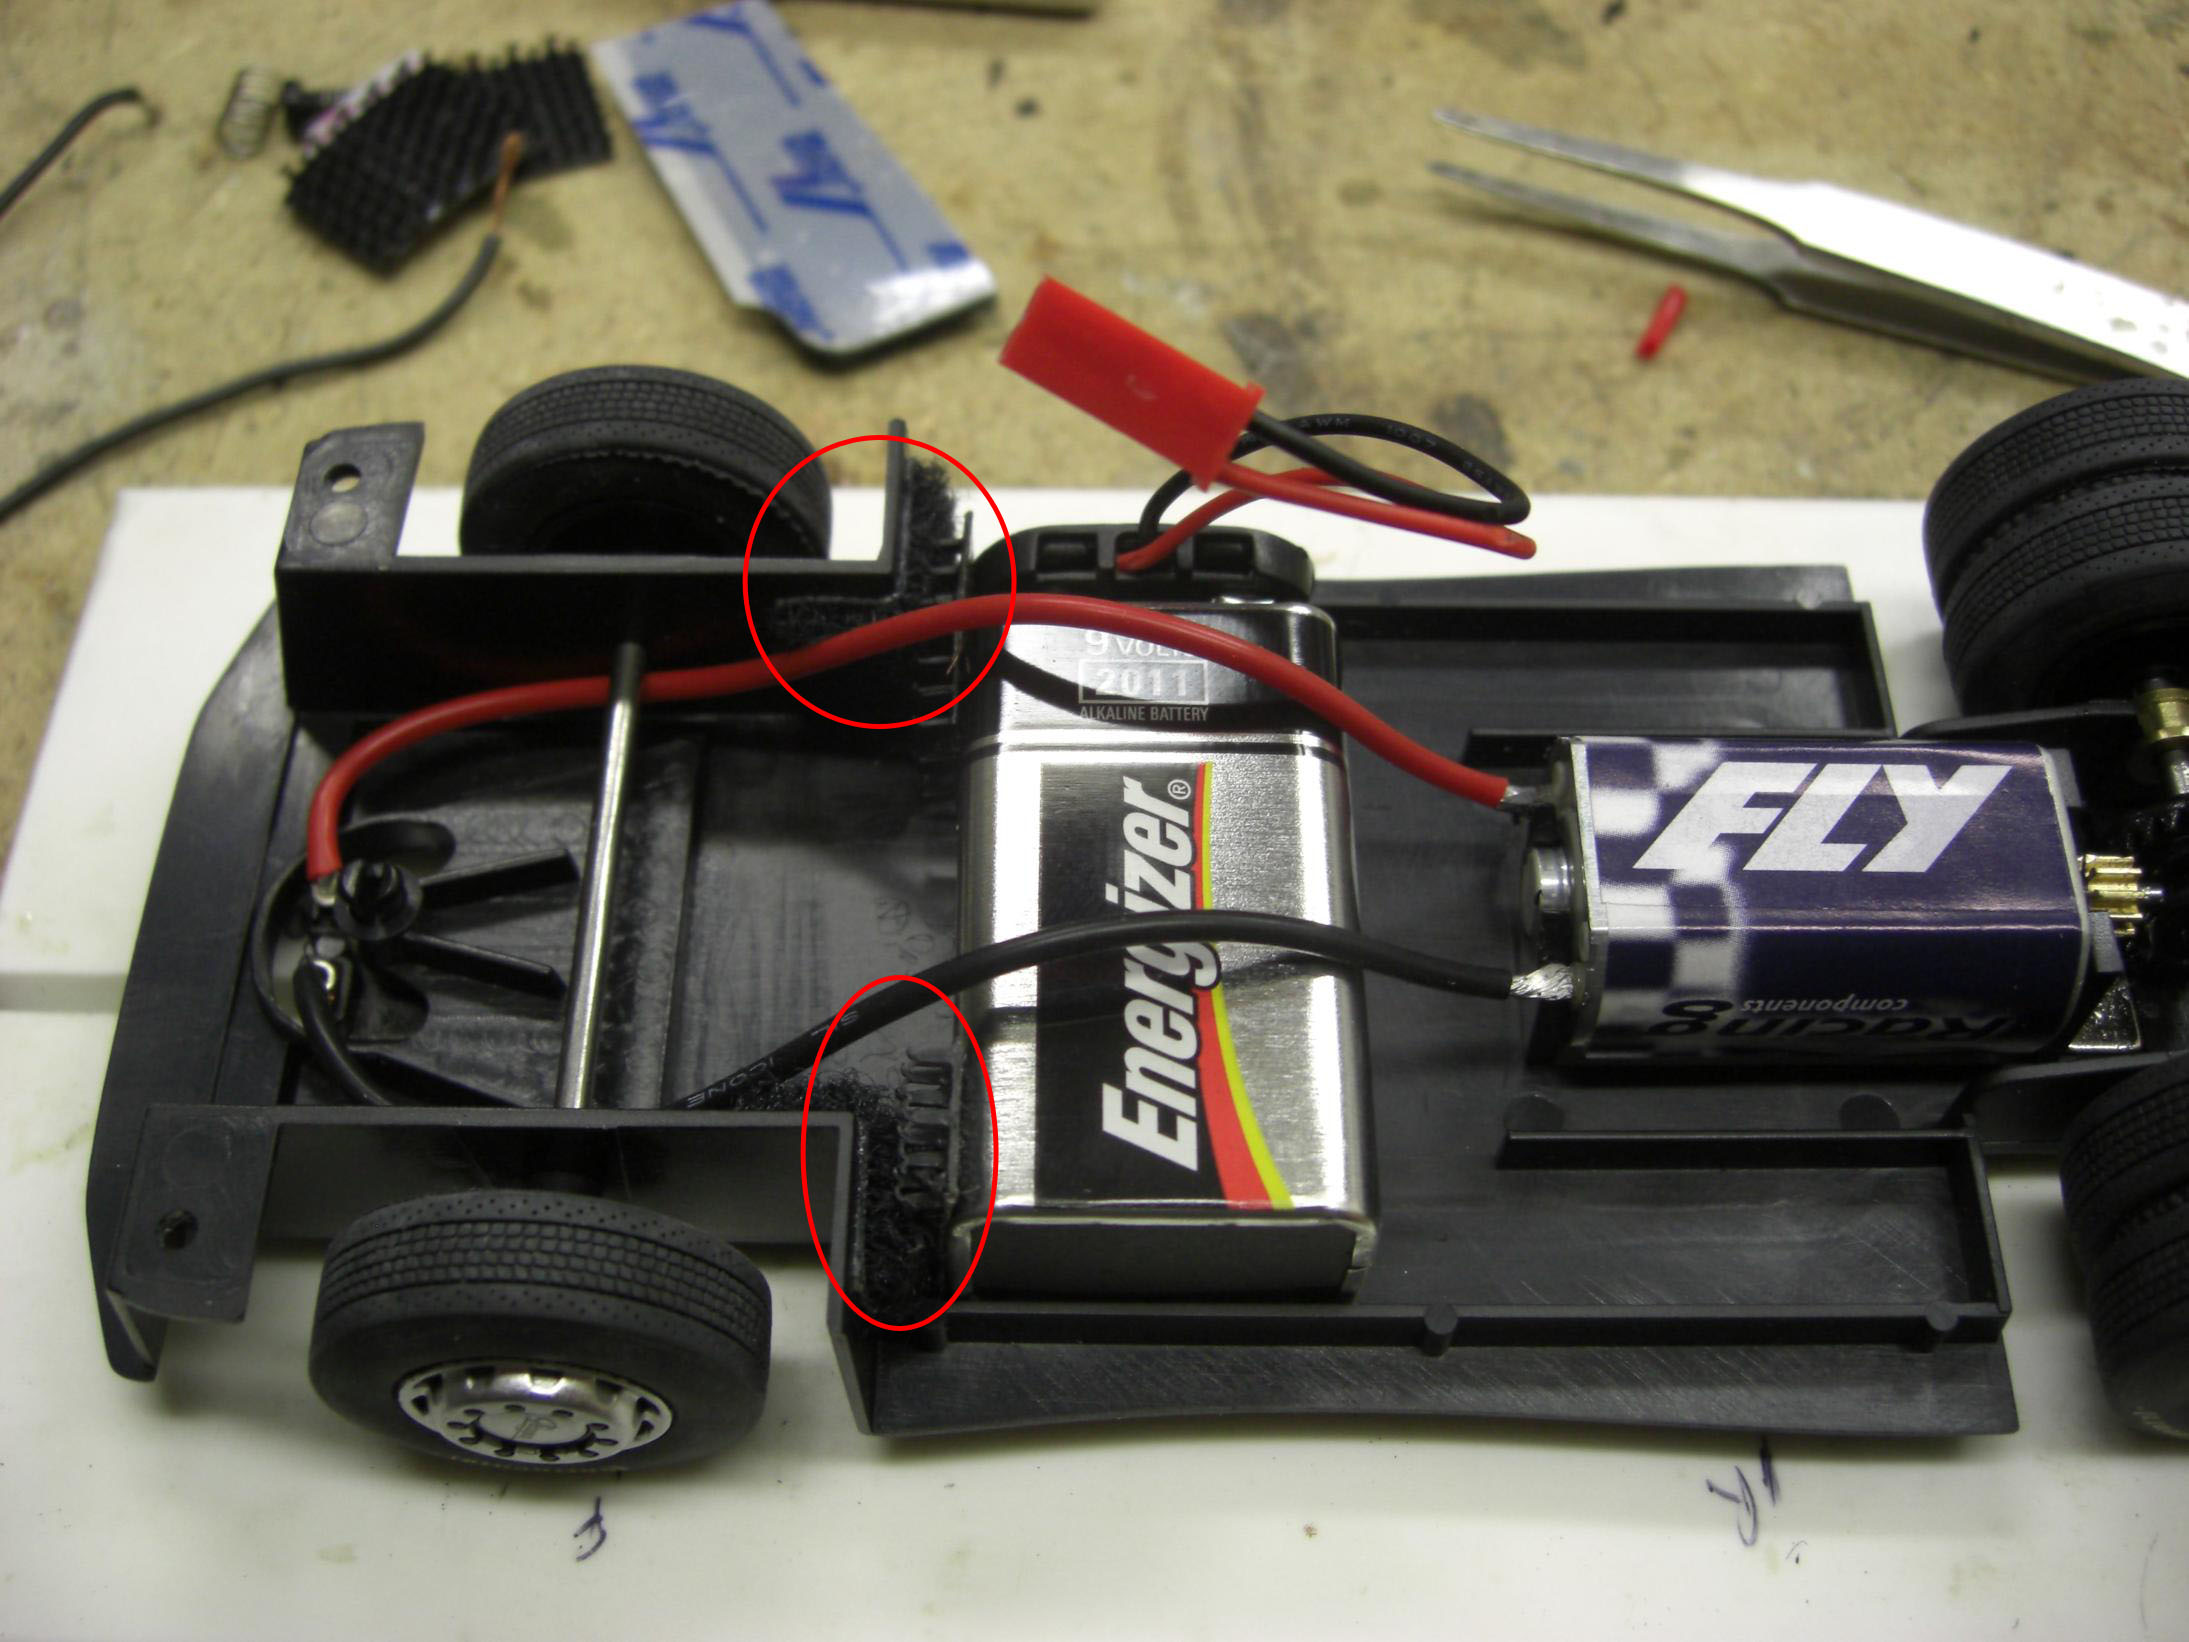
The best place for the 9V battery and the proper way to secure it is shown bellow. The lead wires had to be changed, the original ones were a little too short (you might get longer wires and won’t have to replace them). Any other way to attach the battery would result in not enough clearance and the truck would not get back together properly.
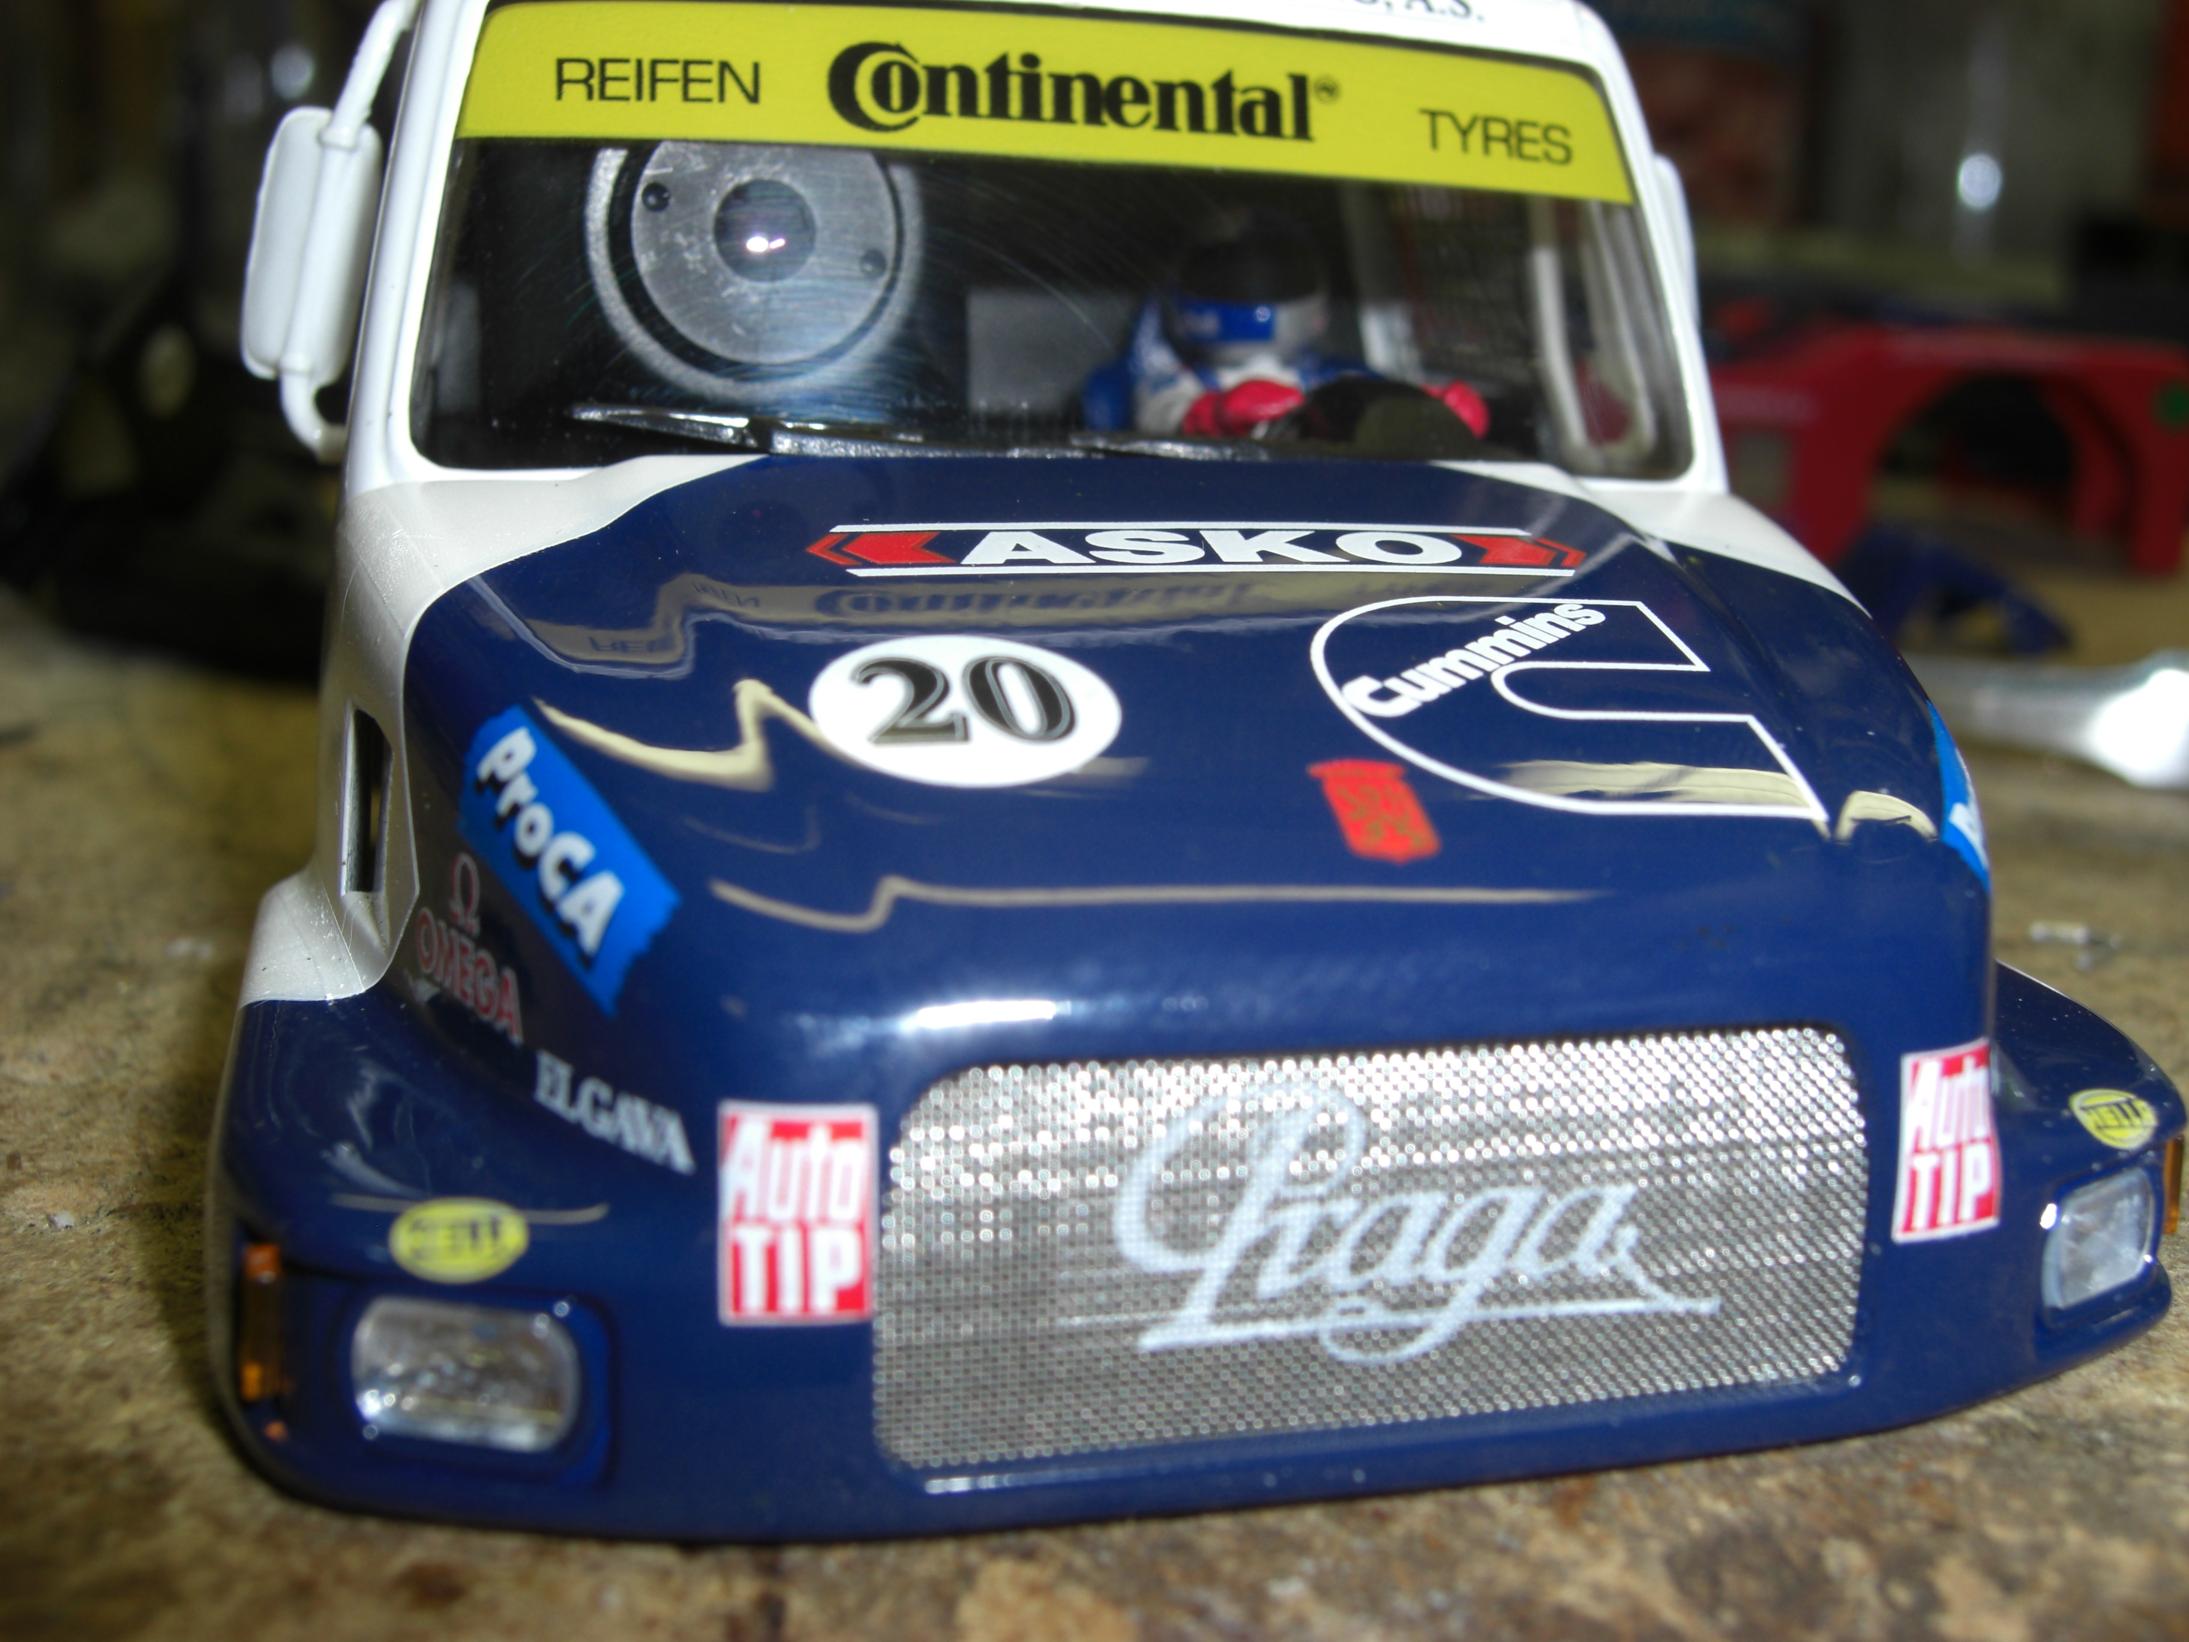
We are done as far as truck modifications go. On the image bellow you can see the final product. To get the camera going you need to connect the plugs together, screw the cabin back in place and start recording. The advantage of a wireless camera is that you can record or simply view the video on a television; the video source is live. The disadvantage is that (maybe because I bought a cheap wireless system) the video has a lot of interference.
Well, the total cost of parts was $106 and I’m pretty happy with the results. On my next post I will upload a little video that was recorded using the truck.
August 23, 2010 at 8:51 PM #827Here’s the video:
https://www.youtube.com/watch?v=vUFv8sPTE7EAugust 24, 2010 at 6:44 PM #828I don’t know how I missed it the first time, but I just noticed the Pic-in-Pic. Very cool!!
Build it strong.
Keep it simple.
Make it work.
(Leroy Grumman)August 24, 2010 at 9:51 PM #829I’m starting to like the video interference … looks like 80’s F1.
-
AuthorPosts
 .
.


- You must be logged in to reply to this topic.