
For painting slot cars and scale models, my paints of choice are lacquers and Auto-Air Colors water based paints. For the lacquers I use Tamiya, DupliColor, and PlastiKote rattle can paints as well as various airbrushed lacquers. But the paints I often default to are the water-based paints from Auto-Air Color. These paints are very easy to spray and compatible with all other paints. These paints must be clear coated and any clear coat can be used: lacquer, enamel, urethane or similar. They come in a wide variety of colors and styles, including metallics, pearls, iridescent, “flip-flop” and custom colors can be obtained by applying one color on top of another color. The key to spraying these colors is to spray very thin mist coats and blow drying between coats. After the color has been built up to full coverage, it can be clear coated. The result is a very thin overall paint coat, critical for accurate scale appearance. With some paint systems on a scale car, the result is paint that would be 1/2″ thick on a real car. The thin paint coat does not obscure detail on the model. The downside is that all defects or paint scratches will show through on the finished product. More information on the Auto-Air Color line can be obtained at http://autoaircolors.com
Many thanks to Ary as the cinematographer and editor for the video!
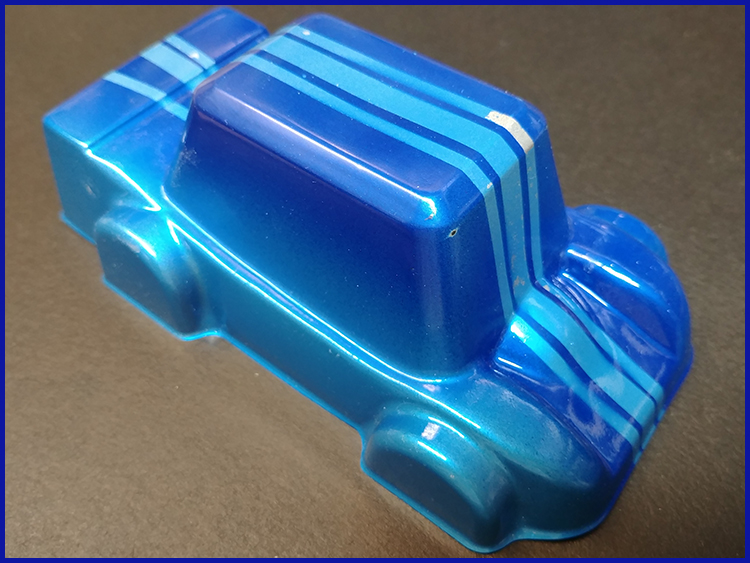
Obviously, this was a very quick demonstration. A couple of quick coats of lacquer to seal the initial color coats before masking would have been better, and all the coats should have been lighter than they were. As you can see from the video, there was very little overspray and very little paint was actually used. After I got home I sprayed one more coat of clear lacquer, then used Micro Mesh polishing pads and cloths on the “cockpit” of the test “car”. This is the result:
I painted the RevoSlot Porsche white kit with Auto-Air color, starting with the fine aluminum base and using Metallic Burnt Orange for the color coat, followed by Tamiya clear lacquer, and polishing:

When to sand when painting a slot car body.
There are different approaches about when to sand or polish a slot car body. What I do is first to sand the body. If it is an unpainted body, I look for mold parting lines and any sink marks (dimples) in the body. Any raised parting should be sanded flush. If it is a pre-painted body, the various colors may have raised surfaces that should be sanded smooth. For the RevoSlot Porsche body there were some parting lines in the front fenders behind the wheel opening. There were also raised ridges in the rear wing supports. Both of these lines were sanded down, starting with 600 grit, then 1000 and finishing with 1500. If I was priming with Tamiya Fine Surface Primer(rattle can), the 600 grit would probably have been sufficient because that paint has solids for minor filling and should always be sanded after. I was going to use Auto Air Color aluminum base and then an Auto Air color coat. These paints spray extremely fine and will show any sand scratches or imperfections, so I made sure to use finer sandpaper. The high points and ridges in a body should always be taken care of during initial stages. If you don’t, then go to polish the finished paint, these ridges will cut right through. In addition to the ridges, there was a sink mark “dimple” right in the center of the “hood” near the nose. I sanded this with 600 and a small wooden block until the glossy dimple disappeared into the flat, sanded surrounding area. If I was using sandable primer, this could have filled in the dimple. After washing the body in water and air-drying it I sprayed multiple mist coats of the Auto Air base, then multiple mist coats of the color coat. I used a hair dryer between coats to “set” the paint. Then, after blowing the final color coat dry, I sprayed Tamiya clear rattle can lacquer on the body, starting with lighter coats, then a couple of heavier final coats. After this was thoroughly dry, hastened buy use of a room dehumidifier, I polished the clear coat, starting with 3200 grit Micro Mesh, through the various grits up to 12000 grit. I never sand the Auto Air paint, only the clear coat.
If I am using regular primers, such as Tamiya Fine Surface Primer, or DupliColor or PlastiKote sandable primers, I always sand these coats as necessary, perhaps with 1000, then 1500 or 2000. Always washing after any sanding, I then spray the lacquer color coats. If I am clear-coating, I usually spray it without washing or sanding the color coat. Metallic colors are always clear coated. It is not necessary to clear-coat solid colors but I like to do it anyway; during the polishing stage, if any color dust shows up, you know you have gone through the clear coat and should continue with extreme caution.
Again, there are lots of techniques when it come to painting; this is what I do.
Good luck on your project!
Wow – great advice and awesome tutorial at the club; thanks Russ!