The first track was built by the clubs founders in a span of about six months with everyone working every weekend. It was a lot of work but the result and the friendships that grew from it were well worth the time and effort.
The idea for a new track had been kicking around for a while now it was just a matter of building it. That is easier said than done. However all that changed at our annual club meeting in October of 2015 when the club decided to run a rally series that would require a new track. A rally track. Something very different than our current track. The rally series was approved and the new track would be designed and built for our Q4 series.
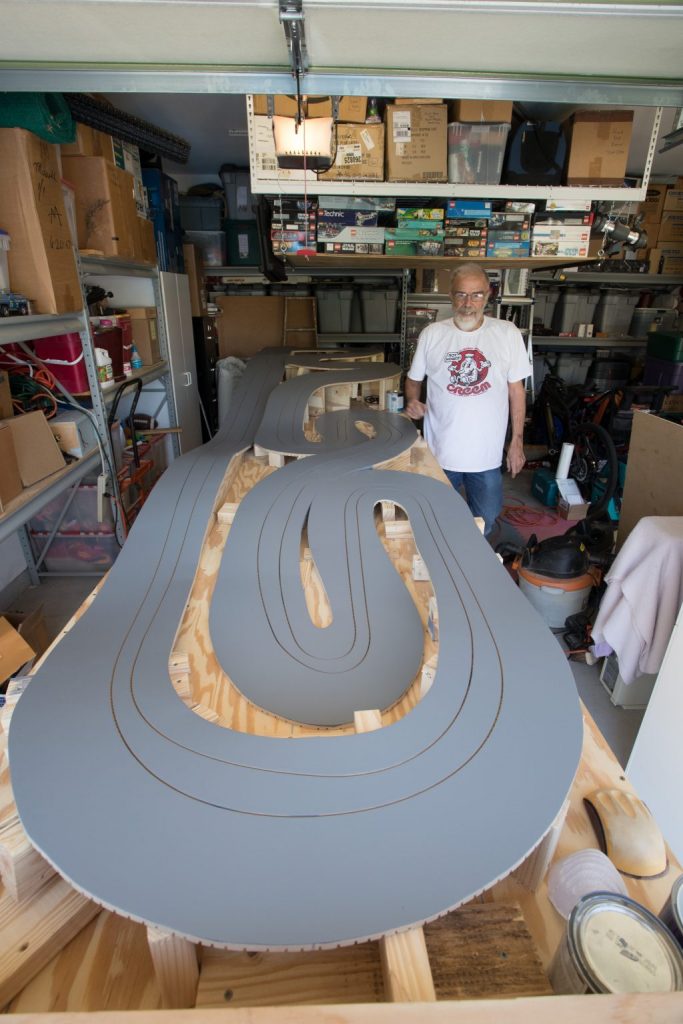
The design for the track started in April and went through numerous redraws before the final design was selected. The track was designed around the following criteria:
- fit in a space of 14’x3.5’
- one lane with two loops
- able to be driven in both directions
- lots of elevation change
- plenty of room for sliding a car around the turns without coming in contact with any landscaping
- unobstructed view of the entire track from the drivers station
The track would be different than many routed rally tracks in that it has plenty of room for the longest rally cars to slide wide without de-sloting. How important is the room to slide wide? It depends who you talk to. I have always believed that a track should be designed and built so that it would not be the cause of a de-slot. Having said that, I have seen many rally tracks that have obstacles included in the basic design of the track itself and would force the driver to control their pace. The challenge of this track will be its design – significantly tighter turns and shorter straights. This is a big departure from the clubs current track. It’s not so much a rally track as a tight and twisty road course. Sort of the Targa Florio meets the Rally Germany. Not to say you can’t get into trouble by carrying too much speed into a turn. Run off the track and you will find yourself in a ditch or other off track barrier that will surely dirty up your tires and make the next lap very difficult.
The summer went by and little work happened on the track as other priorities and races took precedent. As the rally series drew closer and conversations about the new track started to come up I told the group how we built our current track, the special tools we used to rout it and the time involved and how I “should” be able to get it done in time. Our newest club member, Alejandro, informed me that he had access to a digital router and could do the routing as long as we had the track design available in a digital format. This would save weeks of time, effort and expense. What a stroke of luck. Now all I needed was someone to render the track design. Thank goodness we have someone in the club that can make that happen – Stephen. He was able to take my rough drawings and digitized them. A tough job in its self. Once Stephen had the track fully rendered he emailed it to Alejandro for review and routing.
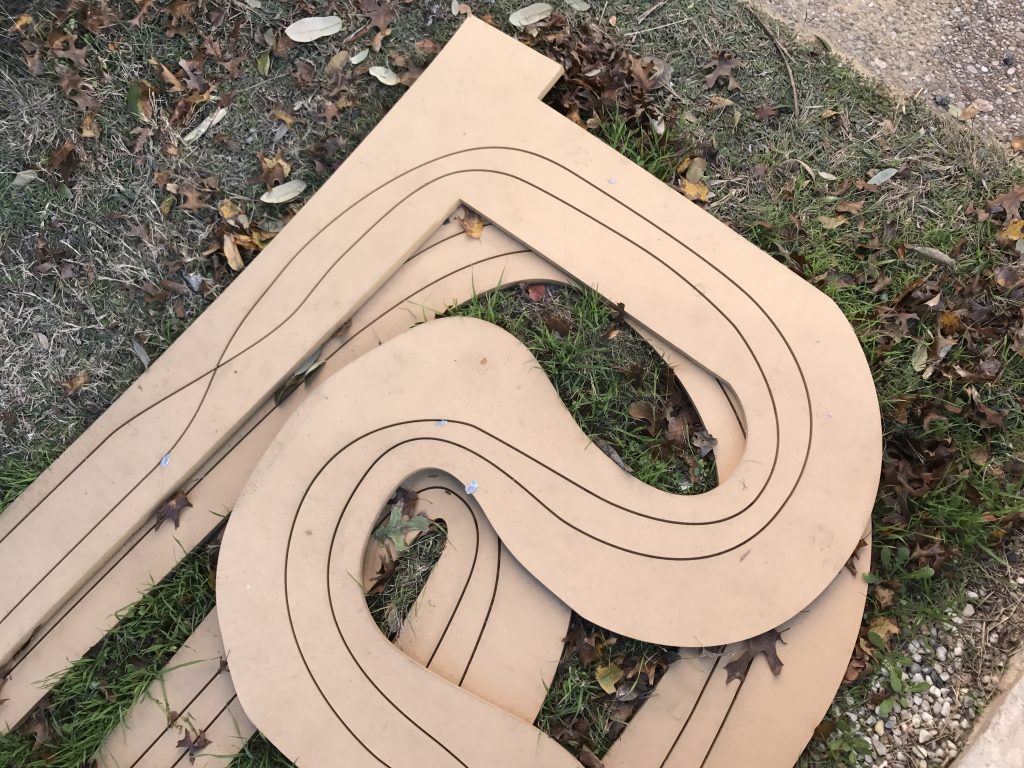
Ary took the two sheets of ½” 4’x8’ MDF to Alejandro and the routing began. Alejandro worked his router magic and after a couple of hours we had our new rally track. Alejandro called to let me know it was ready for pick up and I was out the door in the truck. I could not wait to see it but my excitement was dashed as soon as I took one look at it. Not only was it routed, it was fully cut out.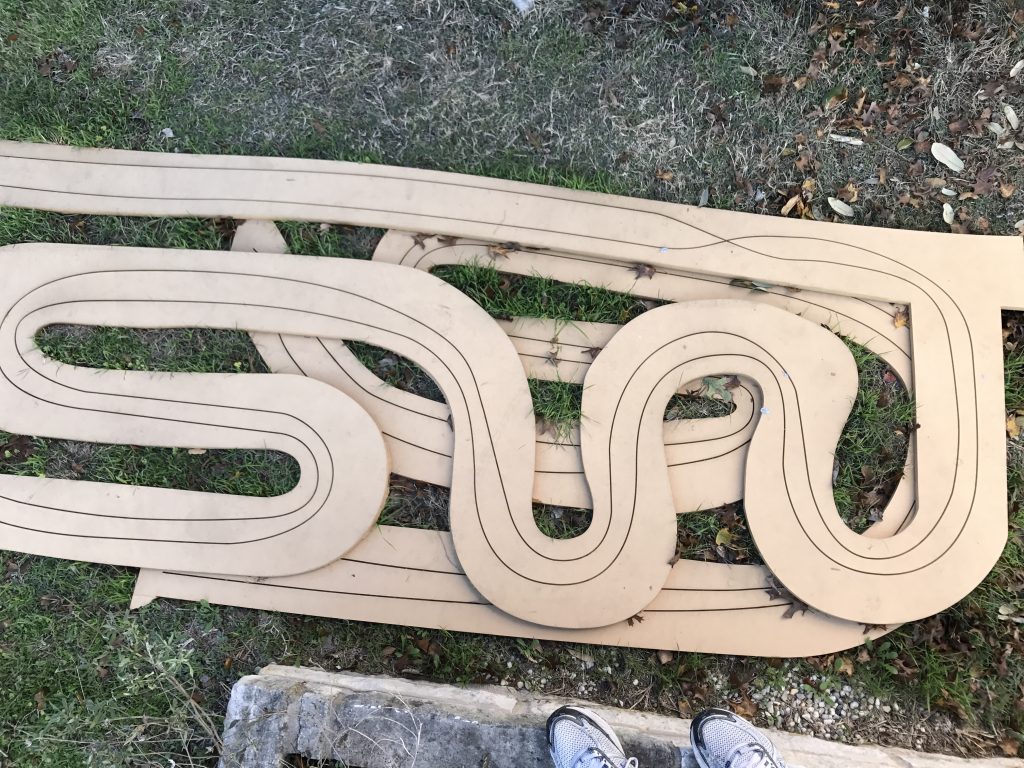
I didn’t know the plan was to cut out the track but I can totally see how the misunderstanding took place. I didn’t say anything to Alejandro because I wanted to get it home and see if the track had enough run off room to work. I put my long-ish Fly Lancia 037 Group B racer on the newly routed track it was obvious that the track would not work. There was not nearly enough run off room for the track to be useable. I made the difficult call to Alejandro and Ary and let them know we had to rout it again without cutting out the track.
Ary took two more pieces to MDF to Alejandro and he once again did his routing magic. For anyone that has ever routed a track it’s crazy to think how easy it is for a digital router to take what was a long project and turn it into a couple hours of precision work with no filler needed to fix your router mistakes. As soon as the second edition of the track was finished Ary went to go pick it up.
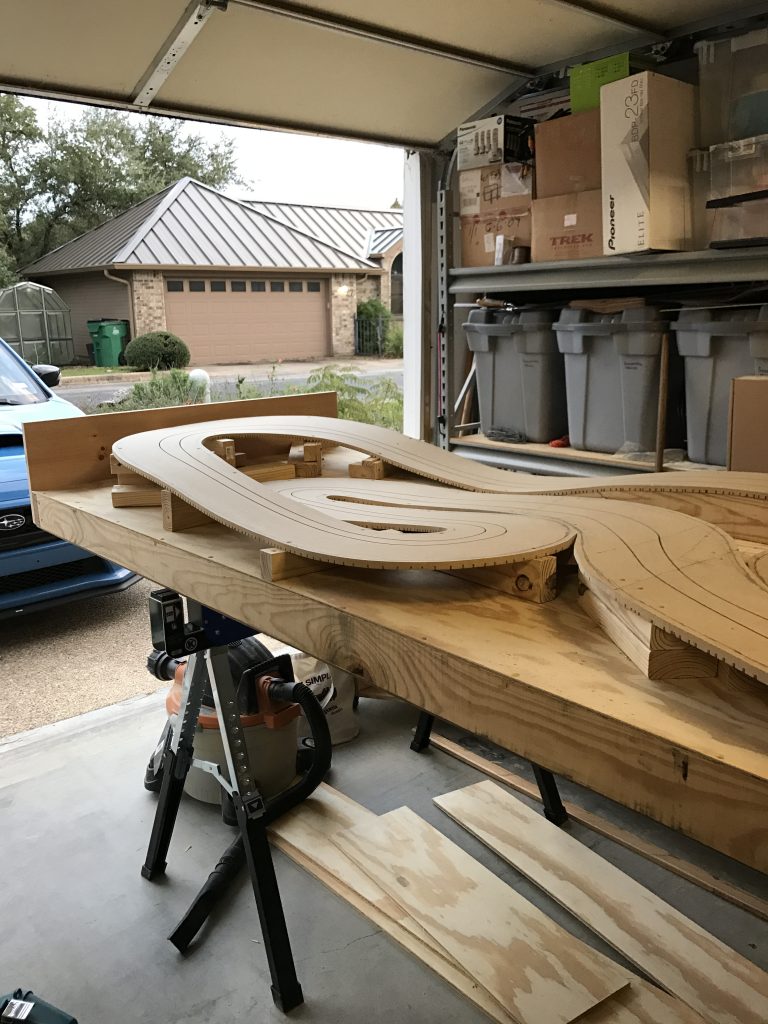
Ary dropped it off at my house where we put it up on the 14’x3 ½’ table that was already built and ready to use. The table was up on three saw horses so the track would be higher and easier to work on. With the track on the table I was able to use the Fly Lancia 037 to check the runoff area and mark the cut out line for the track. Once again, the idea was to leave enough room for even the longest rally car slide around the turns without hitting anything. As drawn, the track had plenty of runoff room in both directions and was easy but time consuming to outline.
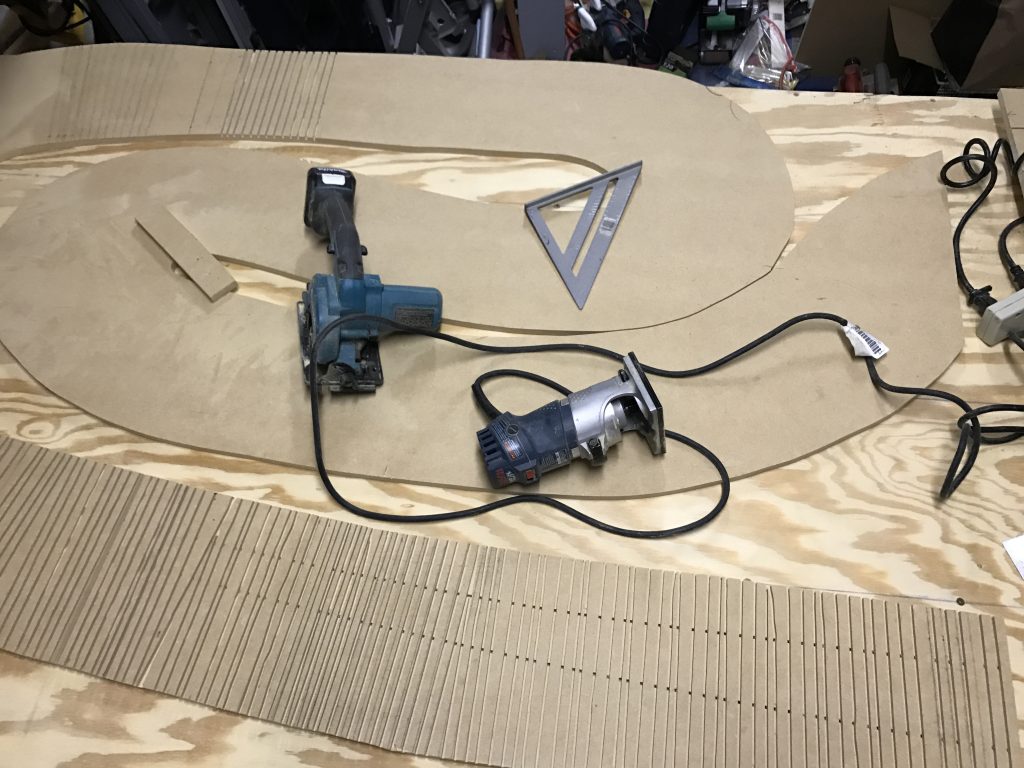
I was pushing to get some work done on the track with the hopes of having it done sooner than later but the weather was cold and wet so I decided to cut it out in the garage – super messy with MDF. I had never worn a mask or something to cover my eyes but after this I realized my mistake. My eyes were scratchy for two days and I couldn’t drink enough water to get the MDF out of my throat. No matter what my ailments were the track was now cut out.
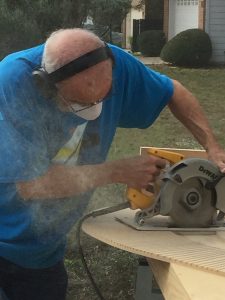
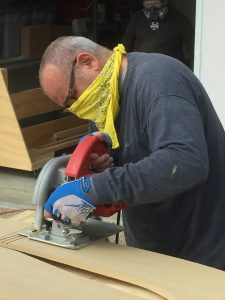
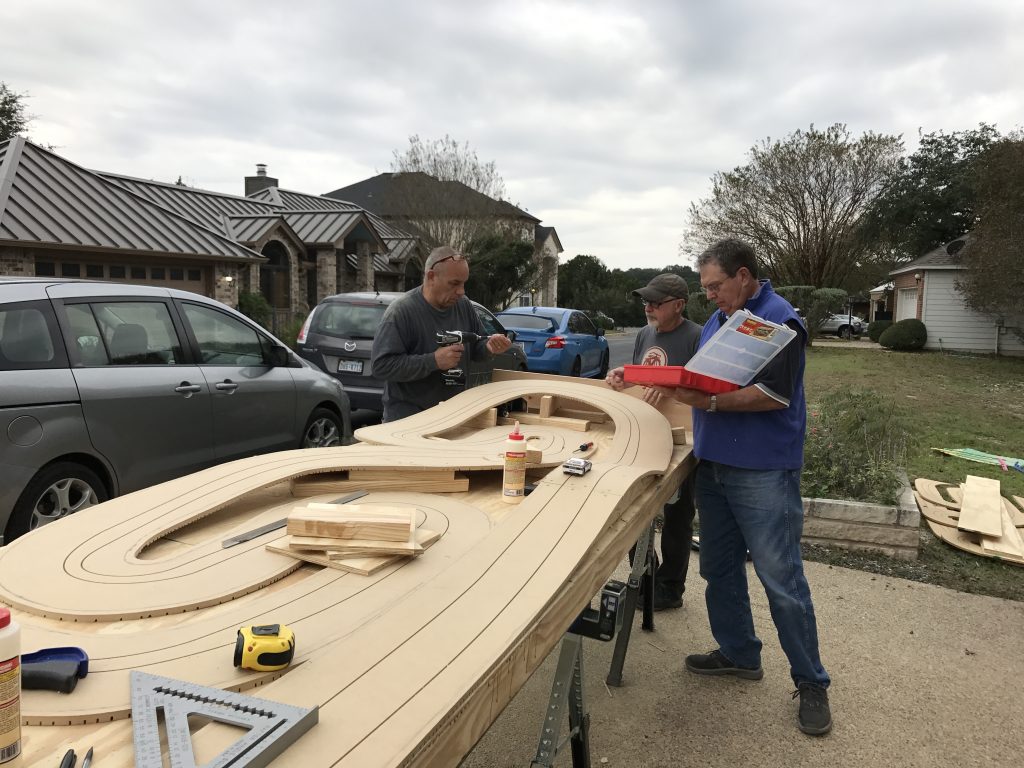
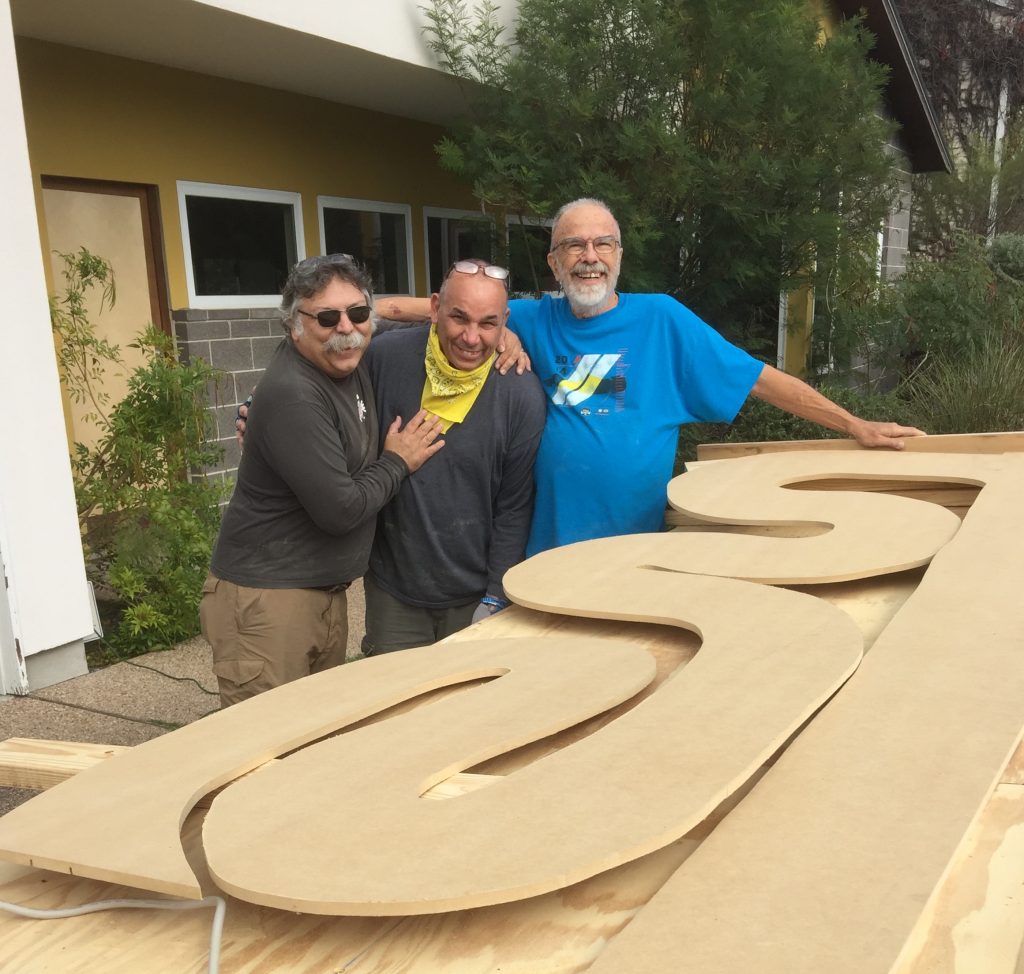
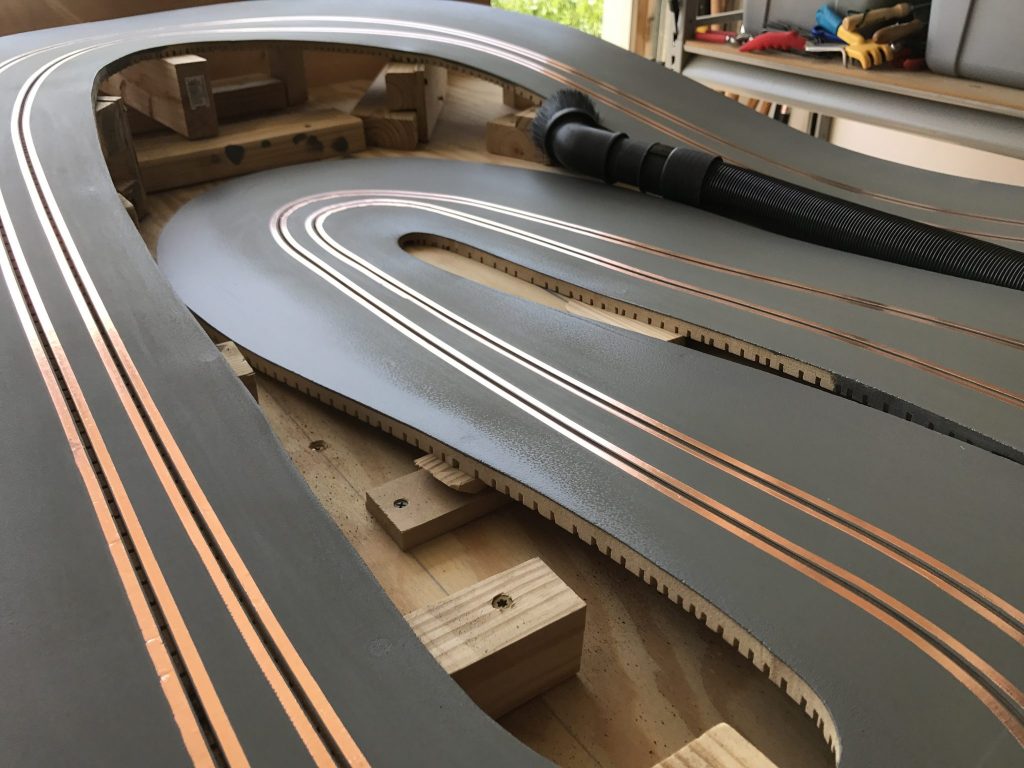
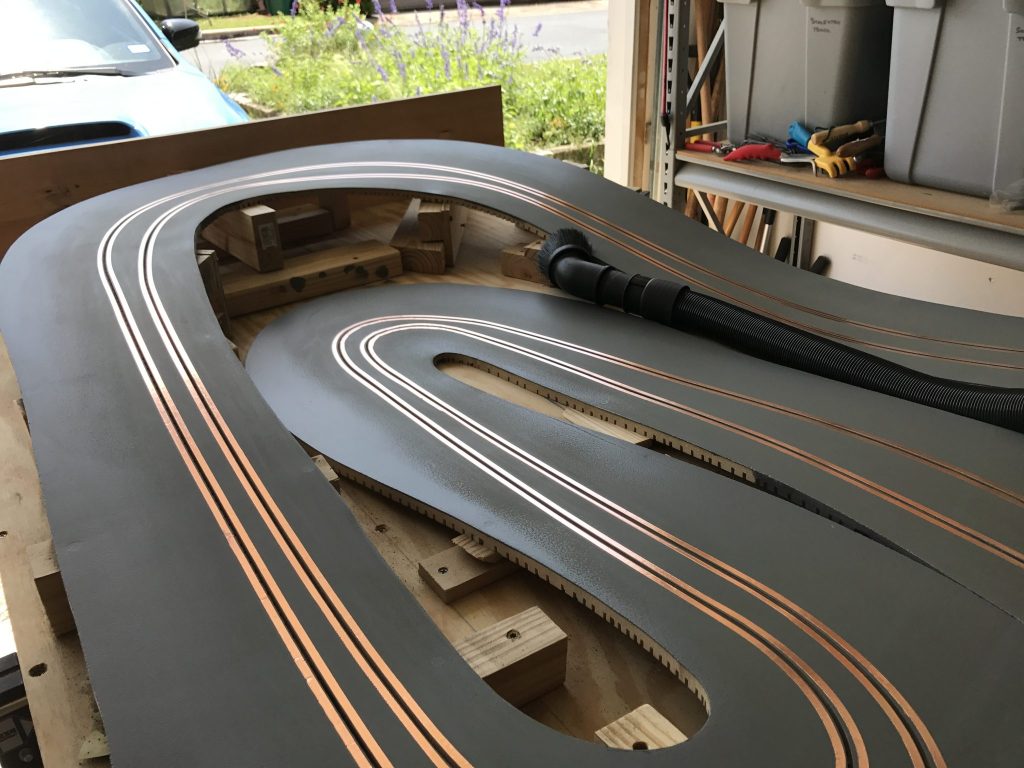
The next step was to cut slots on the bottom of the track that run perpendicular to the routed lane. These cutouts needed to be done every 3/8” with the purpose of allowing the MDF to bend as much as we needed it to do to achieve the elevation change I was looking for. This was the messiest work yet. With Alejandro, Russell, Randy and Myself we took the track outside, installed the correct cutting blades on our circular saws and started cutting. Once the dust settled we were able to check out the track and being mounting it to the table
 |
 |
We started mounting the track and did about half of it before the energy and daylight faded. It was looking great and everyone was excited at what it was beginning to look like. It was hard to escape the fact that this track was very different from the clubs current track. I could not help thinking that this would either be one of the most fun track to drive or one of the worst. I don’t know if there would be an in between. It sure looked like it would be fun and very challenging.
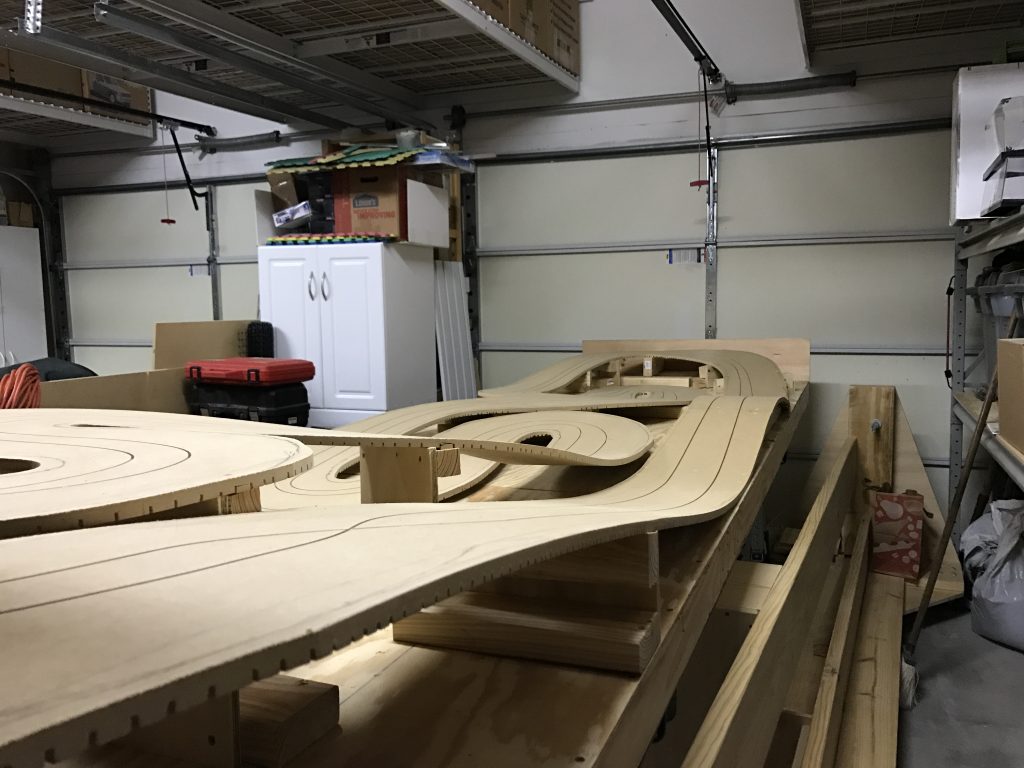
As we moved the track back in the garage Russell and Alejandro were asking what the plan was for storing the track at Kings. All of the ideas we had talked about in the past about raising it up to the rafters were thrown out the window as we were all concerned about the weight of the track at this point. No one had any answers but I could not imagine we could not come up with something. We were all too tired at this point.
For the next two weeks, as time permitted, I would add track supports and get the track elevations and camber as perfect as I could. Once all the track supports were installed and the track completely screwed down there was only one turn that had a negative camber. Not too bad for a track with so many turns and elevation.
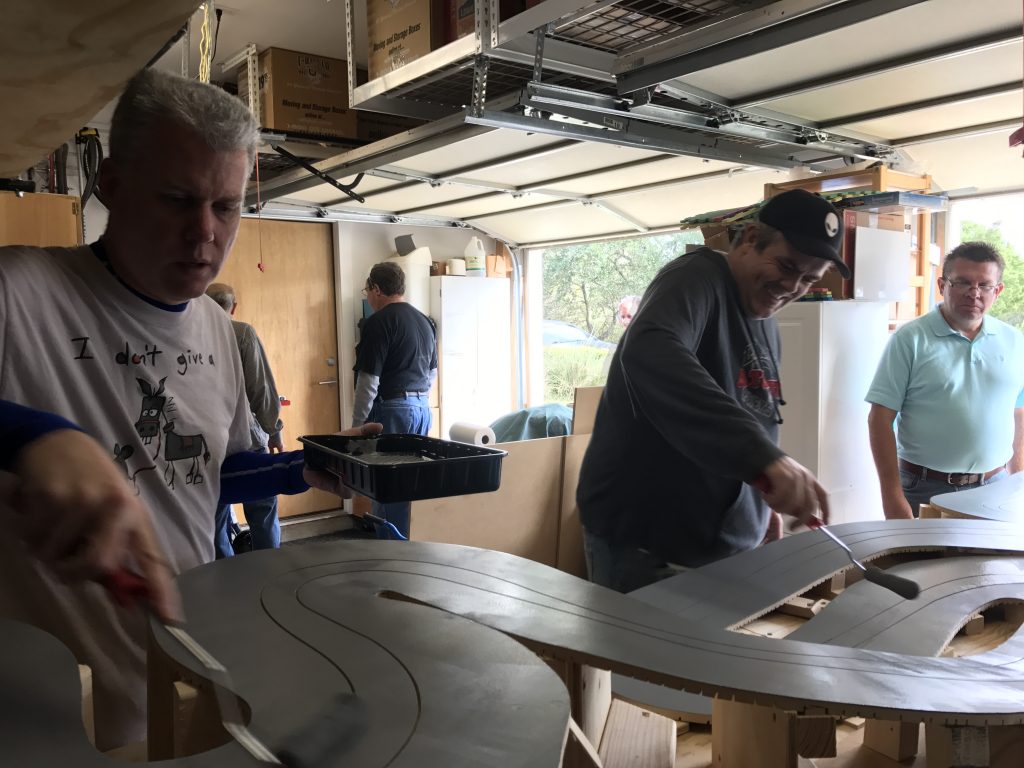
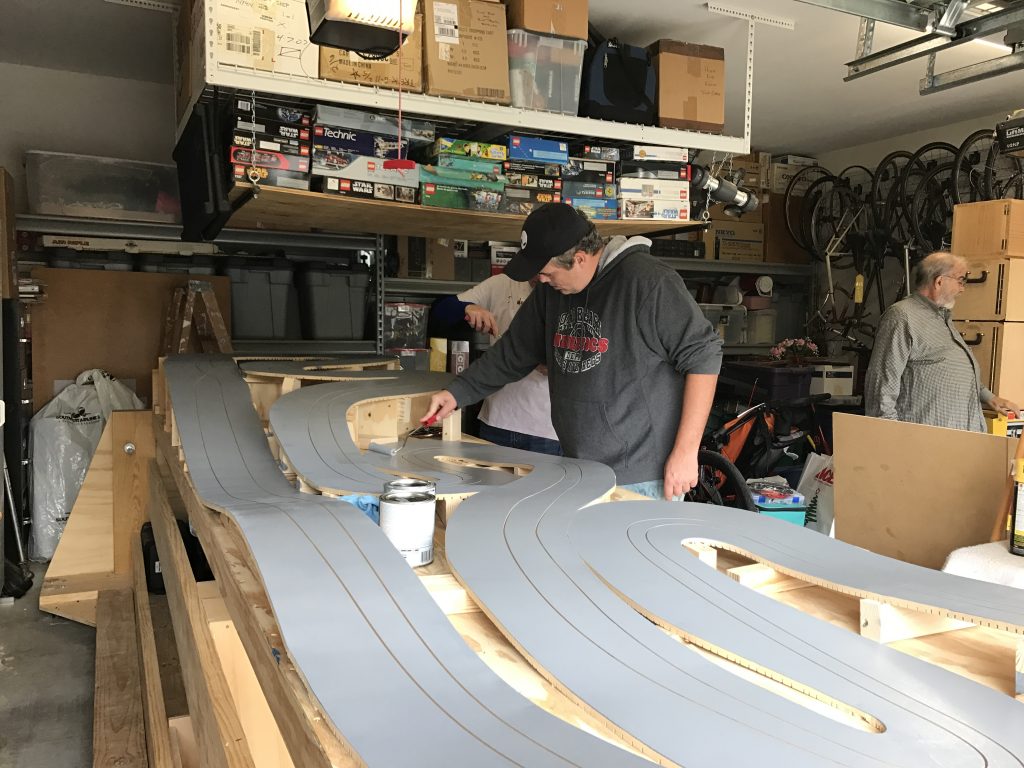
Next job was to fill all the screw holes and gaps in the track with wood filler. This was done on a Friday night and the club was invited to the house on Saturday to help with the next steps of sanding the filler, do an extensive cleaning of the track and paint the track surface.
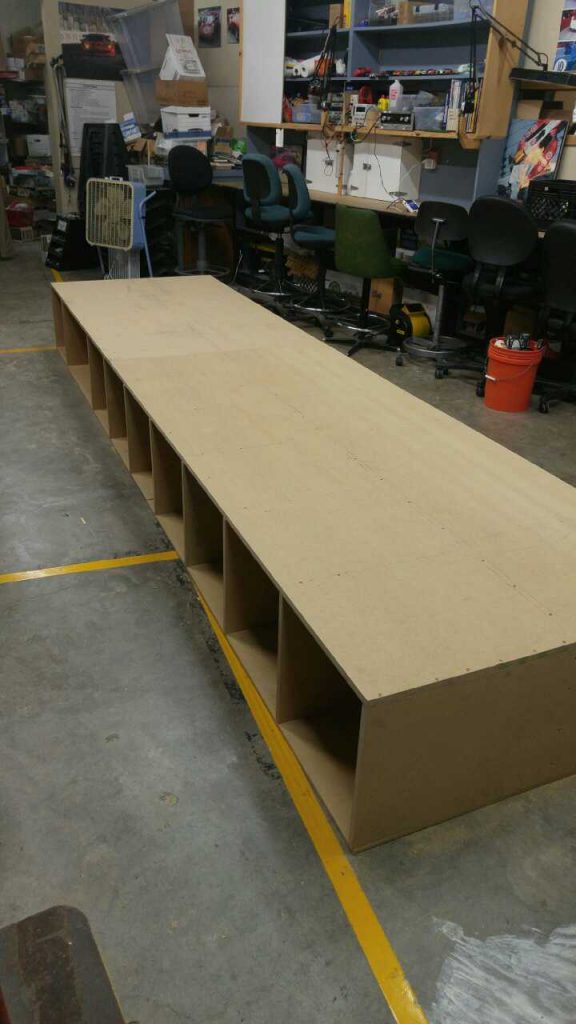
At the clubs last race of the year we again talked about where we might put the track at Kings. We measured areas all over the back of the store, we measured areas in the store, we talked about hinges and pulleys we talked about storing it on its side but no real good ideas were coming up. Then someone came up with the idea of leaving it on the floor next to our current track. The footprint would be just enough that it would fit and still allow access to the current work benches. We would install casters on it so we could move it around as needed. We had the idea to put a top on it and use it for more pit box space when we were not racing on it. We would maximize the space it would take up by building storage spaces beneath the track for members to store their pit boxes or other items. We would design it so we could lock down the top so the track would not be for general use but just for the club.
Not having to be asked, Russell set about the job of building the table and only a week after the first discussions the table was built and ready and waiting to support the new track. In the meantime, while the track was still under construction, it worked great at the serving table for the clubs Christmas party buffet.
PICTURE OF THE TRACK TABLE AS A BANQUET TABLE – Looking for one of these.
More to come……………………………….
The Austin Slot Car Club held a rally track build day yesterday, Sunday, March 12, and had five members attend – Randy, Shawn, Ary, Alejandro and Marty. The members were able to build a new track taping tool (we have it in case any of you would like to borrow it), get the track taped, run the leads for power and get the timing bridge set in place. It was a very productive day and one that saw the first laps being run on the track. With the power supply wired directly to the track and the voltage set at 6 volts, the lowest the power supply will go, the test Mercedes was off, both literally and figuratively.
The next job will be to install the sides of the track, wire the XLR connector, run the wires for the power supply, wire the timing system and build the driver station. Once we have the power and timing system completed and functional we will move the track to Kings where we will start work on the landscaping.
The track will have a locking cover on the top of it so only club members will be allowed to use it. We are planning on giving each club member a limited amount of track time so everyone will have the same amount of time on the track before the first race.
3-14-17 UPDATE
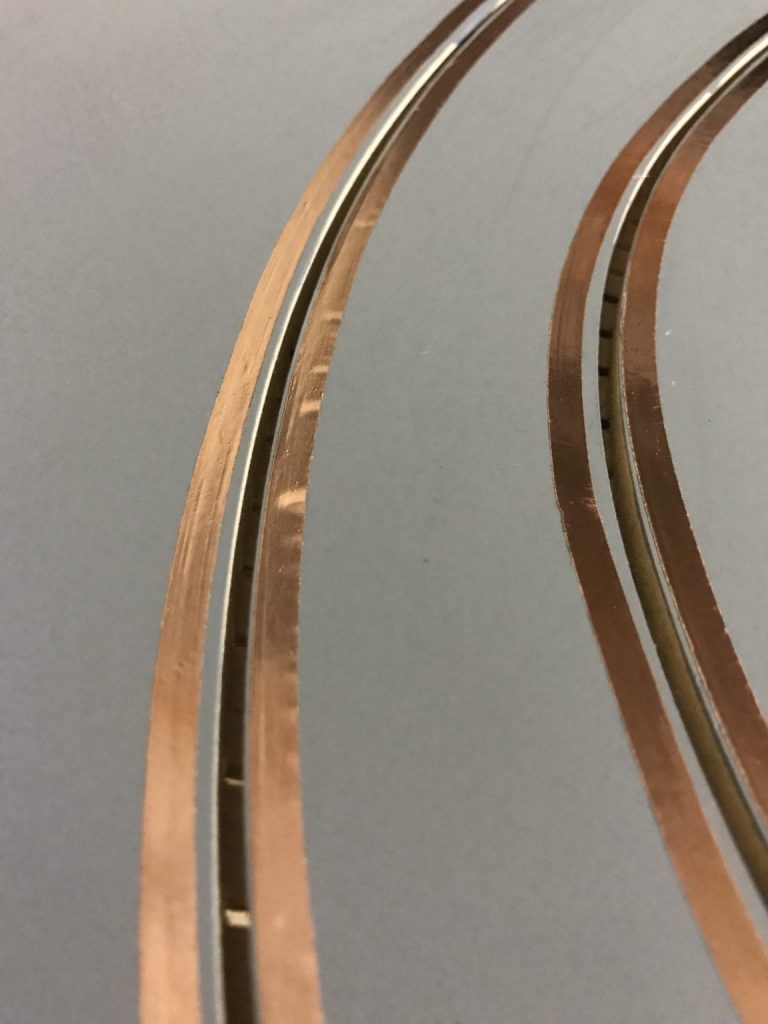
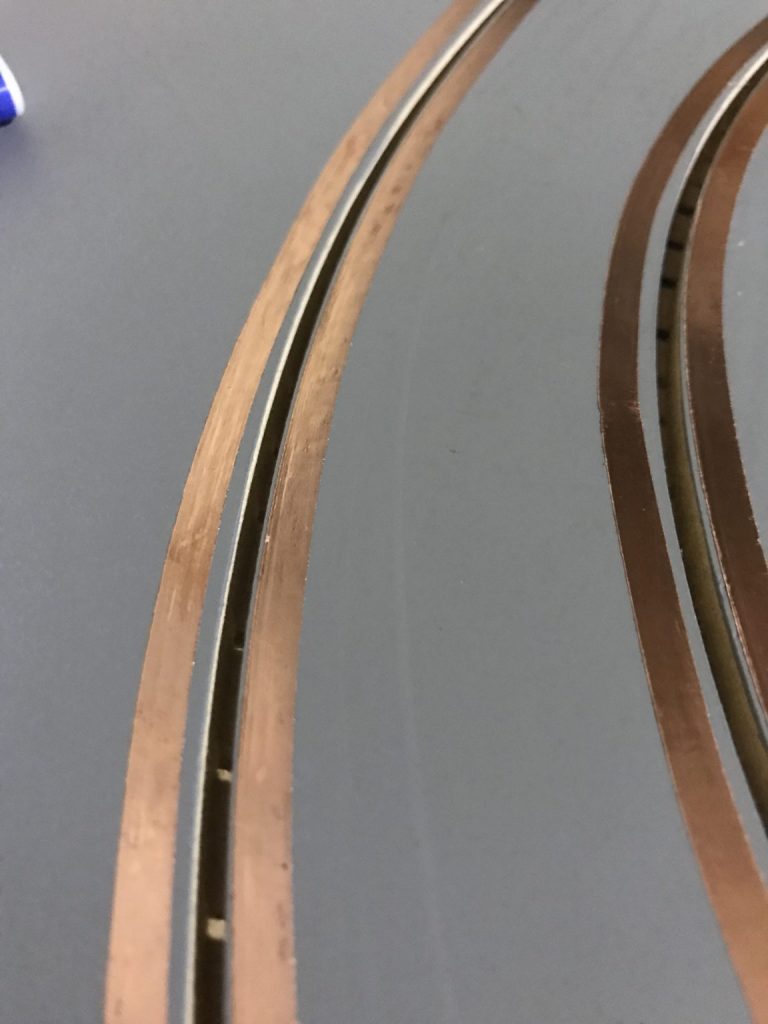
After all the great progress that was made on the track on Sunday the 13th I woke on on Monday the 14th and went straight out to the newly taped track so I could bask in its beauty. I could not believe my eyes! The tape that we had just put down the day before was coming up!!! I immediately worked to press it back down using the bic lighter that we used to press it down only the day before. As much as I wanted to believe pressing it back down would work I knew in my heart it was not going to stick. I thought it was at least worth a try.
As you can see from the pics taken Monday evening the work to press the tape back down did not work. Dammit!
Now the process began to figure out what the heck happened. Was it the paint, the application, the tape, cleaning of the track, or anything else? At the end of the day I decided it was the tape. I had the tape for a couple of years and thought that maybe the two years of the tape being in the garage could have weakened the adhesive on the tape. Time to get new tape, pull up the old tape and start the process all over again.
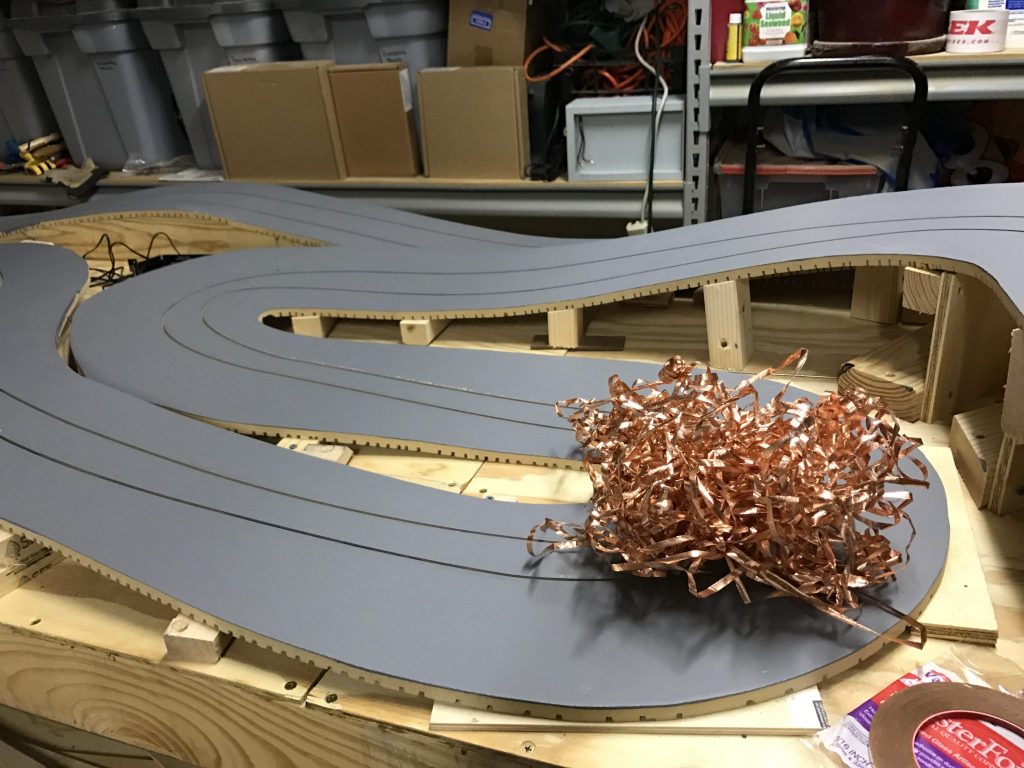
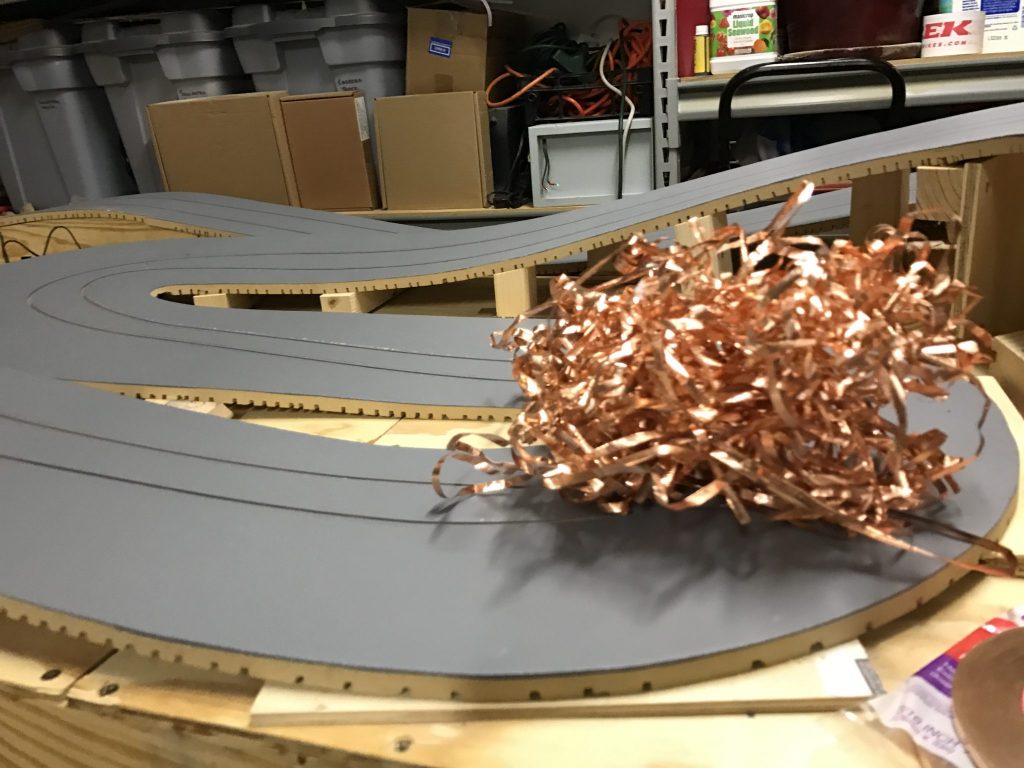
I hated to pull up the tape but it didn’t seem like there was any other way around it. Here is the picture of what 78 yards of copper tape looks like when its not on the track. It looked much better when it was on the track.
In pulling up the tape some sections actually did stick very well and actually pulled the paint on sections of the track. As a result I went back and repainted those areas and made the track ready to install the second round of tape.
I will say that at this time I was even wondering if tape was the way to go over if we should just forget about the tape and install braid. It would be very challenging at this point due to the tracks huge elevation and camber changes. Nonetheless we have made the decision to go with tape so lets give it one more try.
Off to Blue Moon Glassworks to get some fresh tape and give it one more try. I also talked to Russell who suggested I clean the track with denatured alcohol just to make sure the track was thoroughly cleaned and ready to accept the new tape. Russell also gave me a heavy steel roller to use to roll the tape down with more force than the bic lighter i was using.
The afternoon of the 19th after cleaning the track with the denatured alcohol it was time to put down the new tape. The work went well but the tape still didn’t look like it was sticking very well. I kept putting it down thinking it would stick better once I rolled it down with Russell’s metal roller and the bic lighter. Once the tape was down I began rolling and using the bic lighter with as much force as I could apply. Time will tell if this round of track taping would be the last.
I guess this picture tells the story.
Now I am really starting to doubt the whole tape thing vs. braid. Meanwhile, time is running out to get the track finished for the first race in July.
I went ahead and ordered braid and a new routing bit for the braid just in case we decide to make the switch. I also purchased more tape just in case we stick with it, no pun intended. Now we have both options ready to go no matter what direction we choose.
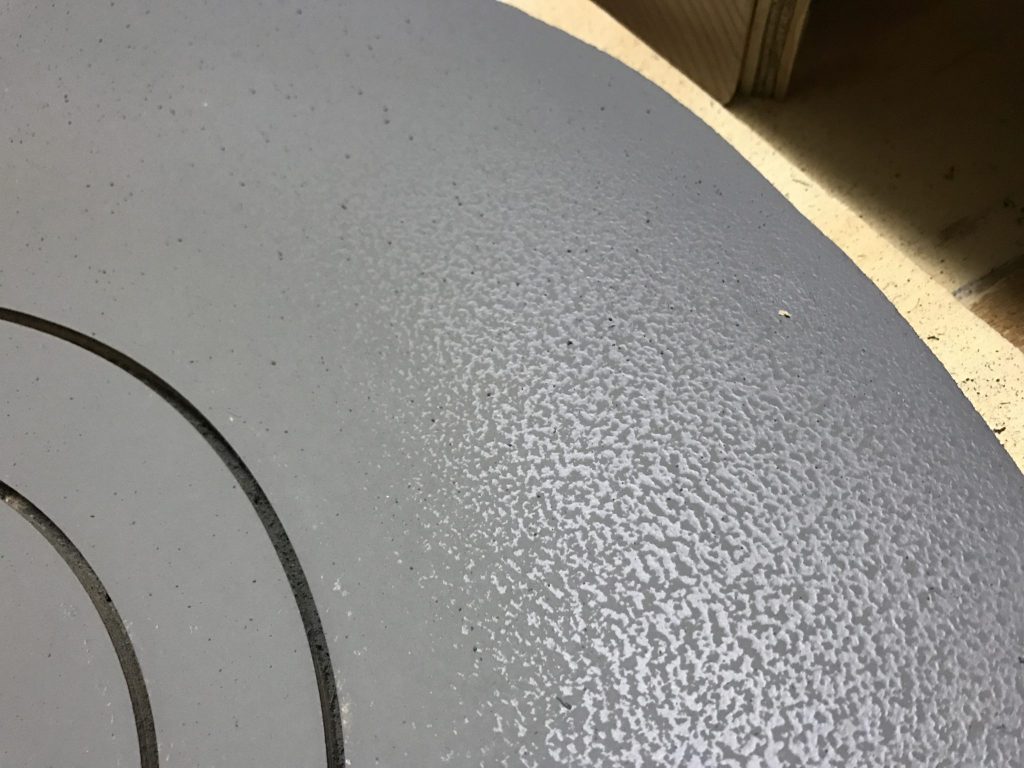
Shawn and Russell came by on Saturday the 25th to take a look at we were up against and help make the decision on what to do. One of the things Russell noticed was the texture in the paint that was on the track. The paint was a mid-level paint from Breed and Co. and appeared to have some texture to it along with being promoted as easy to clean – meaning things won’t stick to it. So the plan was to sand down the existing paint and apply some new higher quality paint.
New paint was purchased and applied. All was looking good right up to the point where the paint started to dry. It once again started to show texture as it dried. CRAP! New plan – sand down the paint once it dried and make the surface smooth as a baby’s butt so the tape would hopefully stick better.
This image has nothing to do with the story but I was so pissed off I needed to have a little fun.
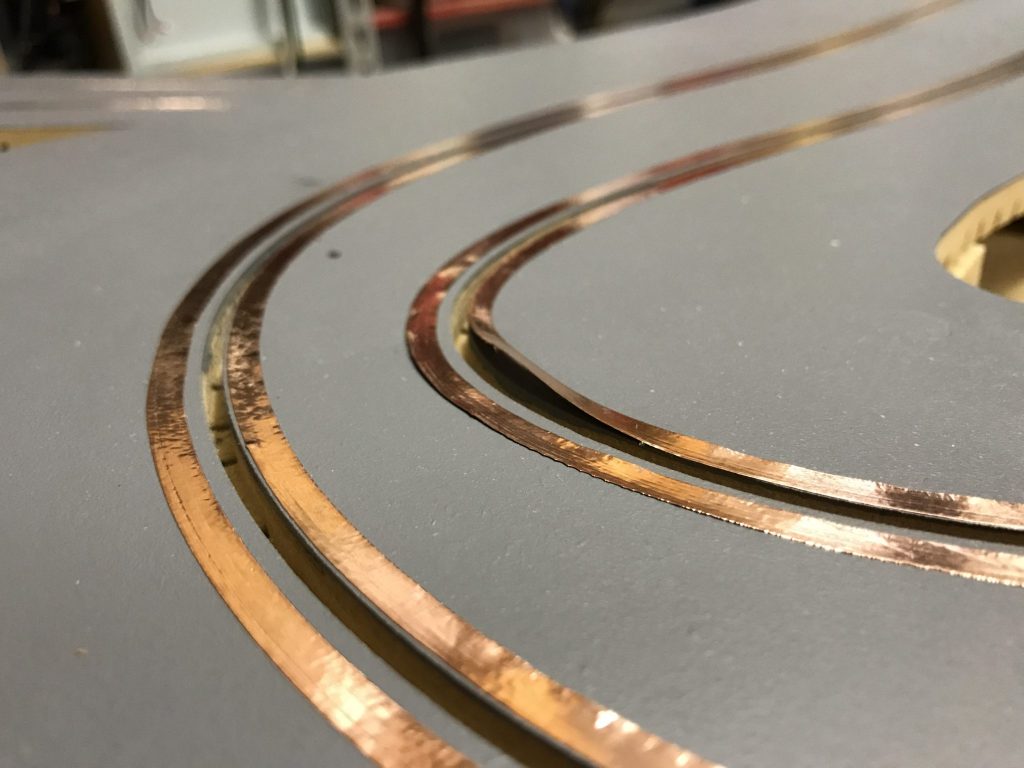
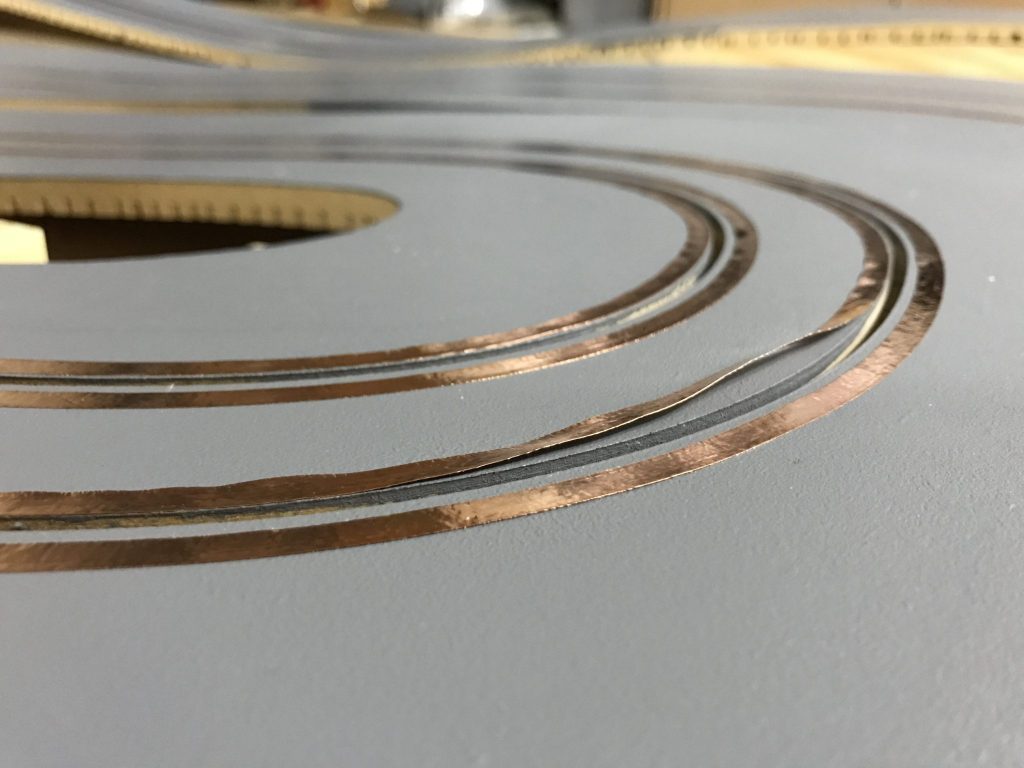
Now I spend the afternoon sanding the track with some super cool reusable sanding discs that Russell told me about. They worked great and helped make the work go quicker than old sand paper. The track was now fully sanded and it was once again time to put down tape for the third and hopefully last time. This time I put the tape down and used Russell’s roller to press it down and just to be sure it was down I went around the entire track with the bic lighter and pressed it down even more. The two different tools really do work differently. I also went around the track and patched areas where the braid had breaks or where the tape did not work very well around the super tight bends. All the work was done and it was just time to see if it would stick.
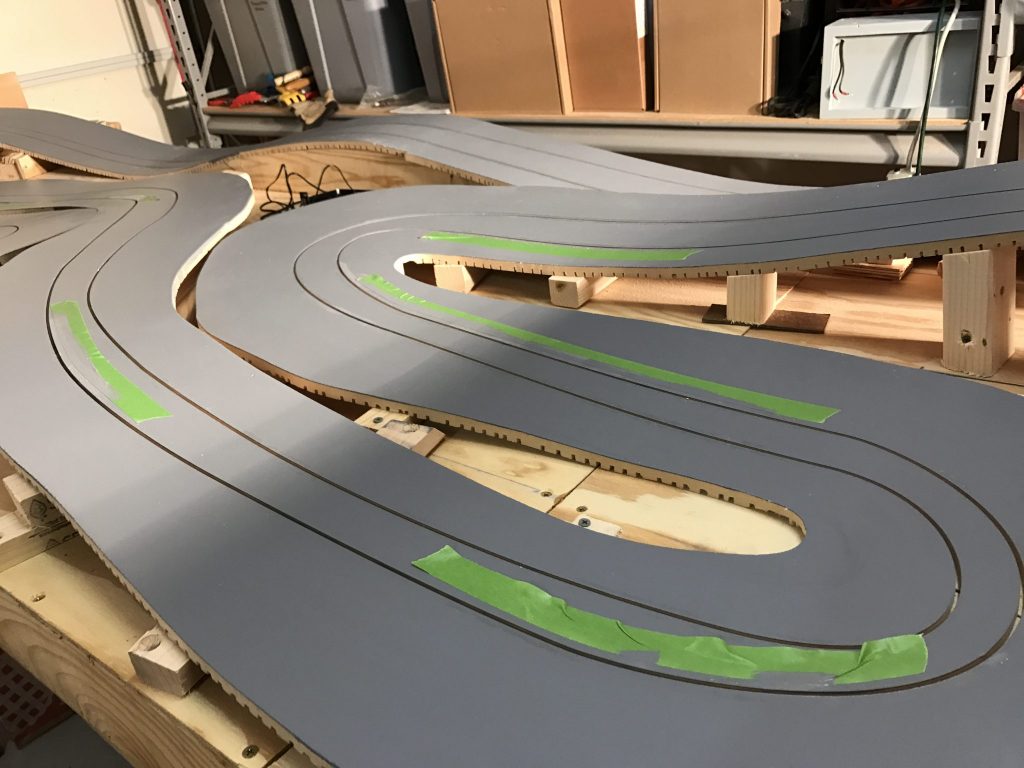
In the images below you can see the sanded section around the tape where the rest of the track still has its texture. The braid looks much better.
Tools of the trade.
Looking much better.
UPDATE 4-3-17
This picture was taken on 4-3-17 at 8:30pm. It shows what it looks like when the tape is pulling up from the track. The image below below is what it looked like after I pressed it back down with the bic lighter. Lets hope it stays down.
Let’s see, where did I put that braid?
To be continued………..
UPDATE 4-23-17
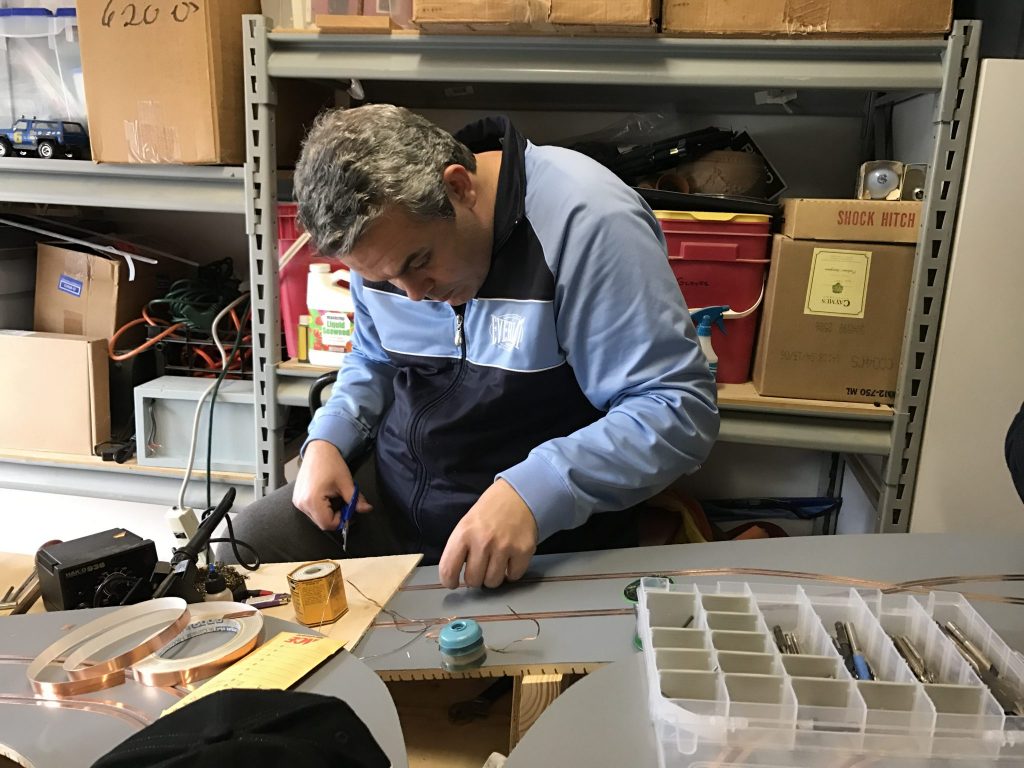
Now that the tape appears to be sticking it was time to finish the wiring and make sure all the tape was actually conducting an electrical current around the entire track. So lets turn on the power and see what we have. Not great – six spots where the patch jobs on the tape were not conducting electricity. Now its time to solder the patches to make sure the power is consistent everywhere on the track.
Solder and then sand the joint down so its smooth and won’t upset the car as it goes over the joint. After a couple of hours soldering and sanding it was time to have a little fun.
4-30-17
It’s alive! Yes the track is up and running. I connected some quick wiring Friday night to make sure all of the connections were working and a car could make it all around the track.
I have driven no more than 20 laps but Jenson has logged about two hours trying out every rally car he owns. It was great to see him with such a big smile on his face. He actually did a good job of driving a very dirty track that had no rubber laid down on it
Ary came by the house on Saturday after putting on and racing in the NSR Porsche 917 series. He installed the final track wiring in the typical first class fashion to replace my “quick get it running” job from Friday night. The work was fantastic, typical Ary. All wires clearly marked and ready to go. Along with the track wiring we installed the timing bridge and pulled all the wires we will need to connect the track to power in its final location of Kings Hobby.
What have I learned in the two hours Jenson was running on the track?
- Guides over 18mm in length will not They are too long for two of the tracks tight turns. Standard Scalextric guides are 18mm long and work well. A deep “routed wood” guide is fine. It’s only the length that presents an issue.
- The sanded track surface is very smooth and slick, especially since there is no rubber put down.
- Four wheel drive cars might be the ticket to help pull a car out of the tight turns.
- Cars can easily get airborne on the long straight. Balancing speed against a major de-slot will be a challenge.
- Knowing what lane a car came out of will be a big challenge for corner marshals re-slotting them. We might have to put colored lane stickers by each of the lane so the driver and corner marshal can get the car re-slotted as quickly as possible in the correct lane.
- Heavy cars found it difficult to get up the climbs with the slick track.
I am now installing the 18” tall sides all around the track. I will get those finished and sanded before moving on to the top of the track. Once that is down we will get a rental truck and move the track to its permanent location at Kings.
More coming………….
Installing the Sides
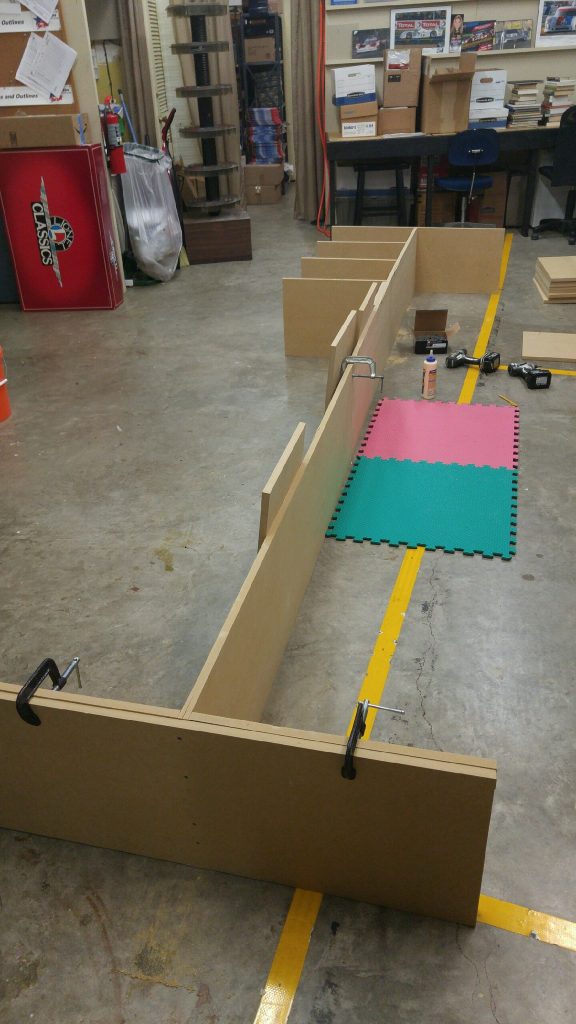
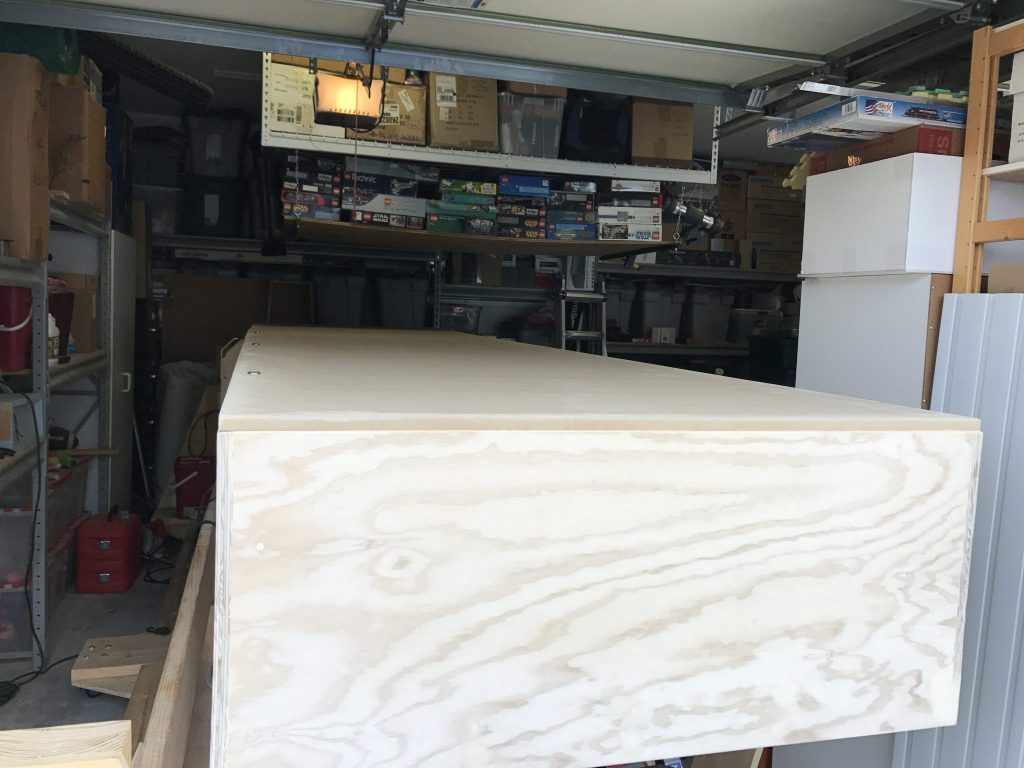
Nothing about the construction of this track has been easy and the sides were to be no different. What should have been a simple process turned out to be just one more challenge. The task was simple – install 18” high boards around the entire track. The reason we are doing this was so we can install a lockable top over the track so it can be used as a table top when the track is not being used while also serving as a way to keep the track secure.
The construction was simple – ¾” plywood cut down to 18” with an 8’ section joined to a 6’ section using large biscuit joiner and plenty of wood glue. This construction should provide us a side that is strong enough to resist any bending when being leaned on from the side so the future landscaping will have a stable base to be mounted to. The glue was allowed to dry overnight and I now had a perfectly straight 14’ x 18” x ¾” plywood side that was ready to be installed.
Since I was a one man show working on getting the side installed I attached some boards to the bottom of the track that would allow me to rest the side board on it so I could attach one end and work my way to the other. As I worked my way from one end of the track to the other it was becoming obvious that something was not straight or square. I mounted the side board flush to the bottom of the track on one end and as I worked my way to the other end the board was sticking up ¾” from the bottom and the adjacent end board on the track. I took the side off and tried to figure out where the problem was. I know the 14’ plywood side was almost completely straight and both ends seem to be in alignment so where did the problem lie? It was too late and I was too pissed off to spend any more time on it.
The following day Ary came by to help install the wiring for the power and timing. Before we started the wiring we worked to find out what the issue was with getting the sides installed correctly. With Ary being able to hold one end and me being able to hod the other end it was discovered the middle of the track table was actually bowed up by around 3/8”. This meant that as I mounted the side boards following the bottom of the track I would be off by about ¾” at the other end of the track.
With the mystery solved we mounted the sides all around the track and everything lined up perfectly, except the center of the track that was 3/8” higher then either of the ends.
Wiring the Track
Besides installing the sides on the track Ary had come to complete the wiring for the power and the timing. He had brought over a power supply, a laptop and had everything else pre-wired so the work would be as quick and painless as possible. Within a half an hour Ary was drilling a hole in the bottom of the track table to drop the completed wiring.
Building a new Drivers Station
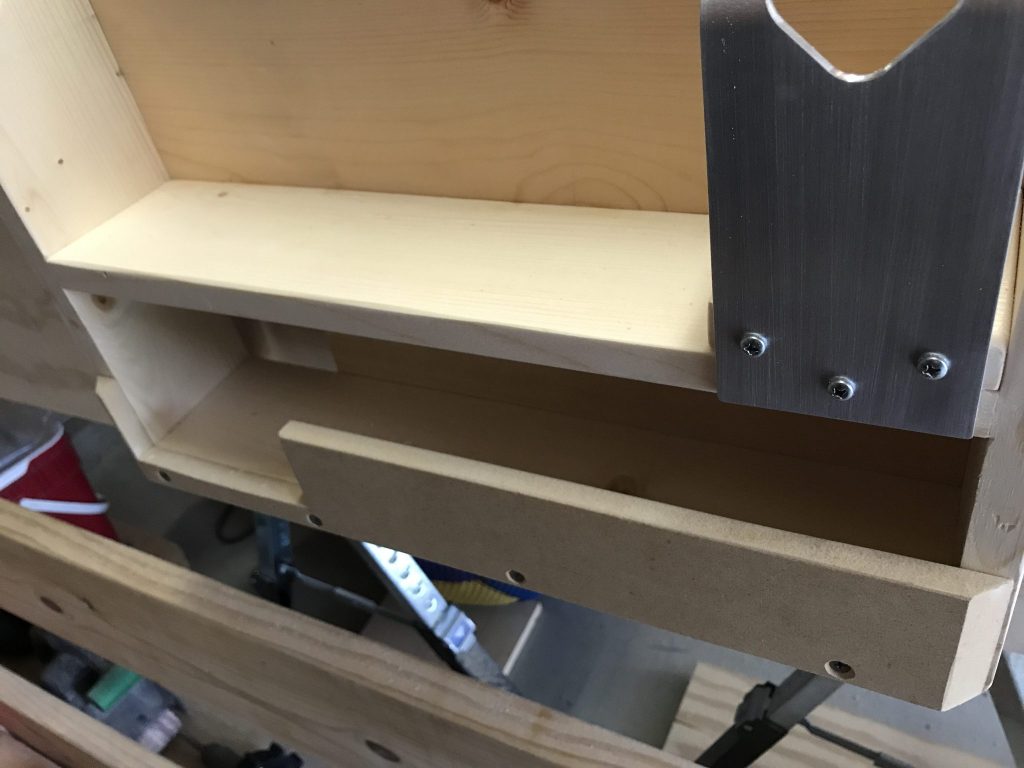
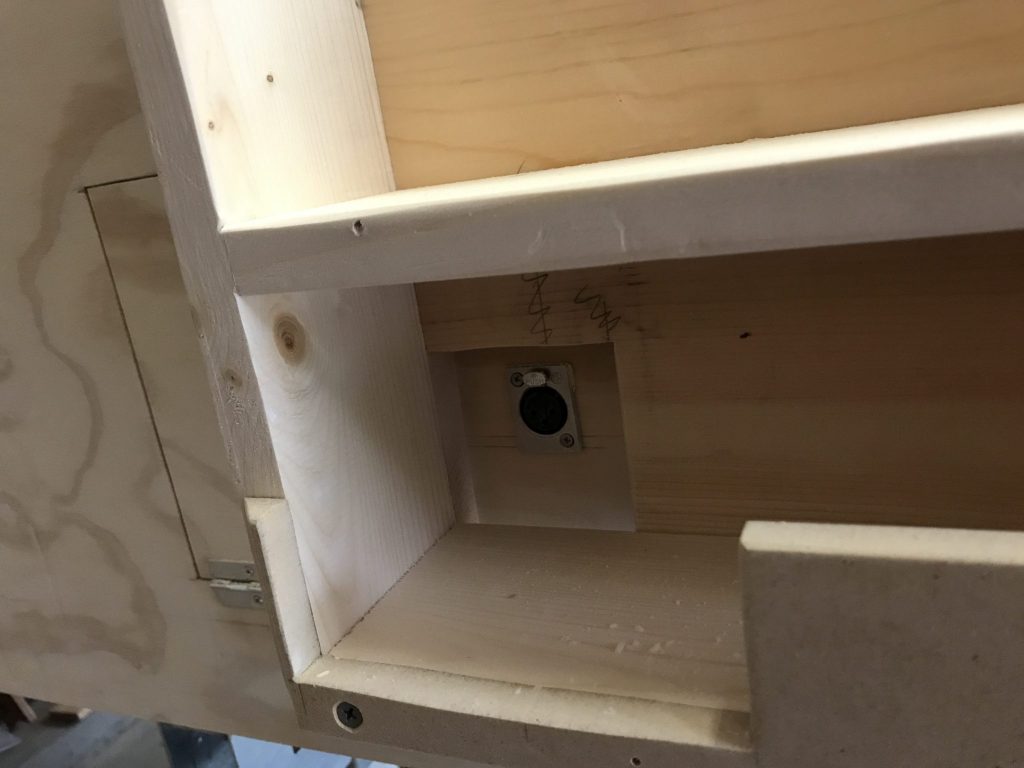
Once Ary had the wiring completed I noticed two things about the driver’s station I had already built. #1 – the drivers station was mounted too low on the side of the track and #2 – with the XLR connector mounted on the boards that are the sides of the track there is nothing to hold the heat sink and alligator clip/XLR connectors. With both of these items nagging on me I decided it was time to rebuild the driver’s station to fix these two issues. The new drivers station is now mounted as high as possible and has a nice shelf to hold all the wiring associated with the controllers.
Sanding and more Sanding
Once all the sides were up it was time to sand the sides smooth and sand the top of the plywood sides smooth so no one would ever get a splinter. It was also time to fill in all the screw holes and once dry, sand them smooth. The sanding took some time and created one hell of a mess but the end result looks great. You can’t even tell the sides are screwed in and the wood is as smooth as a P-zero tire.
Building the cover for the Timing Tower
Knowing that cars can get airborne on the straight by the timing tower it was important to put some type of protective cover over it. This was relatively straightforward construction. I chose to use the materials I had – 1” x 1 ½” board that I used as the interior trim/guides for the table tops. The material was a little overkill but I had to have something more substantial to screw into as the cover was going to be screwed to the side boards and needed to be thick enough to take a 1 ½” screw.
Building the Lockable Tops
With the table and boards being relatively square it would not be too difficult to build the tops for the table. We decided on ¾” MDF as the material so the table sections would be strong enough to support pit boxes and other things. The key here was to get the cuts as correct as possible.
Having to put an extra lip on the inside of the track walls so the tops would have some extra material to rest on while getting the tops on correctly. Without that little piece of material we would run the risk of having the heavy table top fall onto the track and possibly damage the tape. The last thing I wanted at this point was having to fix the copper tape again.
Building the lockable top’s – part 2
Once the final lockable top was put in place I looked over the top of the table and was happy with what I built, almost the first time for this track. Then it hit me. Anyone could just lift up the top of the table from the side that was not locked and could access the track. Dammit. I either need to install some sort of tongue and grove set up or just install additional locks on the other side of the top so both sides are locked. The decision was made to install four more locks. Now the trick was to find four locks that either matched the five keys I already have or find four more keyed alike locks. After taking trips to four Home Depot’s and one Lowes I was lucky enough to find four locks that had the same key number as the first five. This means we have one key to unlock the tops and get into the track to check the wiring or flip the change of direction switch.
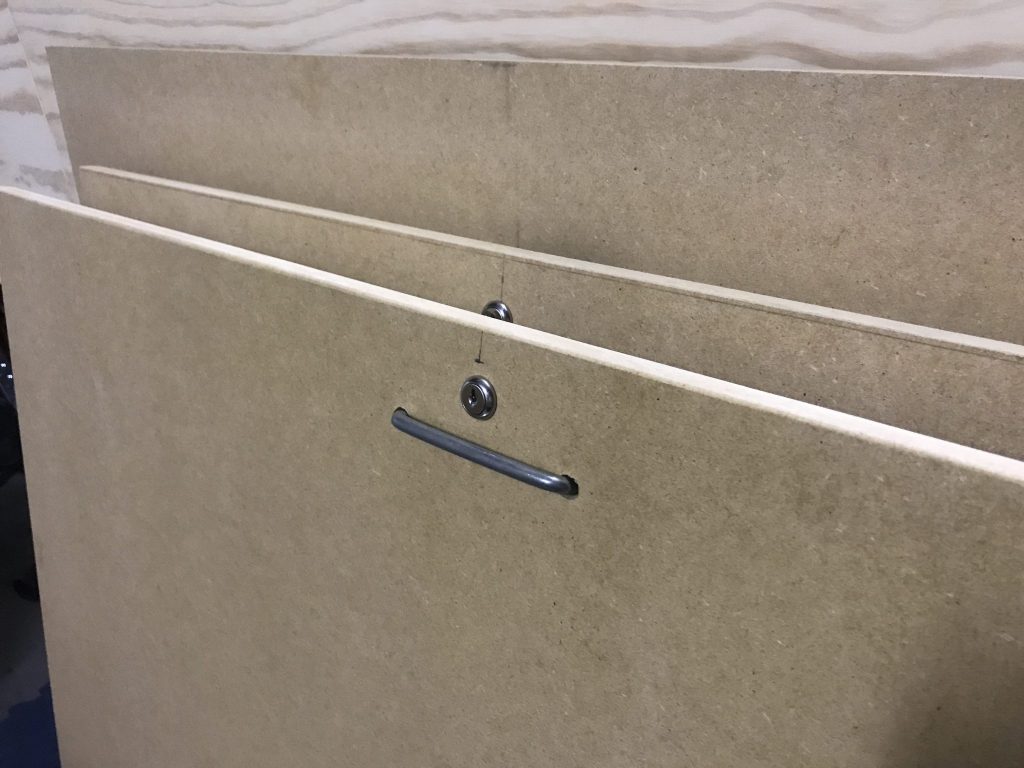
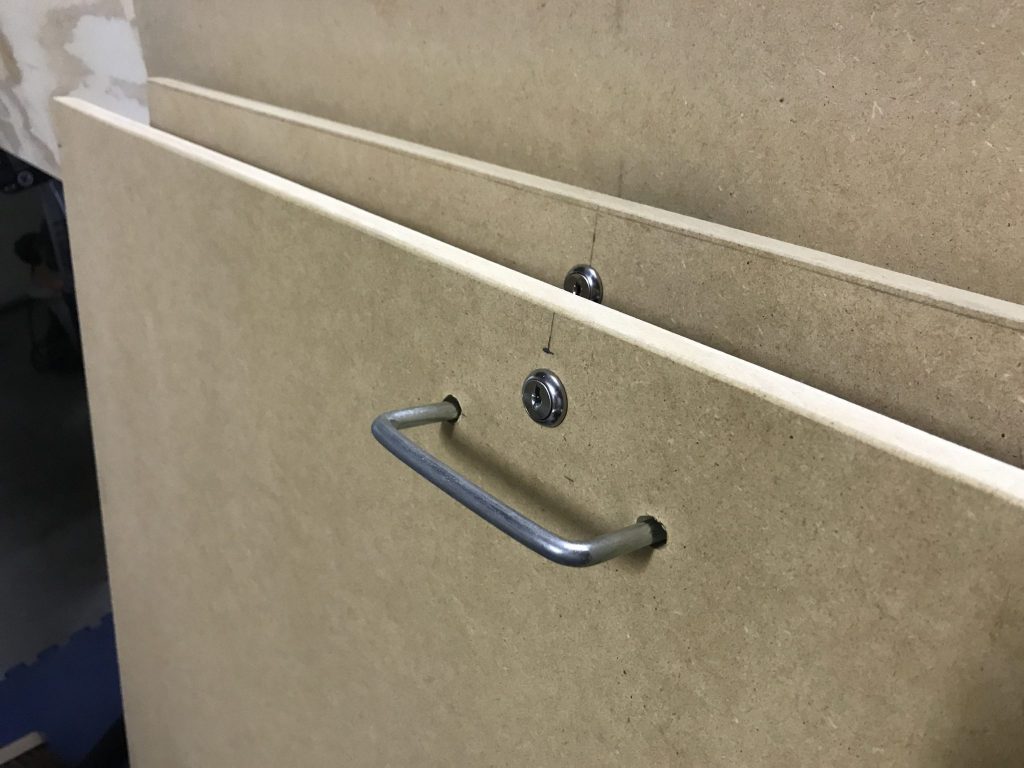
Along with installing additional locks on the table tops I thought it would be a good idea to have some sort of handles to make it easier to handle them. I was not a fan as I really liked the smooth unobstructed look of the table tops but I also didn’t want the heavy tops falling onto the track surface because someone could not handle them correctly. Now what type of handle to use that would not stick up and get in the way but one that was sturdy enough to allow someone to lift the top. I also couldn’t use many of the recessed pulls as they would have required too much material to be removed from the MDF and might compromise the strength of the table tops. After thinking through many different designs I finally settled on using a “D” clamp. This would require me to drill two holes on each side of the top and drop the “D” clamp in and put a couple of nylon lock nuts on the end. Simple solution that looks very clean when installed.
Final Vacuuming and Testing
On Sunday the 28th I did the final vacuuming of the track trying to get it as clean as possible. I also employed my test driver: Jenson B. to try out the track and make sure it was working correctly. After one solid hour of testing with time running in both directions the wood working phase of the clubs rally track construction was deemed completed.
Next Step
Now it’s up to Russell to lead the build out of the cabinet in the table to hold the power supply and timing laptop. Once those things are done it will be time to move the track to it final spot.
Moving Day!
The official day for moving the rally track from its current location to Kings is Sunday, July 2nd. Club members will be meeting at noon and load the track onto the back of a 17′ U-Haul that will transport the track to Kings Hobby where it will be placed on top of the pre-made table. The power and timing will be connected and the first laps will be run to make sure it works as intended. The landscaping will be completed at Kings throughout the Fall and Winter.
Time to Practice?
No one will be allowed to drive the track until Thursday the 6th where the track will be open for the first time for all club members to try out. Because the rally track only has one lane each club member will be given 10 minutes to run and we will go in order allowing as many runs as time will allow. The track will open at 5pm and close at 9pm. Looking forward to see everyone there!











Great article, Marty! I can’t wait to race on it.
Great write up, Marty. I’m so excited about getting this done and racing on it!!
Track looks great, this will be a lot of fun and a LOT TO LEARN.
Track looks awesome Marty! And that’s a great idea creating a top for it and storage below. I have to ask though, why did you guys use 1/2″ mdf? Why not 3/8″? It’s more difficult to source (would probably have to go to a supplier of cabinet workers), but you could have avoided a lot work cutting the kerfs on the underside of the track. I used 3/8″ mdf on my 1st routed track. And it was flexible enough to bend into a corkscrew for my current track with few undercuts.
Hope to race with you guys again one day…
Steve