Home › Forums › Slot Car Talk › 1/32 Scale Slot Cars › AllSlot Chassis Cracks
Tagged: AllSlot Chassis Repairs
- This topic has 6 replies, 2 voices, and was last updated 9 years, 1 month ago by
 BarkingSpyder.
-
AuthorPosts
-
-
September 28, 2015 at 3:28 PM #8201
 BarkingSpyderParticipant
Just a heads-up to watch out for the flimsy AllSlot chassis.
This last weekend during post-race practice I acheived my first sub-4 times (3.95, 3.93, etc.) with the AllSlot GP Formula car. My joy was short lived b/c after a few over-the-walls I could not get below 4.2s. Close inspection of the chassis showed that it had cracked just aft of the rear axle and the motor mounting screw location. I am guessing that there is too much flex or vibration that prevents full power from being applied to moving the car forward.
For our first race I am using some spare plastic to repair the break, as I order a replacement from Pendle (cant seem to find any in the states) and hopefully that will allow me to post some decent times.
-
October 5, 2015 at 12:55 PM #8306
 RichCMember
I was racing my AllSlot and my motor pod cracked and I had to patch it. These cars are just like the real F1 cars very fast and very easy to break. We need temporary nets or walls to catch the cars when they catapult off the track! Even the flipping during racing will break them. I guess we should lower the voltage to about 9 volts.
-
October 12, 2015 at 12:44 PM #8362
 RichCMember
I was searching the World Wide Web and found a site that shows metal chassis made for F1 slot cars. I could not find out who sells them. This might be a good thing to check into. Let me know if anyone has seen these. Does anyone have any fishing nets we can use to catch the cars before they hit the floor?
-
November 19, 2015 at 1:23 AM #8449
 BarkingSpyderParticipant
Aluminum AllSlot F1 chassis are made by SlotingPlus – available in the US from Electric Dreams for $32, 17EU appx 28USD direct from SlotingPlus. They also have a steel chassis for a slightly lower price.
-
November 19, 2015 at 1:55 AM #8451
 BarkingSpyderParticipant
Changes from my previous post. 1) Brass piano wire (1/32in) available from Hobby Lobby can be used instead of the paper clip. 2) Piano wire can also be used to reinforce the front suspension struts which we saw break on Steve’s car 2 weeks ago. 3) The plastic in the AllSlot chassis bonds better with epoxy (JW Weld, JB Quick) than with superglue/CA.
Fix broken guide bosses with (a) a brass tongue from Professor Motors commercial parts section, $4/ea, and (b) one thick and one medium B-Nova adapter.
Steps: Dremel the old guide boss to be level with the top of the chassis. Flatten the center ridge also. Glue a thin B-Nova adapter to the tongue; use this as a template to grind down the brass flag-pole shaft ring to be as thin (appx 1.5mm) as the B-Nova. Test the rotation and widest swing with a Slot.It CH07 wood guide. Grind out a notch in the tail of the tongue (4mm x 6mm) to allow the front chassis screw to be accessed. When finished the thin B-Nova can act as a guide spacer – useful for the old style chassis w/o adjustable axle. Leaving the rest of the tongue full width adds strength to the lower suspension struts. Epoxy the tongue, B-Nova down, to the bottom of the chassis. Epoxy the thick B-Nova to the chassis and top of the tongue, using a toothpick to add epoxy to the small gap between the B-Nova and the tongue (at the flagpole tube). Rub a clean toothpick on the inside of the flagpole tube to smooth out excess Epoxy in the tube. When dry use a razor knife or small round file to remove excess epoxy from the tube; test with the CH07 guide to make sure you do Not remove too much material and make the boss too wide!
Check the height of the stack with a CH07 flagpole-use a thin or medium B-Nova to add height as needed. Epoxy to top of thick B-Nova. The total thickness of the B-Novas+tongue should be appx 6mm.
TISSUE PATCH: Steve recommends a quick, light and strong fix using a small piece of tissue, doped with CA just like putting a fibreglass patch on a 1×1 car. Cut the tissue to a little larger than the crack, with a 1/6 to 1/8in skirt. Smear a small bead of CA along the crack, then use a toothpick to tap the tissue onto the damaged area, smoothing out the tissue. Add more layers of tissue for a severe crack; but in most cases 1 may be enough. When dry add a 2nd layer of CA making sure all of the tissue is doped. When dry, trim excess only if needed.
-
-
October 13, 2015 at 11:52 AM #8365
 BarkingSpyderParticipant
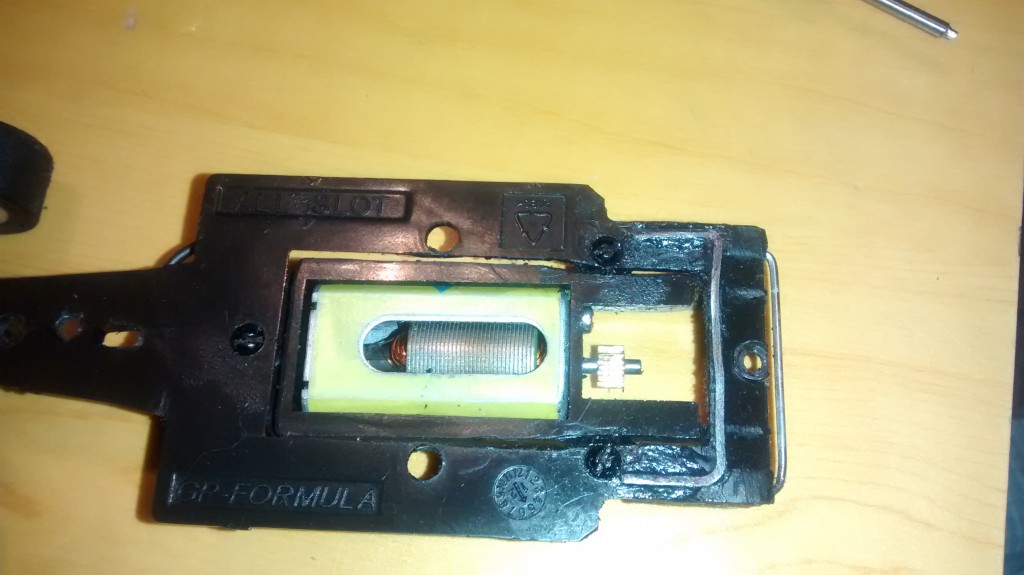
I found that repairs to the chassis are best done with a large paper clip, cut in a U shape, and glued across the back of the chassis (on top). When doing this, do a dry fit (maybe with a small dab of shoegoo) to see if there are any jams with the body. If so, use a razor knife or very precise dremel cuts to trim the body where it hits the paperclip patch. I will add pix later.
-
October 26, 2015 at 5:13 PM #8421
 BarkingSpyderParticipant


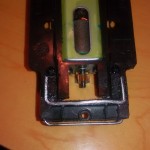
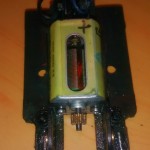
These are examples of repairing the chassis if it cracks near the motor pod. The most important patch is the upper patch; bend a large paper clip into an M shape that snakes around the reinforcing bumps at the end of the chassis. Superglue into place, being careful not to get the wire over the pod mounting holes. Remove pod screws while you are doing this so that superglue does not get into the holes or the POD hardware. For reinforcement (originally of a styrene patch that did not last) I also put a paper clip on the bottom of the chassis. Obviously you need to double-triple-dog check that the wire cannot contact the track braid; I flattened mine carefully with a Dremel sanding drum. Some paint over the wire may add a little more protection, but I found mine to clear the braid comfortably so I did not do that..yet
-
-
AuthorPosts
- You must be logged in to reply to this topic.


