
Home › Forums › Slot Car Talk › Tech Tips / Q & A / Tutorials › Upgrading / tuning a Scalextric GT McLaren MP4-12C for non-magnet wood track racing
- This topic has 4 replies, 4 voices, and was last updated 13 years, 3 months ago by
 Bellator.
-
AuthorPosts
-
March 28, 2013 at 12:24 AM #727
For the 4th quarter of 2013, our club voted to race modified Scalextric GT cars. The most basic outlines of the series stipulate that the chassis and body of the car must remain stock, but just about everything else can be replaced.
In this article I will show what I did to setup my Scalextric McLaren MP4-12C GT3 for the series. The car turned very decent lap times on our track, just slightly slower than a prepared Slot.it car … and that is really good for a Scaley, I’m looking forward for the races.
Let’s get it started:
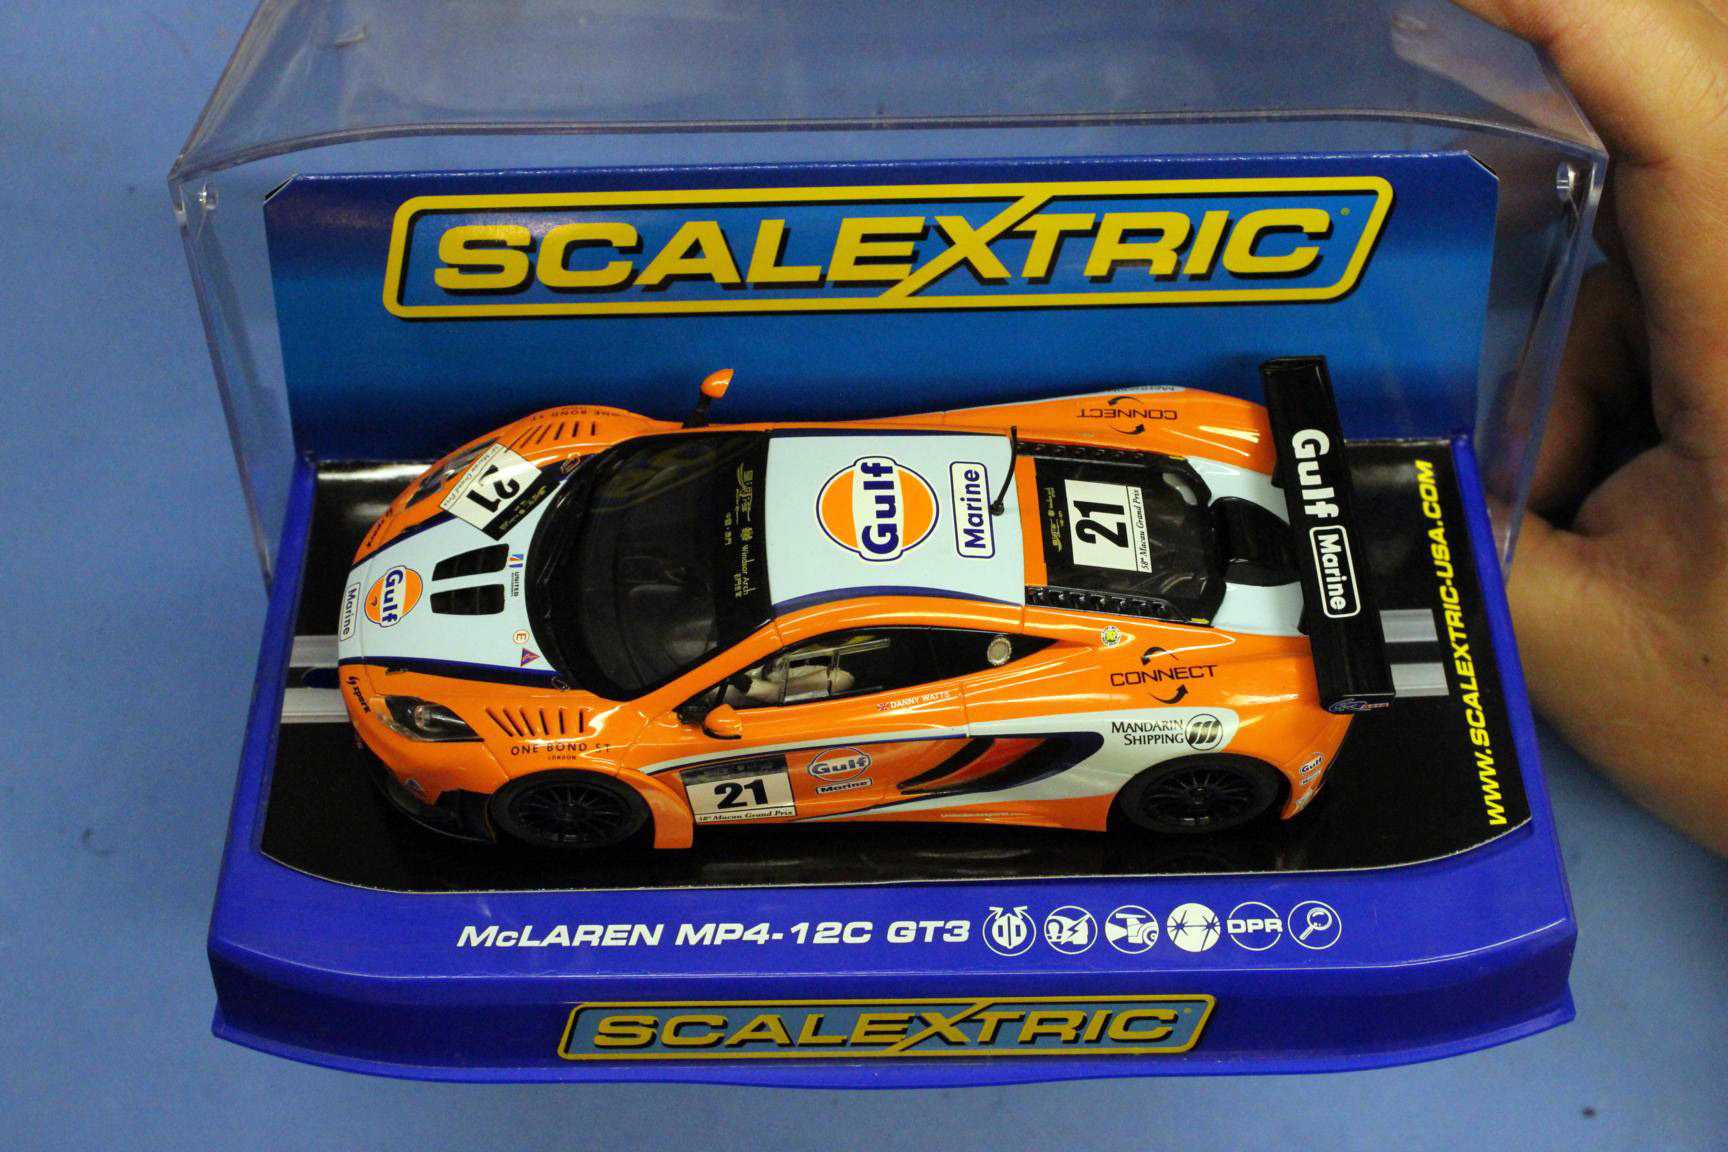
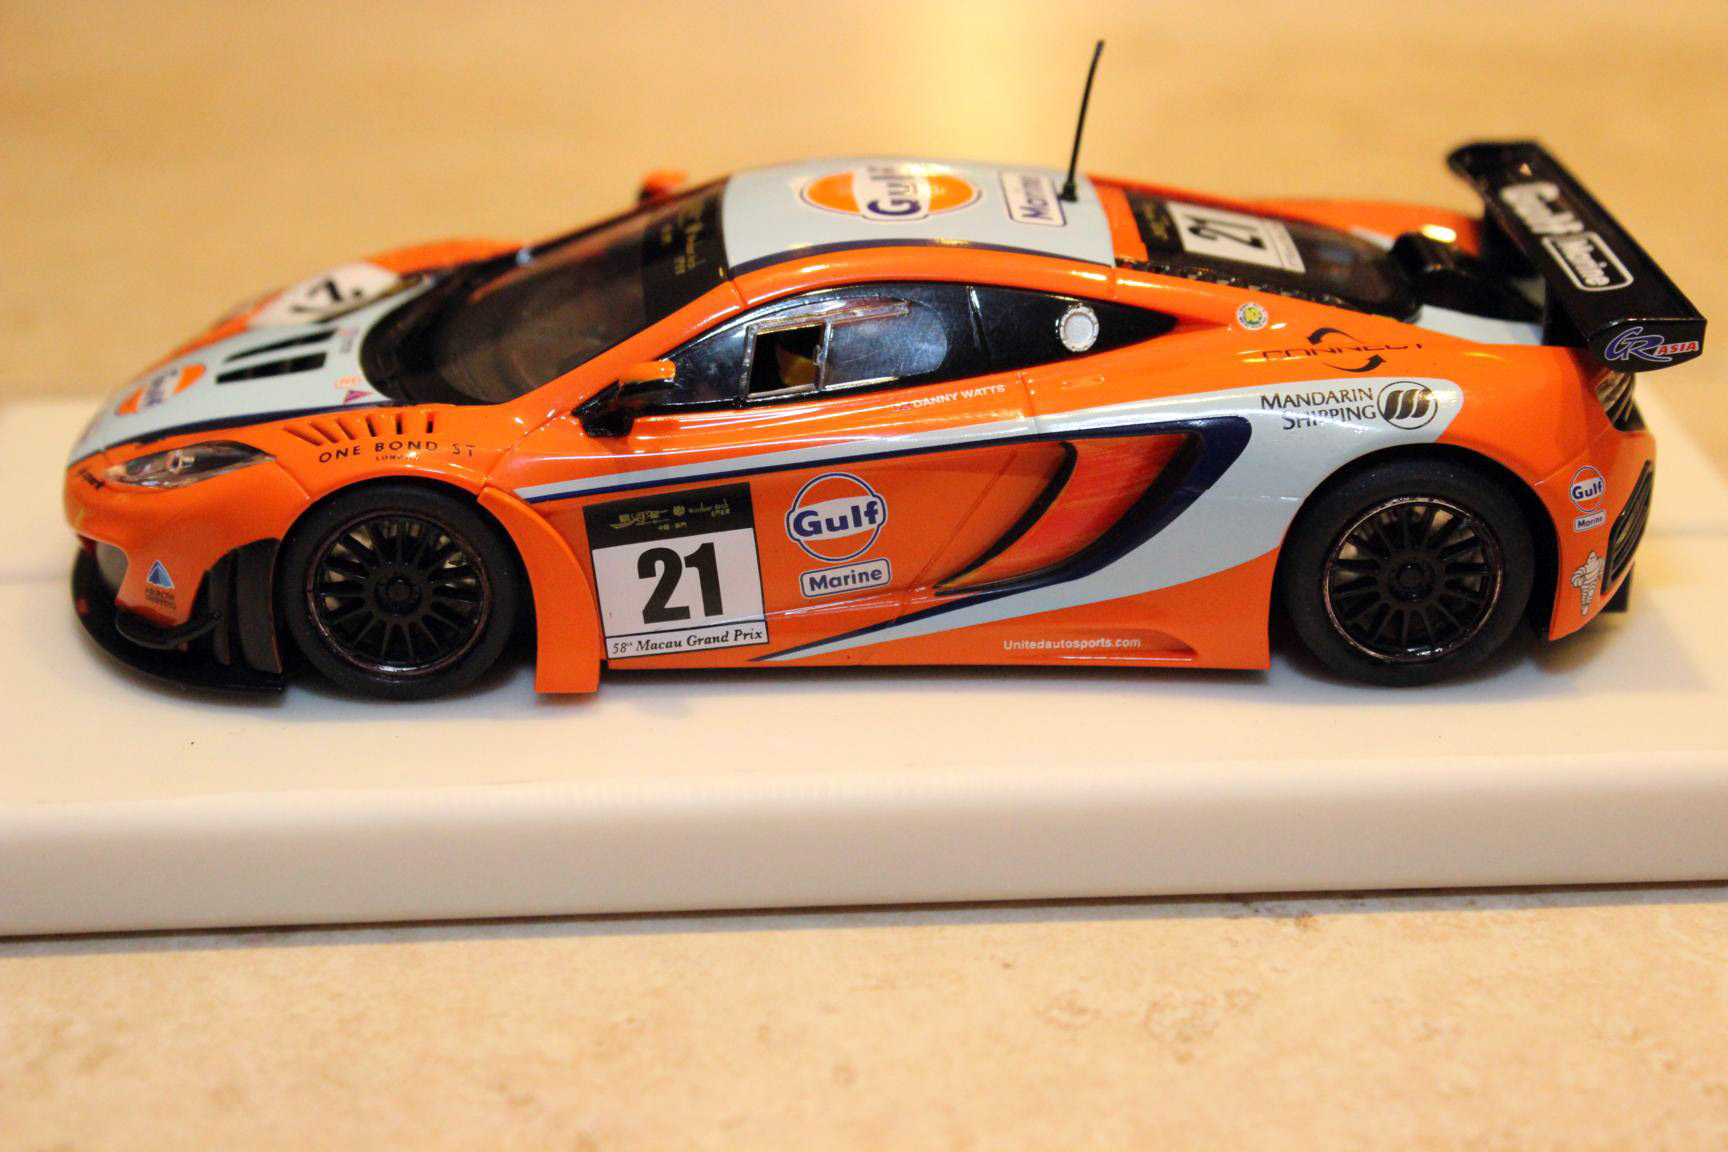
This MP4-12C really caught my attention sitting on the shelf of Kings Hobby; I’m a big fan of both McLaren and Gulf colors.
As any other Scalextric car, as soon as you remove the magnet, it becomes undriveable. This car was even worse; it would not stay in the slot even with the magnet installed. A quick look at the car explained the poor performance: the front wheels/tires were too tall, raising the entire front of the car, thus lifting the already shallow stock guide.


Not noticing anything else wrong with the car, I start to disassemble it. First is the body…
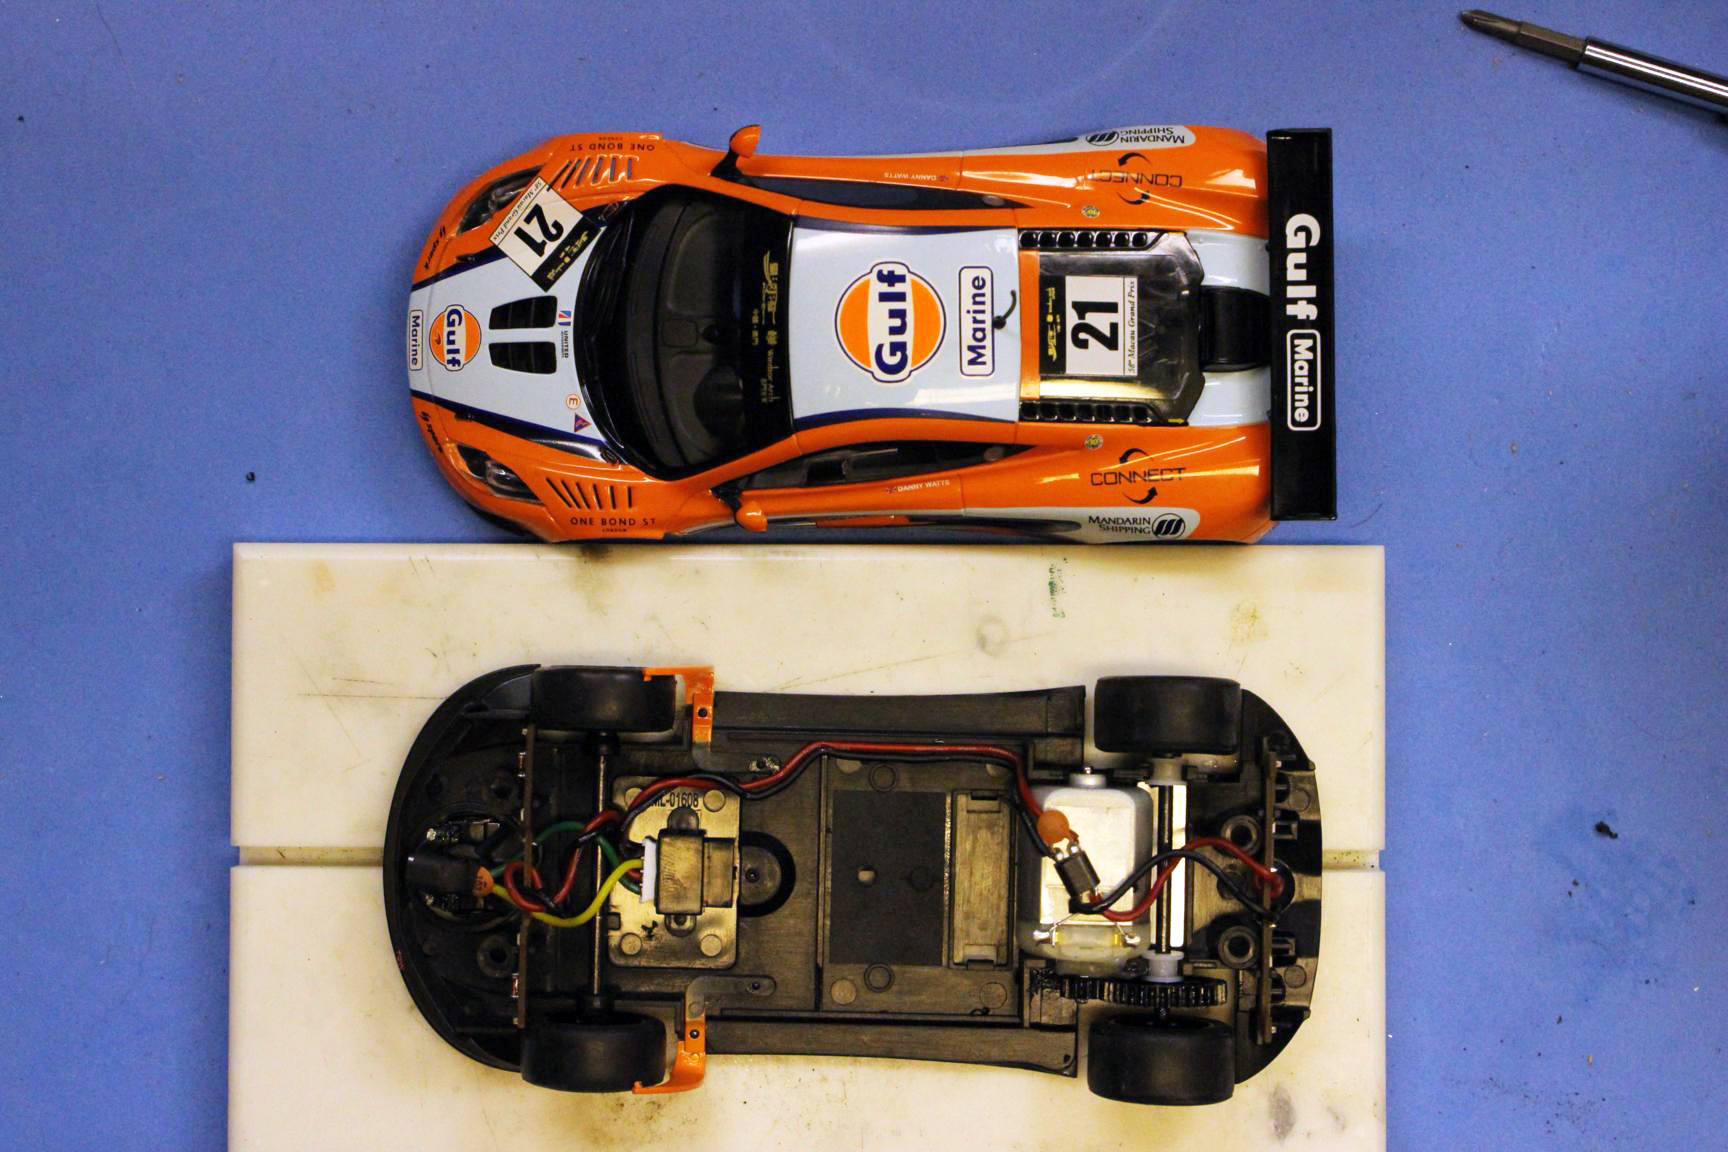
… everything else after.
I really don’t plan on using much of the stock parts. The motor is very weak and without the magnet, doesn’t offer any stopping power. With the exception of the front wheels, most of the plastic parts (rear wheels, bushing & gears) are not suited for racing; the same can be said about the guide and tires.

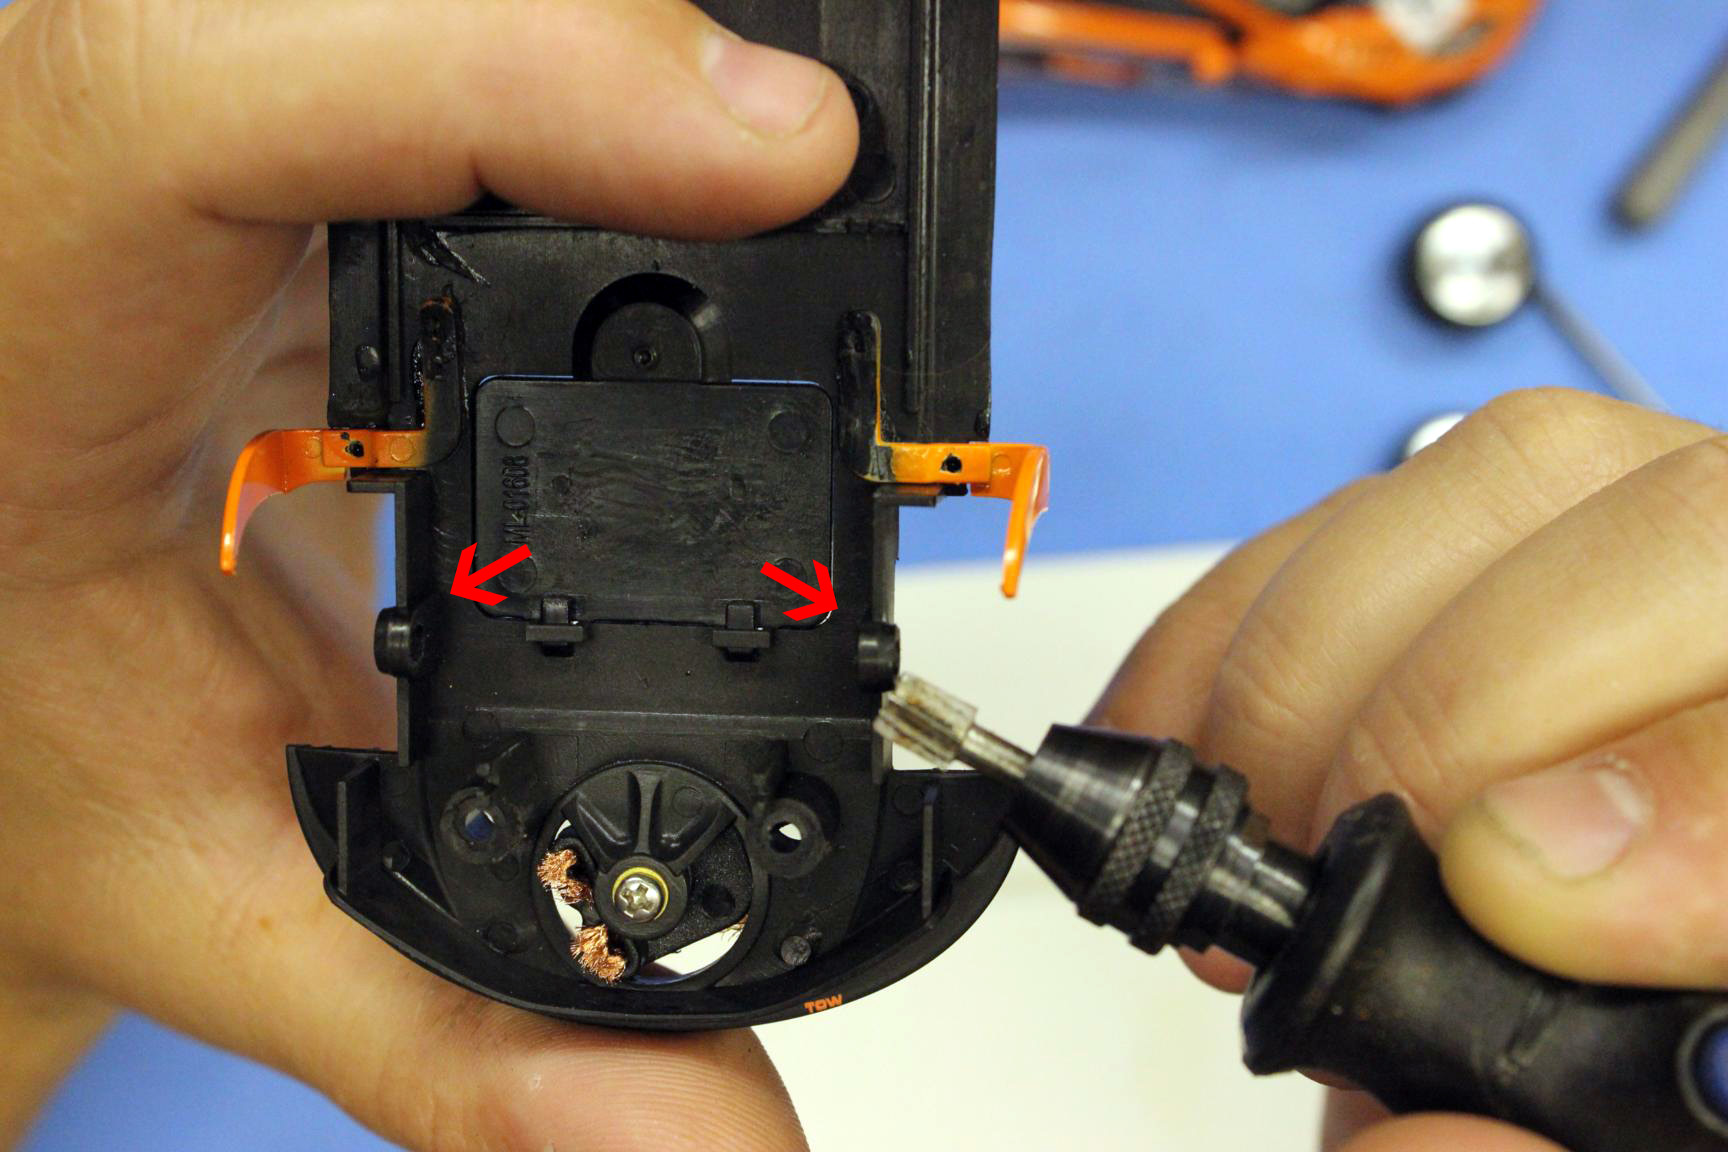
Now that all the parts have been separated, we can start to tweak the car. The first thing I do is to remove the bushing & motor locking posts, those will prevent body float if left in place.

I start the removal with cutters and finish it with a rotary tool.

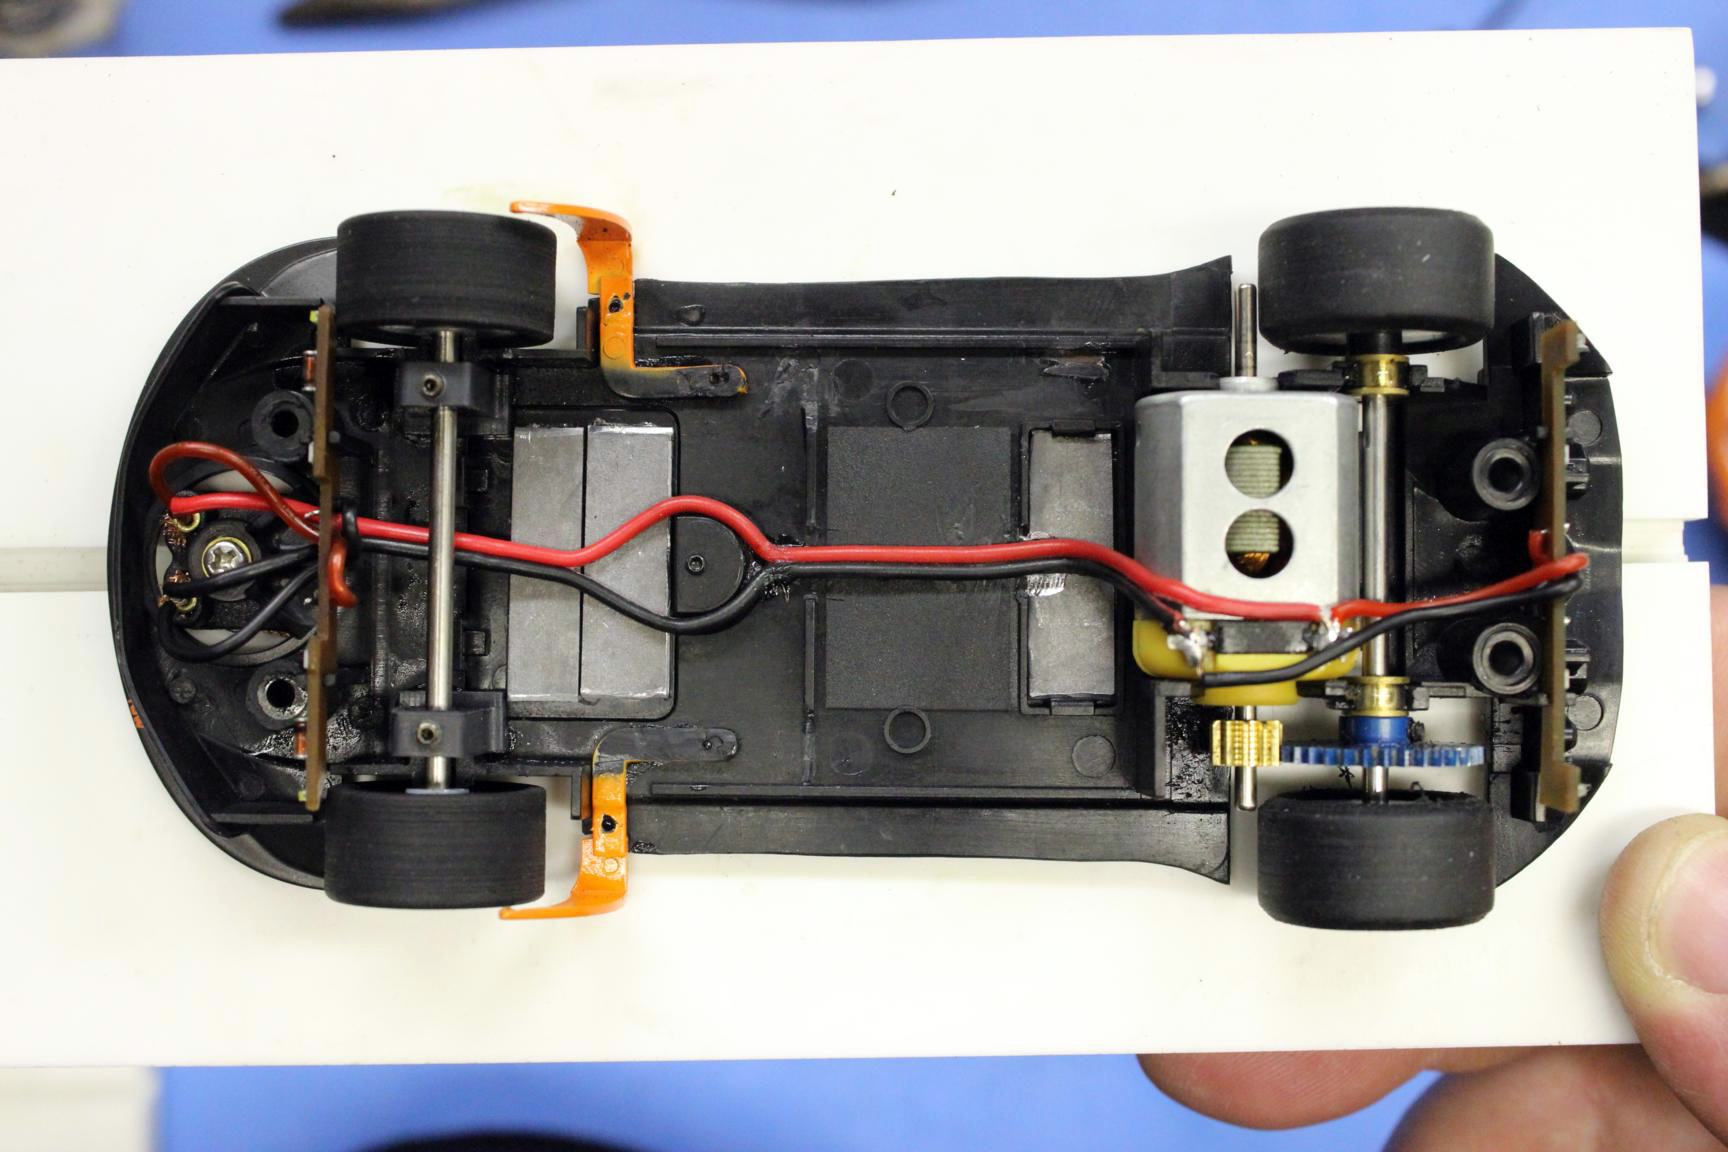
The chassis is next on the list of things to improve body float. Notice how close the chassis and body are.

I use an X-acto knife to trim the sides of the chassis.

The rear of the chassis is trimmed as well.

The body was not yet rocking.
In this car, the rear of the front fenders are attached to the chassis, diminishing body float considerably, to make matters worse, there’s also a small piece of plastic that latches onto the body -– it needed to be removed.

Chassis baking is next in my list but I need to remove the “1/4 fenders” from the chassis before getting started. I once left painted parts on a chassis while baking, I won’t do it again, the paint faded badly. Removing these parts also allows me to reattach then slightly outwards, fixing the binding problem I saw earlier.

I’m not covering the baking process in this article; you can find more info about it here: El Piloto Series Build Log – Blue printing Slot.it McLaren F1 GTR.
After the chassis has been straighten, I re-attach the “1/4 fenders” making sure they won’t rub the body.

Getting the chassis ready for a deeper Slot.it wood guide, I add a B-Nova 1/32” (Part# GM-1/32) guide adapter to the guide housing. The B-Nova adapter really makes changing guides on a Scalextric an easy job, it fixes both the depth of the guide housing and the diameter of the guide post hole, is worth the cost (~U$ 1.50).


Now all I have to do is install Slot.it’s wood guide (Part# SICH07).

Copper braid comes next.- brushing the braid against its grain makes it wider.

For quite some time now, I have only been buying CB Design hubless wheels. These wheels are great for sidewinders cars, where the space for gear & wheels is very limited; narrow, classic cars are also a great candidate for these wheels.
I’m installing 17X10 mm C.B. Design insert wheels (Part# CBD1300), these are the same size as the factory wheels. For tires I’m going with BRM’s Shore 25/30 20X11 mm GT tires (Part# S-104).

Once the tires are trued, I use lighter fluid to smooth its surface.

The Scalextric GT Series rules prevent me from using a smaller size of front wheels (Rule2. Wheel size must be the same as original). I will try to fix the problem I saw earlier, “the front wheels/tires were too tall, raising the entire front of the car, thus lifting the already shallow stock guide”, using lower profile tires instead (Slot.it Z0 17X10 mm).
Sometimes the stock plastic wheels are true and can be used for racing, unfortunately the ones in this car were not so good — there goes another $10. For replacements I used C.B. Design 17X8 mm insert wheels (Part# CBD1250).

My rule when setting up the front wheels/axle height is to have the tires clearing the surface of the track by 0.5 mm when sitting on a straight, but I couldn’t achieve that even with low profile tires – the factory front axle height is just too low.

As the picture shows, the tires sit ~2 mm below the chassis bottom. I need to raise the front axle height.

Planning on using SCC’s adjustable front axle mounts (Part# AFXM332), I start removing the upper half of the factory front axle holder.
The bottom half of the axle holder will be used as a guide when iinstalling SCC’s adjustable mounts.

Using an axle to center the blocks, I glue them to the chassis.


Now I drill a hole in the chassis for the height adjustment grub screws, this is done with a 5/64” drill bit through the existing axle mount top adjustment hole.


The next step is to install the grub screws. I already know that the stock axle position is too low, for that reason I only installed the bottom grub screws, which raise the axle.

Moving the axle to the highest position clears the wheels 2+ mm from the surface of my setup block.

Now that I have installed the front axle mounts and there’s a bit of room for adjustments, I replace the 17X10 mm low profiles tires with Slot.it’s 19X10 mm zero-grip tires (Part# SIPT07), which make the car look a lot better. It would’ve been fine to use the 17X10 mm tires; I’m just going for the best replica look.

After a quick run on the tire truer, the front wheels are installed. They now sit 0.5 mm above the surface of the track and do not rub the fenders … aside from looking very proportional.


Inserts: I could buy 17 mm inserts but I have four good looking stock plastic wheels that I will not use in any car; I will save some money and a trip to store by making inserts out of those wheels.
The first thing I do when making inserts is to check the inside diameter of the wheel.

After attaching the plastic wheel to the tire truer, I cut any excess in width leaving only what is necessary for an insert, this speeds up this process.

Every so often I stop the truer and check the current diameter.

When the desired diameter has been reached, I cut the insert from the wheel hub.

And, voilà!

About 20 minutes later I have four wheel inserts.

Motors came next on this build.
I already knew that I would use Slot.it’s yellow endbell, 25K rpm motor, from the moment I decided to tune this car, but to show you why, I will also talk about the orange endbell, 22K motor, in this article.

After breaking-in the motors, I check their RPM at 11 volts – the voltage used on our track.


With the RPM reading in hand, I check the best gear ratio in order to obtain ~7800* RPM at the wheel.
- Orange endbell: 20.700 / 7800 = 2.65
- Yellow endbell: 22.500 / 7800 = 2.88\
*8500 RPM is how much a fast, race prepared for our track, Slot.it Group-C car turns on its 15mm wheels at 11 volts. Since the McLaren has 17mm wheels, I “guesstimated” that 7800 RPM would be a good starting point for this car.

The difference in gear ratio is the reason why I want to use the yellow endbell.
By experience I know that I will need to add weights to the McLaren in order to lower its center of gravity, this is due to the heavy interior and body of the car; the added weigh will decrease its stopping power considerably. To overcome this problem, especially under these circumstances (car lacks braking power but weight cannot be removed); the best solution is to increase the RPM of the motor which in turn will require a higher gear ratio – see the chart.

Having selected my motor, gear combination comes next. The usual Slot.it gear combination for a Scalextric sidewinder car is a 6.5mm pinion with a 19mm spur gear; this setup works great as long as your tires are at least 20mm tall. When you are setting a car with smaller wheels/tire diameter, one alternative is the use of 7.5mm NSR pinions with 18mm Slot.it spur gears – the gear mesh is not the greatest but it is a solution. Since my tires diameter is greater than 20mm I will use the 12 tooth 6.5mm pinion (Part# SIPS12) with a 34 tooth 19mm spur gear (Part# SIGS1934).

Difference in clearance: 19mm gear on the left; 18mm gear on the right.

I install my gear combo along with new brass bushings (Part# SIPA02) and rear wheels. After checking the axle for free movement I lock the bushings in place with CA glue (superglue).

With all the mechanics items checked off my list, I connect the lead wires to the guide and proceed to install the body – that’s when I hit a snag. Slot.it’s motor wire is a lot thicker than the stock Scalextric wire and the body won’t close properly; there is a not alot of room between the bottom of the interior and the chassis. This would be a perfect job for NSR’s lead wire (very thin), but I’m all out; I take a look around my drawers and find a piece of RC servo wire that will work.

I realize that after removing the digital plug connector I can route the lead wires right through the center of the chassis. But only after trimming some small pieces of plastic in the chassis & body …


Here is the installed lead wire.

Now the body … looking very good!

As I plan on racing with the light kit in place, installing it is the next step. Nothing major here, the light boards go back on their factory location; just be sure not to switch the polarity when connecting the leads.


Front light board is connected with the guide.

Rear light board is connected with the motor.

The front light board was a little warped and its left side touching the tire – nothing that some sanding wouldn’t fix.

Time to weight the car. The total weight comes around 87 grams; the body weights 30 grams and the chassis 57 grams.

Although there is no proven formula to my weight distribution method, I like to have my chassis weighting over 2/3 of the total weight, leaving 1/3 for body and interior. I figure 10 grams are needed and that’s how much I add – Professor Motor’s Self-Stick Lead Sheet (Part# PMTR1046).
Now at 96 grams, my weight distribution is 69% in the chassis (just over 2/3) and 31% in the body/interior. The front of the car has 45% of the weight (43 grams) while the rear has the remaining 55% (53 grams) – I would say that a good setup can vary from 40 to 50% of the weight in the front or 60% to 50% of the weight in the rear.
It is ready for racing!

Here are some photos of the front-end for a comparison with the stock front-end photos in the beginning of this article.


The factory car:

And the prepared car:
This built was a blast! I hope y’all enjoy reading about it. There were some tricky parts too it but there’s always something slightly different from one build to the next. In the McLaren MP4-12C case, the tight clearances presented the biggest obstacles.
One other thing I did this time around was too see how much this build cost me, here is the tally:
- Scalextric McLaren MP4-12C Gulf (Part# C3287): U$ 52.99
- B-Nova 1/32” (Part# GM-1/32): U$ 4.25 (Pack of 3)
- Slot.it Wood Guide (Part# SICH07): U$ 5.99
- C.B. design 17X10mm Insert Wheels (Part# CBD1300): U$ 8.99
- BRM Shore 25/30 20X11 Tires (Part# S-104): 6.99 (Pack of 4)
- C.B. design 17X8mm Insert Wheels (Part# CBD1250): U$ 8.99
- SCC Adjustable Front Axle Mount (Part# AFXM332): U$ 6.99
- Slot.it Z0 19X10mm Tires (Part# SIPT07): U$ 8.99 (Pack of 4)
- Slot.it Yellow Endbell 25K RPM Motor (Part# SIMF07): U$ 18.99
- Slot.it 12T 6.5mm Pinion (Part# SIPS12): U$ 0.00 (Included with the motor above)
- Slot.it 34T 19mm Spur (Part# SIGS1934): U$ 8.99
- Professor Motor Self-Stick Lead Sheet .035” (Part# PMTR1046): U$ 3.99
And the grand total was U$ 136.15. This definitely puts the price of a Slot.it, Racer Sideways, Avant Slot, Scaleauto & NSR cars in perspective … too bad none of them are making this car, nor the Ford GT/R, nor the Maserati Cambiocorsa; in addition to the Audi R8, Ferrari F430, Corvette CR6, Porsche 997, Aston Martin DBR9, etc., that compete in the same class.
March 28, 2013 at 11:17 AM #1875WOW Nice work and great description. What is even more impressive is that I understood 95% of what you were doing and why. Still wondering how you came up with: With the RPM reading in hand, I check the best gear ratio in order to obtain ~7800 RPM at the wheel. Why 7800 RPMs? When you increased weight how did that change the ratio?
March 28, 2013 at 3:32 PM #1876What a fantastic article! Those pictures are great. I haven’t started on my car for this series yet. You’ve set the bar pretty high.
March 28, 2013 at 5:37 PM #1877… Why 7800 RPMs?
Roy,
My Group-C Slot.it has 15mm wheels and turns about ~8500 RPM at the wheel (fast car); since the Scalextric has 17mm wheels, which will travel farther per revolution, I thought that 7800RPM would be a good start. (I didn’t math check it) — Thanks for asking, I will add something about it in the article.
… When you increased weight how did that change the ratio?
Weight only slows the car down, it doesn’t change the gear ratio.
April 3, 2013 at 6:59 AM #1878Very nice write up Ary. Thanks!
Build it strong.
Keep it simple.
Make it work.
(Leroy Grumman) -
AuthorPosts
- You must be logged in to reply to this topic.
1 comment for “Upgrading / tuning a Scalextric GT McLaren MP4-12C for non-magnet wood track racing”