Forum Replies Created
-
AuthorPosts
-
Shawn – thanks for the warning. I just checked my Shapeways ST02-ST2 chassis and confirmed you are correct it does Not fit the BMW-M4 Car27499/30661 #23 Wittmann Exide White.
"... get on your bad motor scooter and ride!"
Sammy with MontroseQUESTIONS REGARDING THE DTM SERIES
1. ’10 Lap Penalty’ for missing wing if not replaced during race. Are we enforcing that rule more consistently than last year?2. Body Rules.
The 4-post configuration of the Carerra bodies allows virtually zero float; even tho the 3D chassis does not have the post-cups like the original pans do, some shaving or rounding of the posts may be useful to encourage some float. Also – after someone has built out at least a mule, we may need to revisit the body rules JIC there are odd pieces that interfere with smooth body mounting, front tire clearance, etc. Hopefully a few people will have some DTM’s they are testing by spring so we can get some feedback on any tricky issues with the bodies or pans.3. Wheels & Tires
Don’t 17×10 rear wheels work better (tighter) for the F30s, as compared to rather skinny 17x8s?"... get on your bad motor scooter and ride!"
Sammy with MontroseAs we develop this list, please include the available brands and any mods needed to to meet specs.
BTW – Marty – are these Grp-Bs from Fly? Ninco? Scaley?"... get on your bad motor scooter and ride!"
Sammy with MontroseMy livery includes:
27473 Carrera Audi A5 Schaeffler, M.Rockenfeller #1
27499 Carrera BMW M4 M.Wittmann, #23SOURCES:
-Professor Motor has the analog cars (274xx part numbers) for $32.// my source
-CarerraSlots (the usa dealer) also has analogs for $32. Digital cars (306xx part #s) come with a chip you can ebay for $25; some of the vendors sell them for $45.
-ElectricDreams must be smoking something because their analog DTMs are $90, and the digital versions are $55. If you see a DTM for $36 at E/D, it is 1/43 scale."... get on your bad motor scooter and ride!"
Sammy with MontroseChanges from my previous post. 1) Brass piano wire (1/32in) available from Hobby Lobby can be used instead of the paper clip. 2) Piano wire can also be used to reinforce the front suspension struts which we saw break on Steve’s car 2 weeks ago. 3) The plastic in the AllSlot chassis bonds better with epoxy (JW Weld, JB Quick) than with superglue/CA.
Fix broken guide bosses with (a) a brass tongue from Professor Motors commercial parts section, $4/ea, and (b) one thick and one medium B-Nova adapter.
Steps: Dremel the old guide boss to be level with the top of the chassis. Flatten the center ridge also. Glue a thin B-Nova adapter to the tongue; use this as a template to grind down the brass flag-pole shaft ring to be as thin (appx 1.5mm) as the B-Nova. Test the rotation and widest swing with a Slot.It CH07 wood guide. Grind out a notch in the tail of the tongue (4mm x 6mm) to allow the front chassis screw to be accessed. When finished the thin B-Nova can act as a guide spacer – useful for the old style chassis w/o adjustable axle. Leaving the rest of the tongue full width adds strength to the lower suspension struts. Epoxy the tongue, B-Nova down, to the bottom of the chassis. Epoxy the thick B-Nova to the chassis and top of the tongue, using a toothpick to add epoxy to the small gap between the B-Nova and the tongue (at the flagpole tube). Rub a clean toothpick on the inside of the flagpole tube to smooth out excess Epoxy in the tube. When dry use a razor knife or small round file to remove excess epoxy from the tube; test with the CH07 guide to make sure you do Not remove too much material and make the boss too wide!
Check the height of the stack with a CH07 flagpole-use a thin or medium B-Nova to add height as needed. Epoxy to top of thick B-Nova. The total thickness of the B-Novas+tongue should be appx 6mm.
TISSUE PATCH: Steve recommends a quick, light and strong fix using a small piece of tissue, doped with CA just like putting a fibreglass patch on a 1×1 car. Cut the tissue to a little larger than the crack, with a 1/6 to 1/8in skirt. Smear a small bead of CA along the crack, then use a toothpick to tap the tissue onto the damaged area, smoothing out the tissue. Add more layers of tissue for a severe crack; but in most cases 1 may be enough. When dry add a 2nd layer of CA making sure all of the tissue is doped. When dry, trim excess only if needed.
"... get on your bad motor scooter and ride!"
Sammy with MontroseAluminum AllSlot F1 chassis are made by SlotingPlus – available in the US from Electric Dreams for $32, 17EU appx 28USD direct from SlotingPlus. They also have a steel chassis for a slightly lower price.
"... get on your bad motor scooter and ride!"
Sammy with Montrose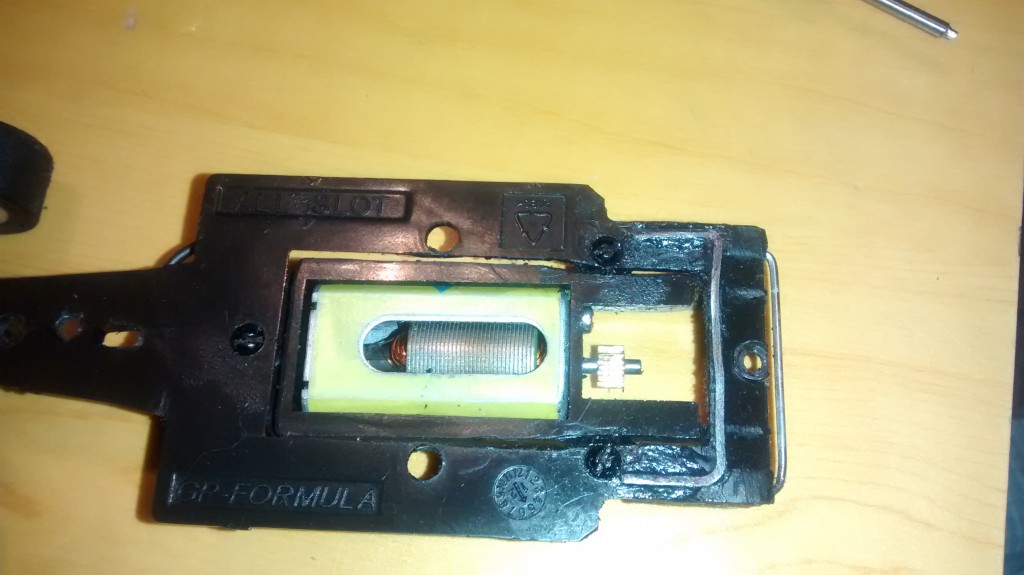
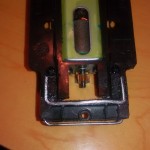
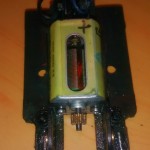
These are examples of repairing the chassis if it cracks near the motor pod. The most important patch is the upper patch; bend a large paper clip into an M shape that snakes around the reinforcing bumps at the end of the chassis. Superglue into place, being careful not to get the wire over the pod mounting holes. Remove pod screws while you are doing this so that superglue does not get into the holes or the POD hardware. For reinforcement (originally of a styrene patch that did not last) I also put a paper clip on the bottom of the chassis. Obviously you need to double-triple-dog check that the wire cannot contact the track braid; I flattened mine carefully with a Dremel sanding drum. Some paint over the wire may add a little more protection, but I found mine to clear the braid comfortably so I did not do that..yet"... get on your bad motor scooter and ride!"
Sammy with MontroseI found that repairs to the chassis are best done with a large paper clip, cut in a U shape, and glued across the back of the chassis (on top). When doing this, do a dry fit (maybe with a small dab of shoegoo) to see if there are any jams with the body. If so, use a razor knife or very precise dremel cuts to trim the body where it hits the paperclip patch. I will add pix later.
"... get on your bad motor scooter and ride!"
Sammy with MontroseAre the exhausts aluminum pipe or the stock plastic?
"... get on your bad motor scooter and ride!"
Sammy with Montrosefreaking gorgeous and you deserved the ConCours award for all your hard work!
"... get on your bad motor scooter and ride!"
Sammy with Montrose
–917 body-any brand-perhaps as part of the GT series.
–Corvette body-any brand-perhaps as part of the GT series.
–Classic 50s/60s openwheels (aka. torpedos) [convert to a Slot.it wood guide; replace axle/crown with Slot.It, use same wheels and BRM ‘classic’ tires as we did for 2014 TransAm. Keep stock motor and nylon 9z pinion, run at 12v.] Yes they will be a *pain in the ass* to drive (I know b/c I have a classic ferrari 250?); yet it will be fun if we dont take it too seriously!
–Drag Races as a fun/filler seriesEXISTING SUGGESTIONS I ENDORSE
–Open GT (Steve, Marty) – esp. if it includes classic 60/70s coupes like Ferraries, Shelbys, etc.
–Rally as a fun/filler series sounds very interesting
–Metal chassis – I’d love to try more of the more sophisticated 1/32 brands.
–ScaleAuto 1/24…same cars we used in Garland
–BRM Anglewinder…allow both plastic and metal chassis- open up to other bodies (e.g. 917)COST CAVEAT
–Let’s try and stick to one expensive series (e.g. BRM alumimum chassis McLarens, Plafits, etc.) in the final schedule. An $80 car and a $150 car and $20 more each in parts and tires adds up ($270 = 80+150+20+20), esp. when we may have two other series that potentially may require new cars at $60 ea plus parts. $415 (270+120+25)."... get on your bad motor scooter and ride!"
Sammy with MontroseSorry guys – wrong again. Since these cars have motors over 30K they are in the Comp Elminator class. I will actually be changing the TA Challenger to a 30K motor, so it will be Pro-Stock while the 32 ford hot rod will be in Comp Elminator.
I WILL BE POSTING RULES FOR THIS SERIES LATER TODAY (July 17)
"... get on your bad motor scooter and ride!"
Sammy with MontroseAre the names from 7/21/10 the Final names of the turns?
"... get on your bad motor scooter and ride!"
Sammy with MontroseBrainfart – my entry was a typo – the Deuce and Challenger are in the Pro-Stock class.
"... get on your bad motor scooter and ride!"
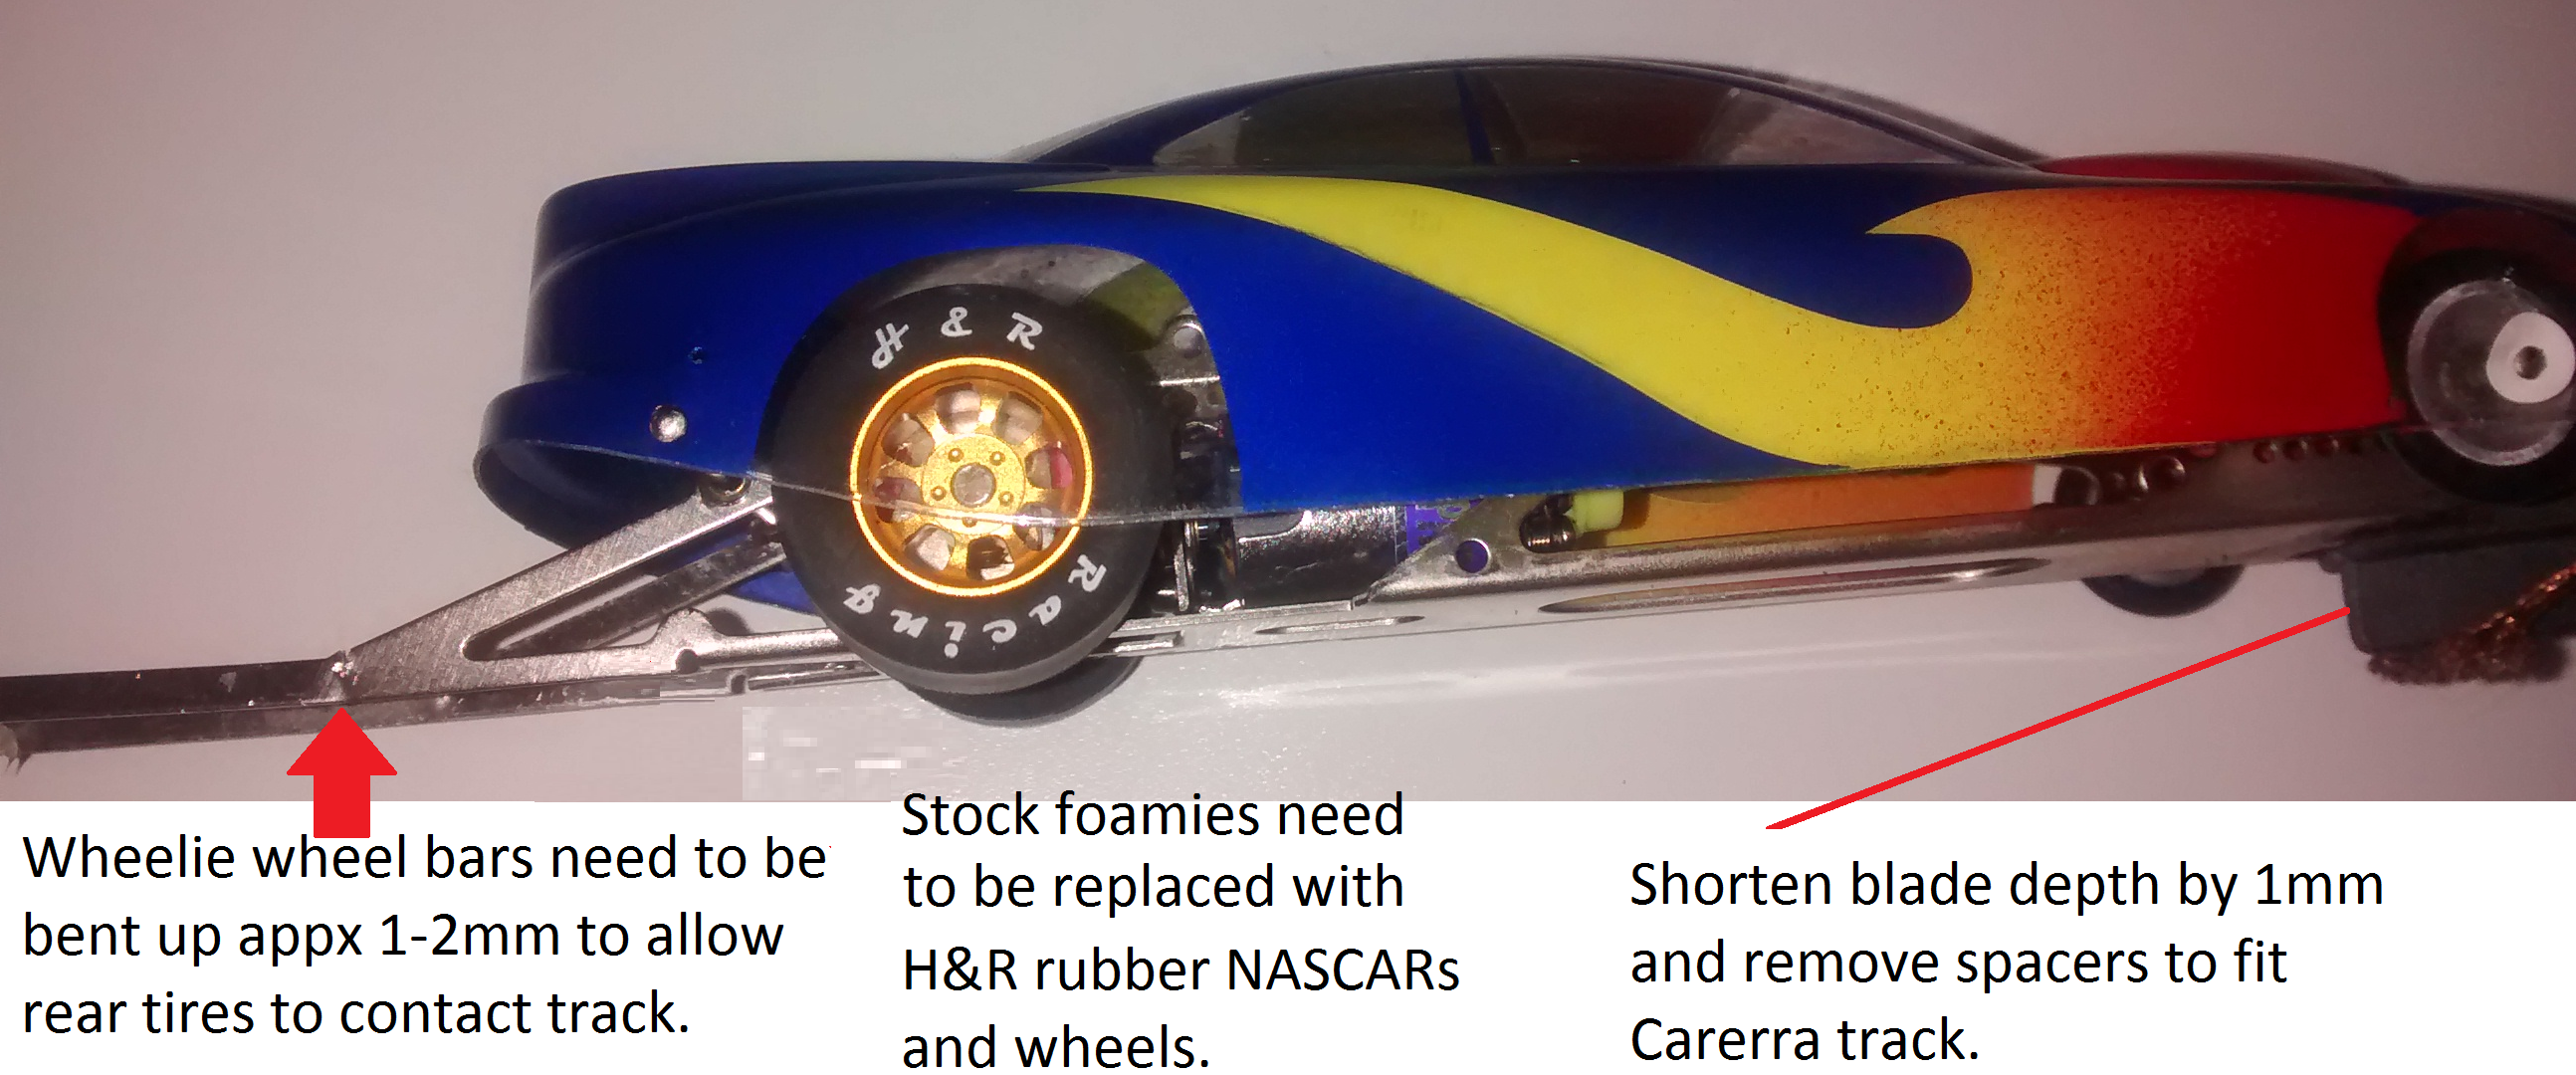
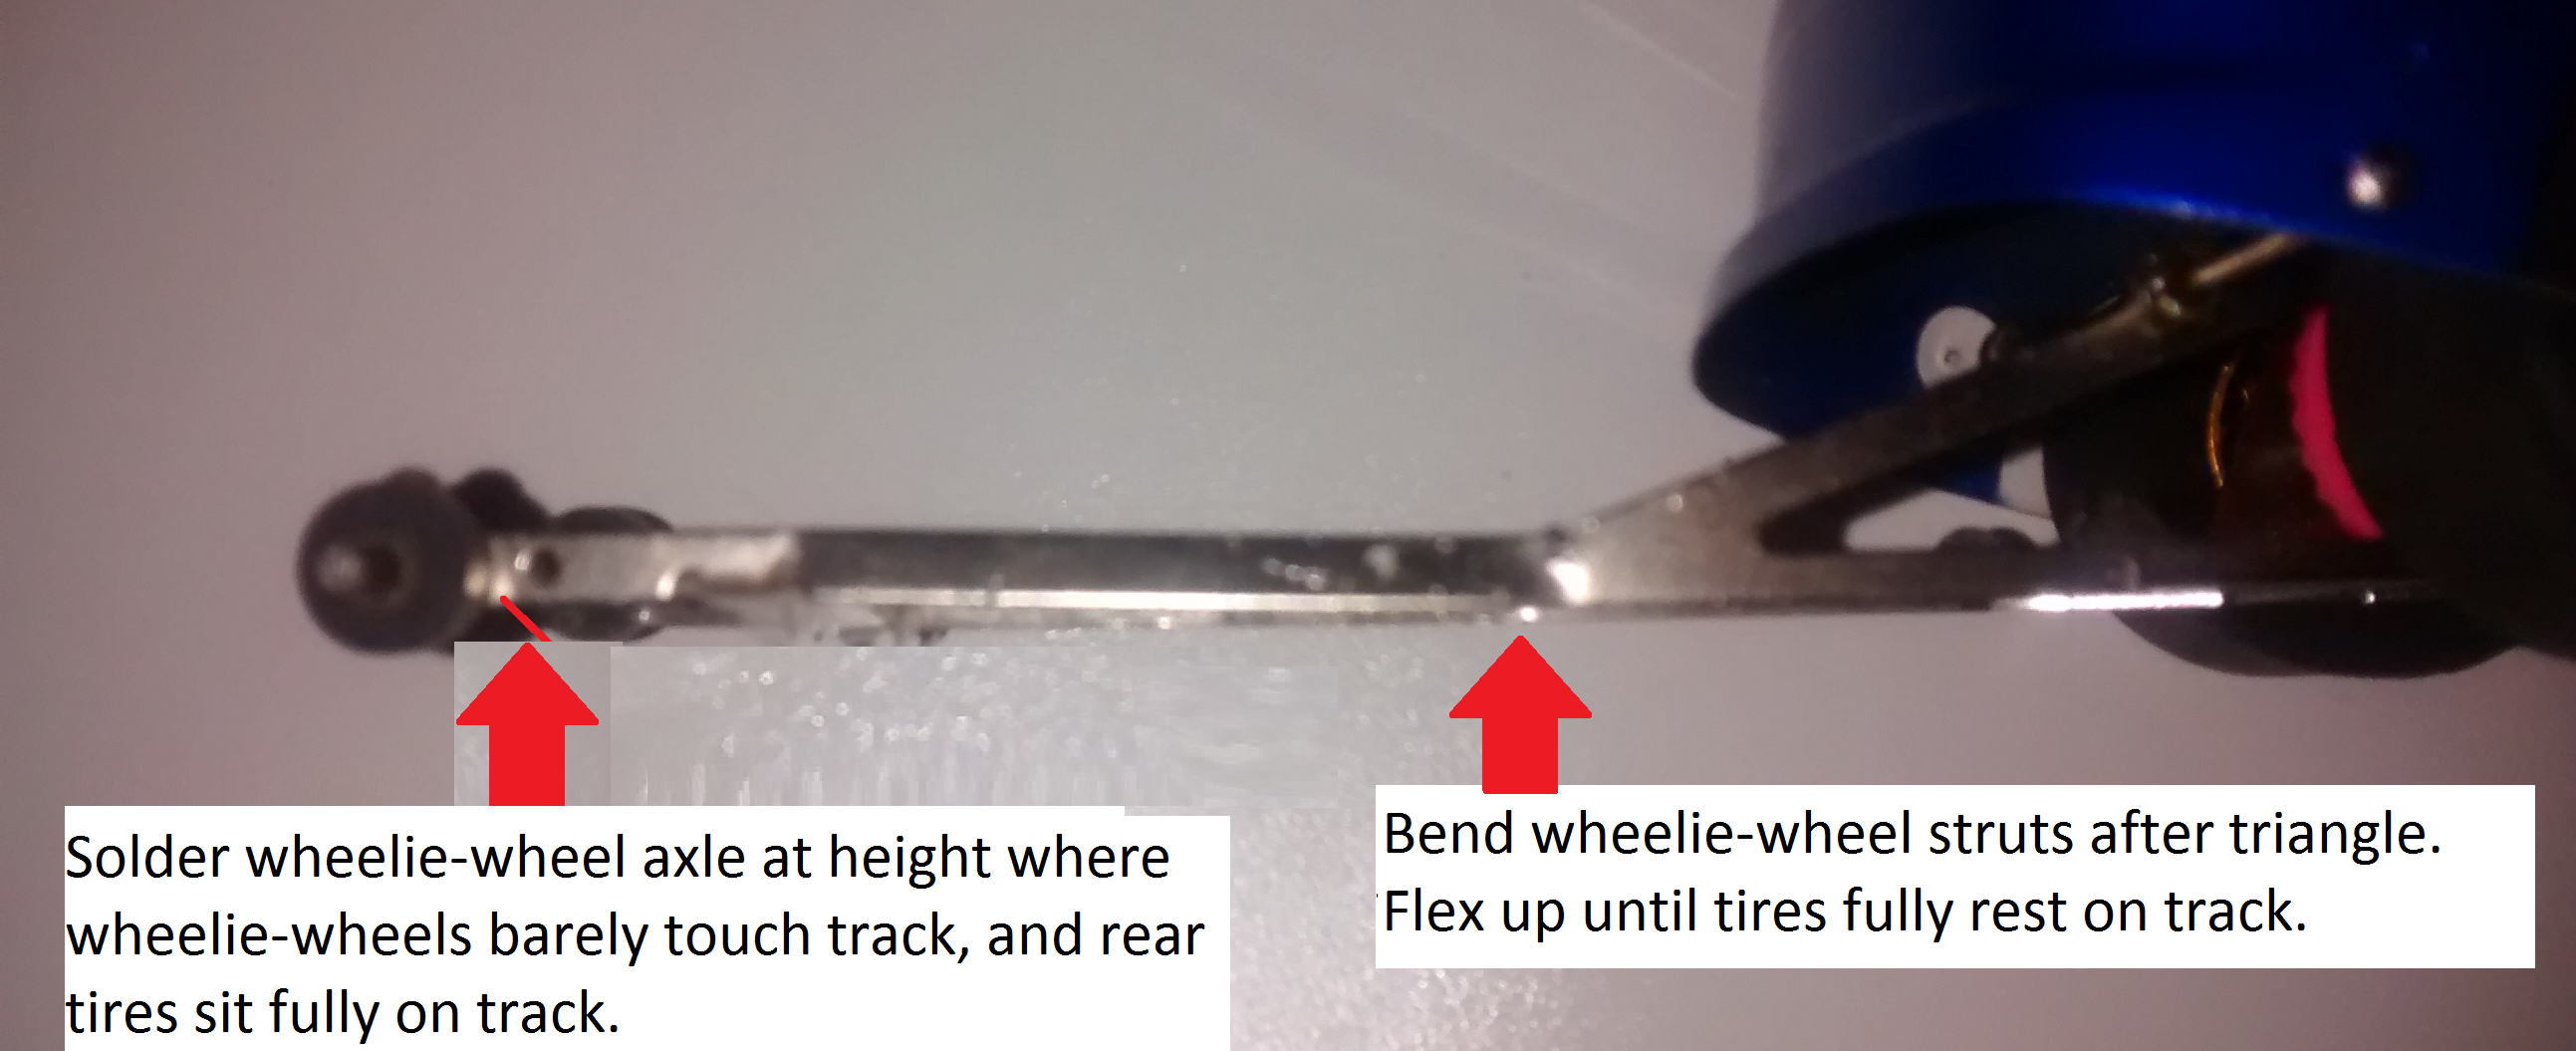
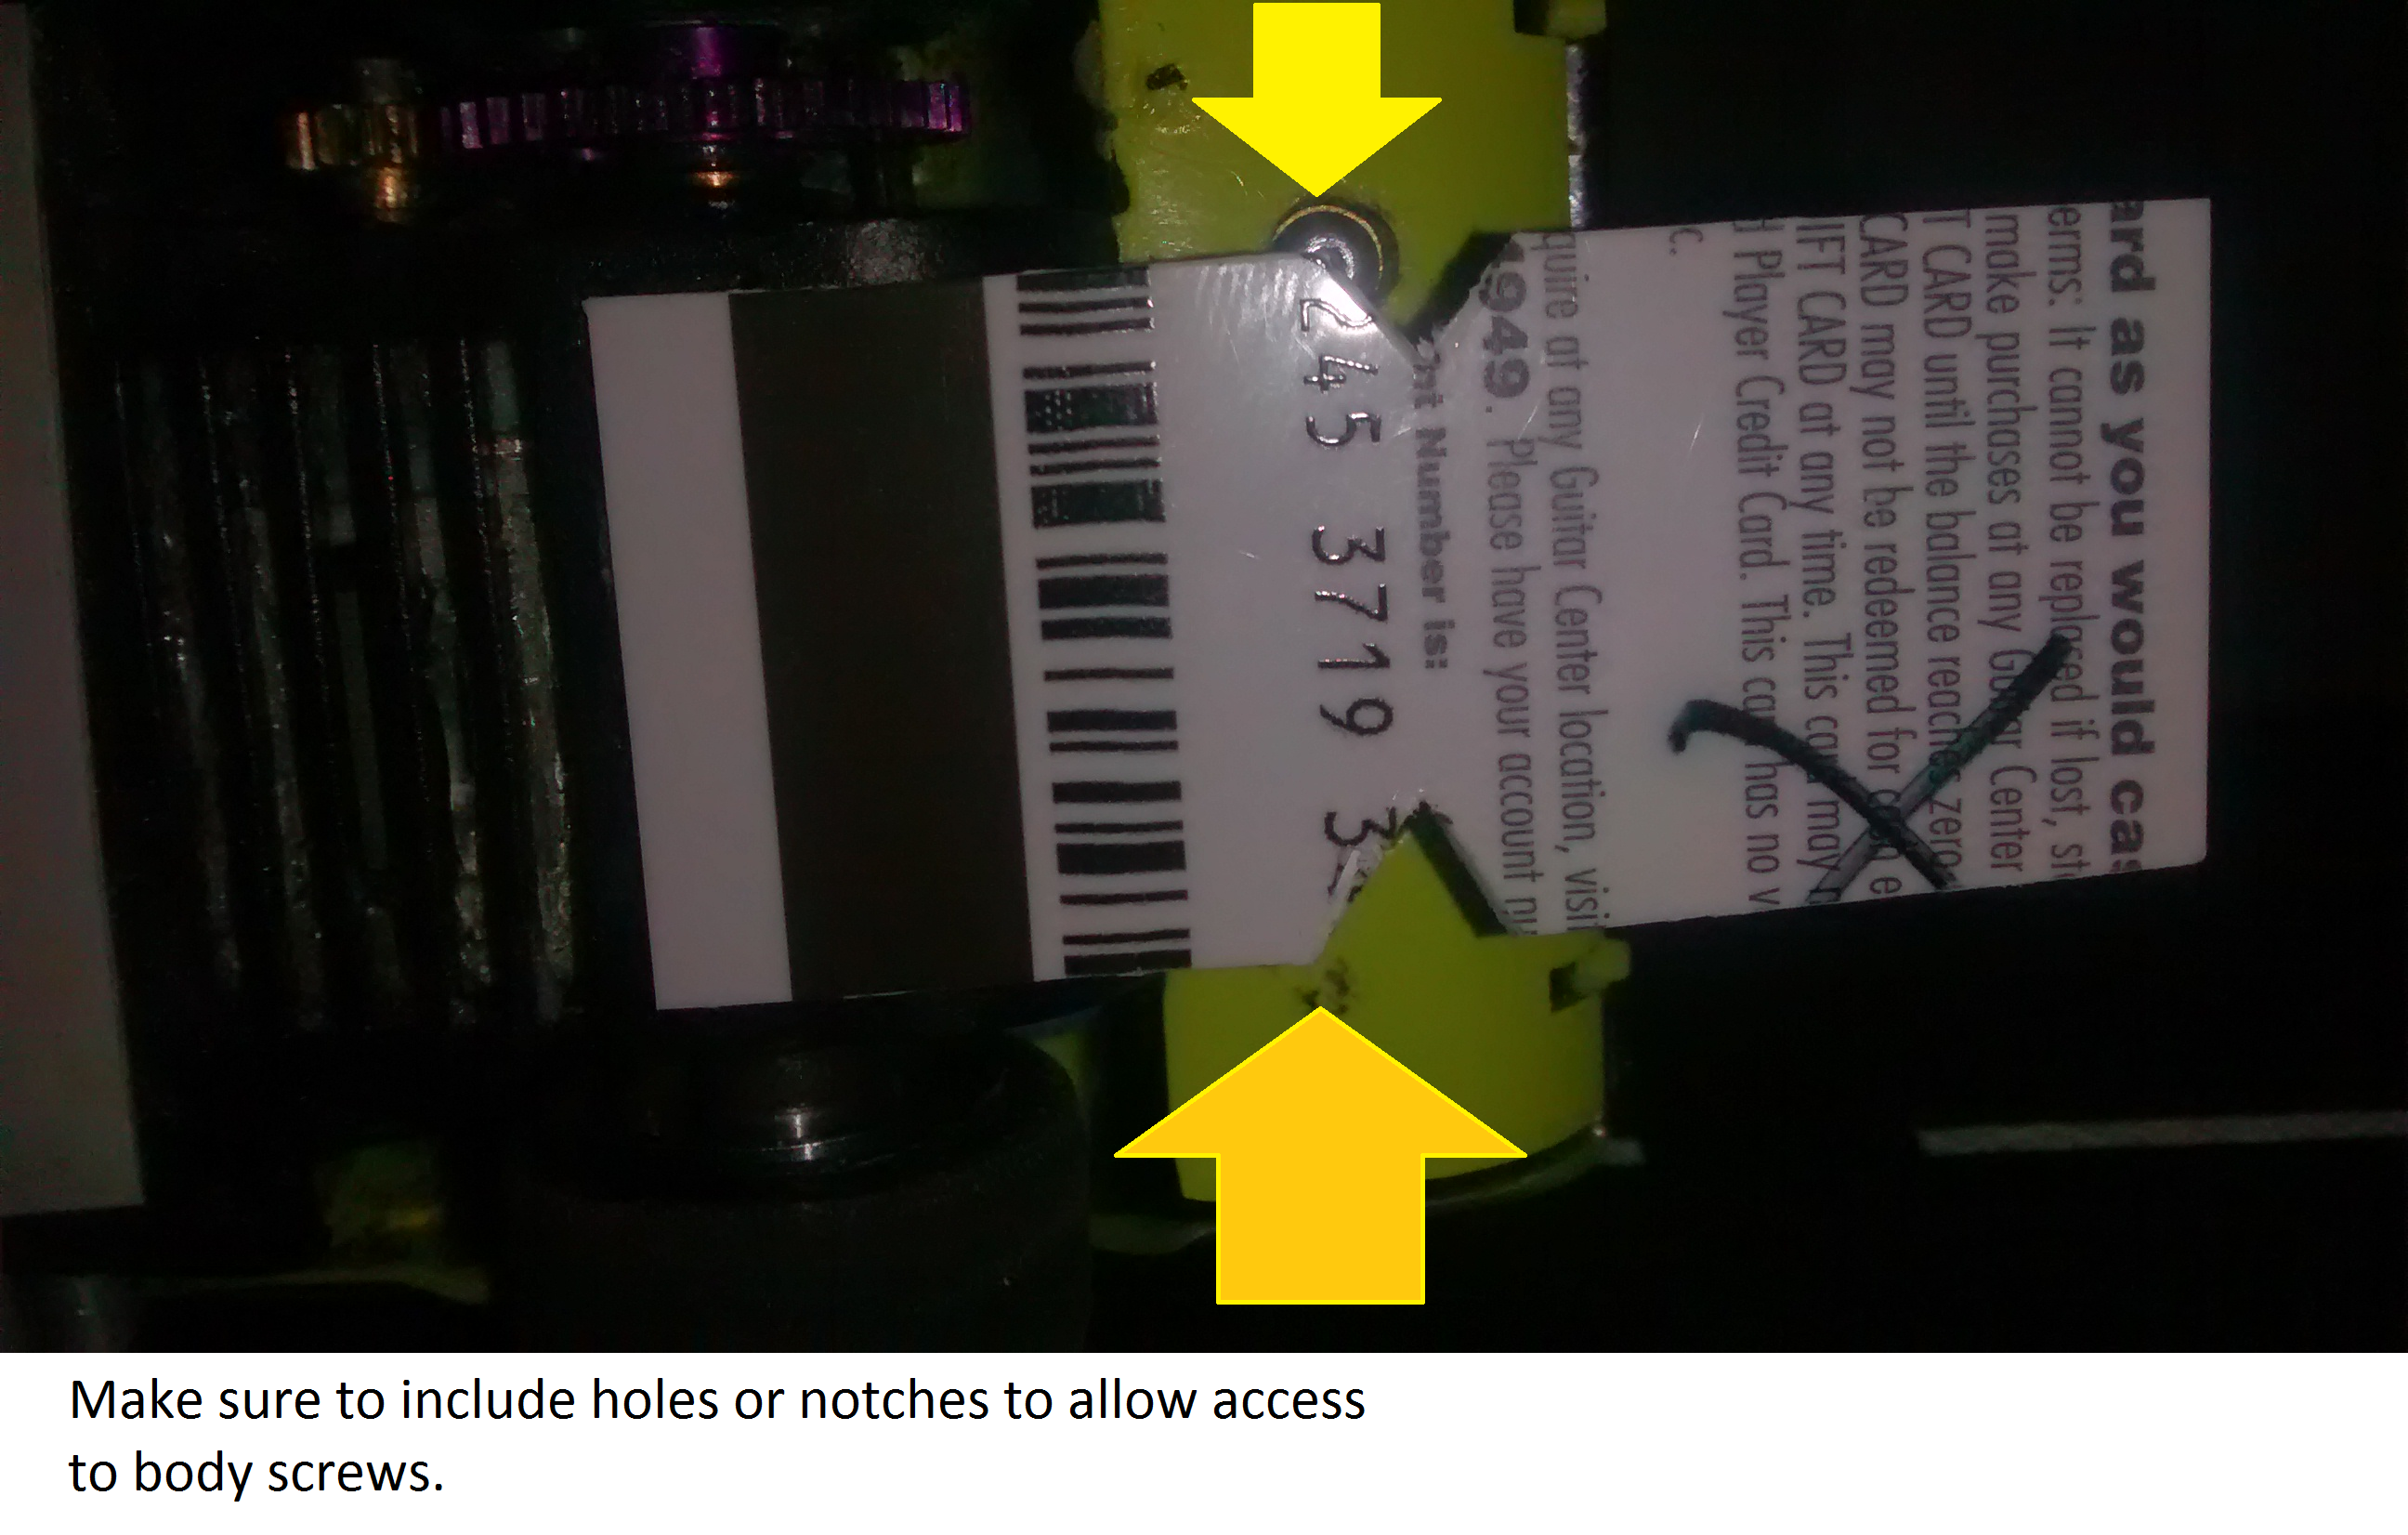
Sammy with MontroseThe attached pictures include:
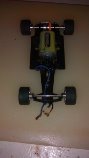
— A sample Parma 1/24 RTR car, with H&R rubber tires and NASCAR wheels installed. Spots where the wheelie bars may need some twisting with some needlenose pliers are pointed out.— Samples of credit-card Wheelie-Bars installed on two 1/32 cars with 39,000 rpm motors. To help keep the braids contacting the track, these cars have a 4gm tungestun plug glued just behind the front axles.
The wheelie-bars are 1×3 in strips from a credit card, gift card, or hotel room key. They are Sho-Gooed to the bottom of a 1/32 car, and the angle caused by the guide height will make the card angle downwards and press the track about 2 inches behind the car.
You MUST USE A CARERRA STRAIGHT as your setup block for tuning the wheelie bar. Naturally I will help you.
Tuning consists of carefully trimming the length of the card, until the rear tires are making full contact, -and- the edge of the card is touching the track. The card provides a light spring action that keeps the guide buried in the slot and the braids touching the rails. You can fine-tune the spring strenght with guide spacers. Also – you will need to add holes for any body screws that the bar may cover.
Wheelie bars are NOT needed with the Super-Stock cars; just with Pro-Stock and Comp Elim cars with very strong motors.Attachments:
"... get on your bad motor scooter and ride!"
Sammy with Montrose -
AuthorPosts